Say hello to the easiest Homemade Overnight Dutch Oven Bread recipe you will ever need! If you've never made your own bread before, this simple no-knead bread recipe is the place to start. With just 10 minutes of prep time, this bread is versatile, delicious and quick enough to make every week!
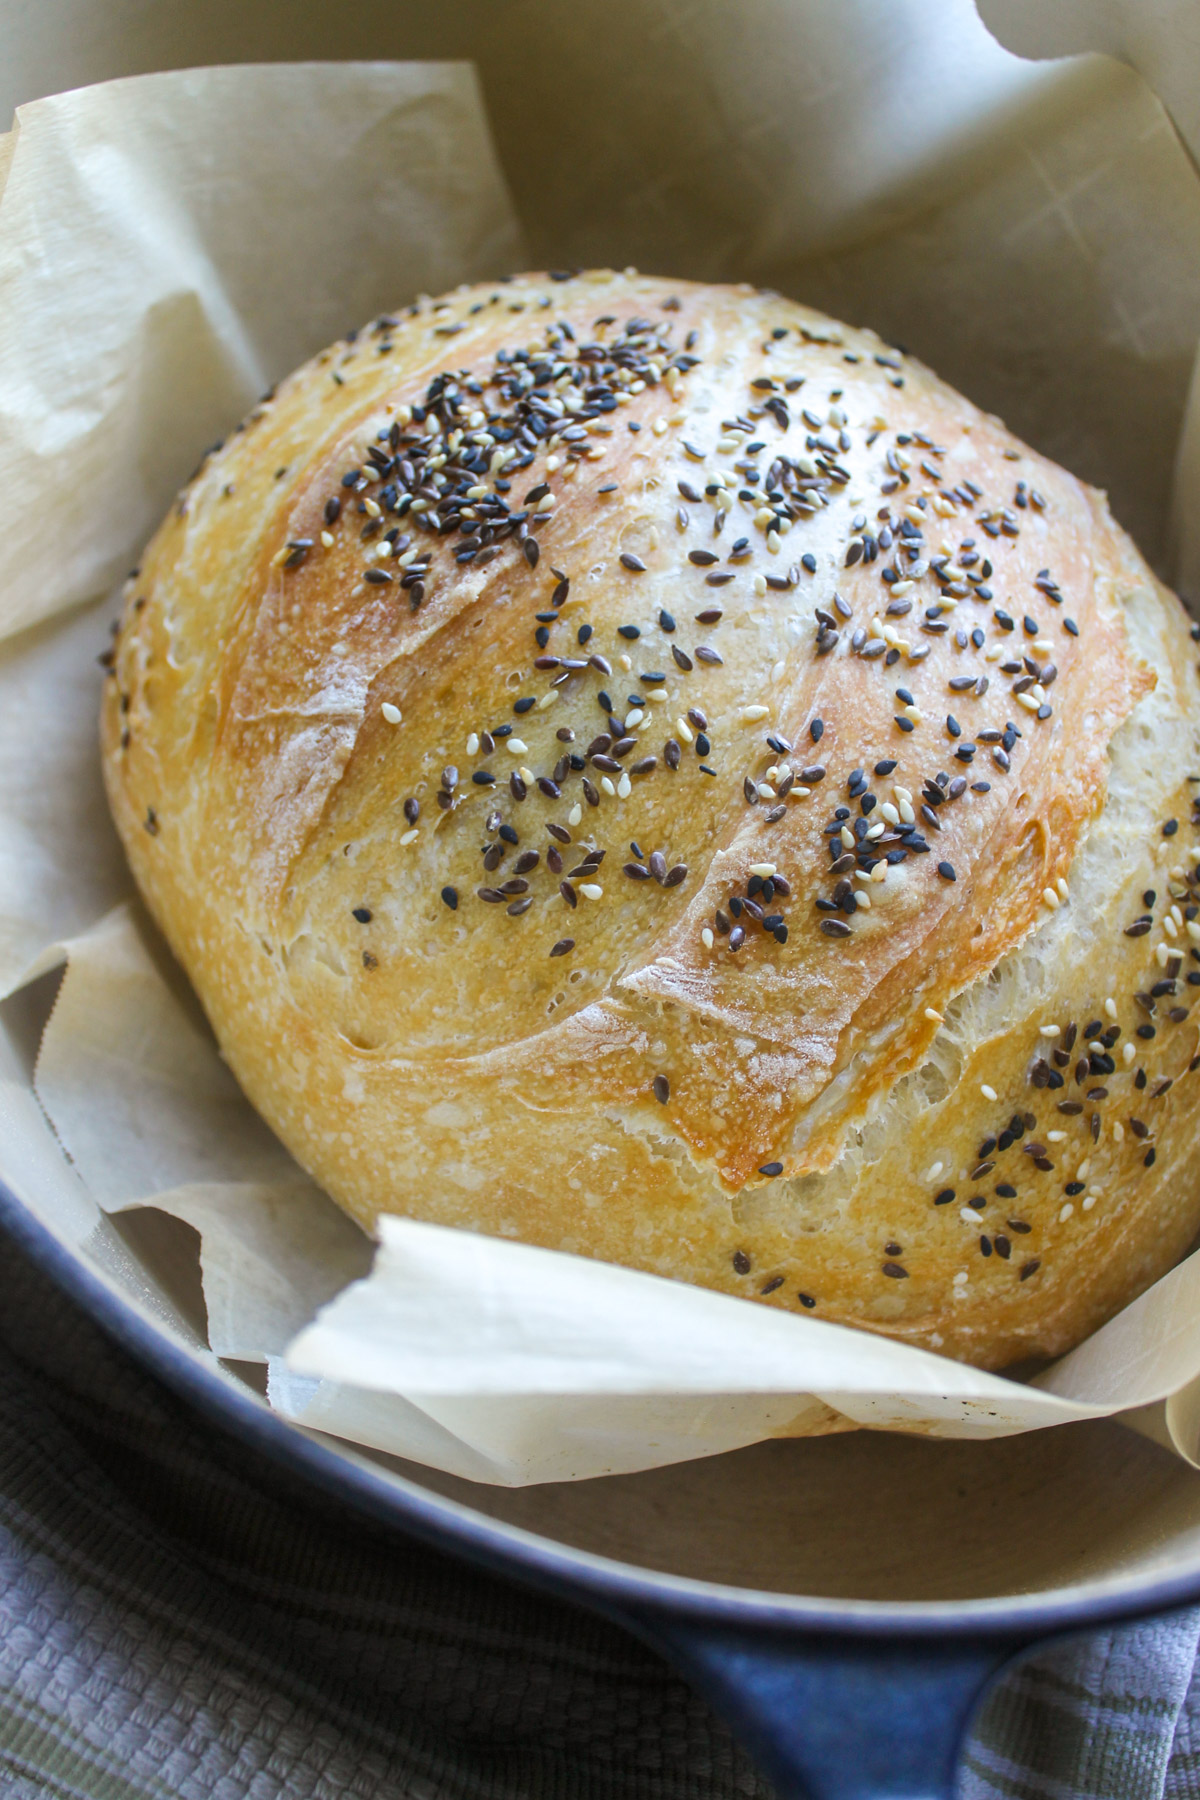
- Yes, You can make Homemade Bread! - While everyone seems to be on the sourdough bandwagon, this is a super simple yeast bread that anyone can make at home! Your kitchen will smell heavenly and you'll replace those 8 dollar loaves you used to buy!
- Quick and Easy! - I'm not a long time bread maker by any means. I sort of stumbled into this method and found it so easy that I just kept making it! I was amazed at the quality of bread I could make with such little effort. So I kept baking it! In 5 minutes, you can mix up the dough, let it sit on the counter overnight, doing all the work for you, and then bake it the next day! It's that easy!
- It looks like a lot of steps, I know! But once you get the hang of it, you'll be able to whip up a loaf of bread by heart. My mom tested this recipe for me and agreed, yep, it's easy, anyone can do this!
- This Bread is Versatile and Useful! This basic Dutch Oven Overnight Bread can be kept totally simple or flavored in several ways. Serve it for breakfast with your eggs, slice it for ham or Tuna Salad Sandwiches for lunch, or turn it into garlic bread with pasta for dinner!
- Love Making Things from Scratch? Try my Homemade Pizza Dough, Honey Skillet Cornbread and Homemade Almond Granola!
Jump to:
Ingredients & Substitutions
It amazes me every time that a gorgeous loaf of bread that smells incredible can be made from flour, water and yeast!
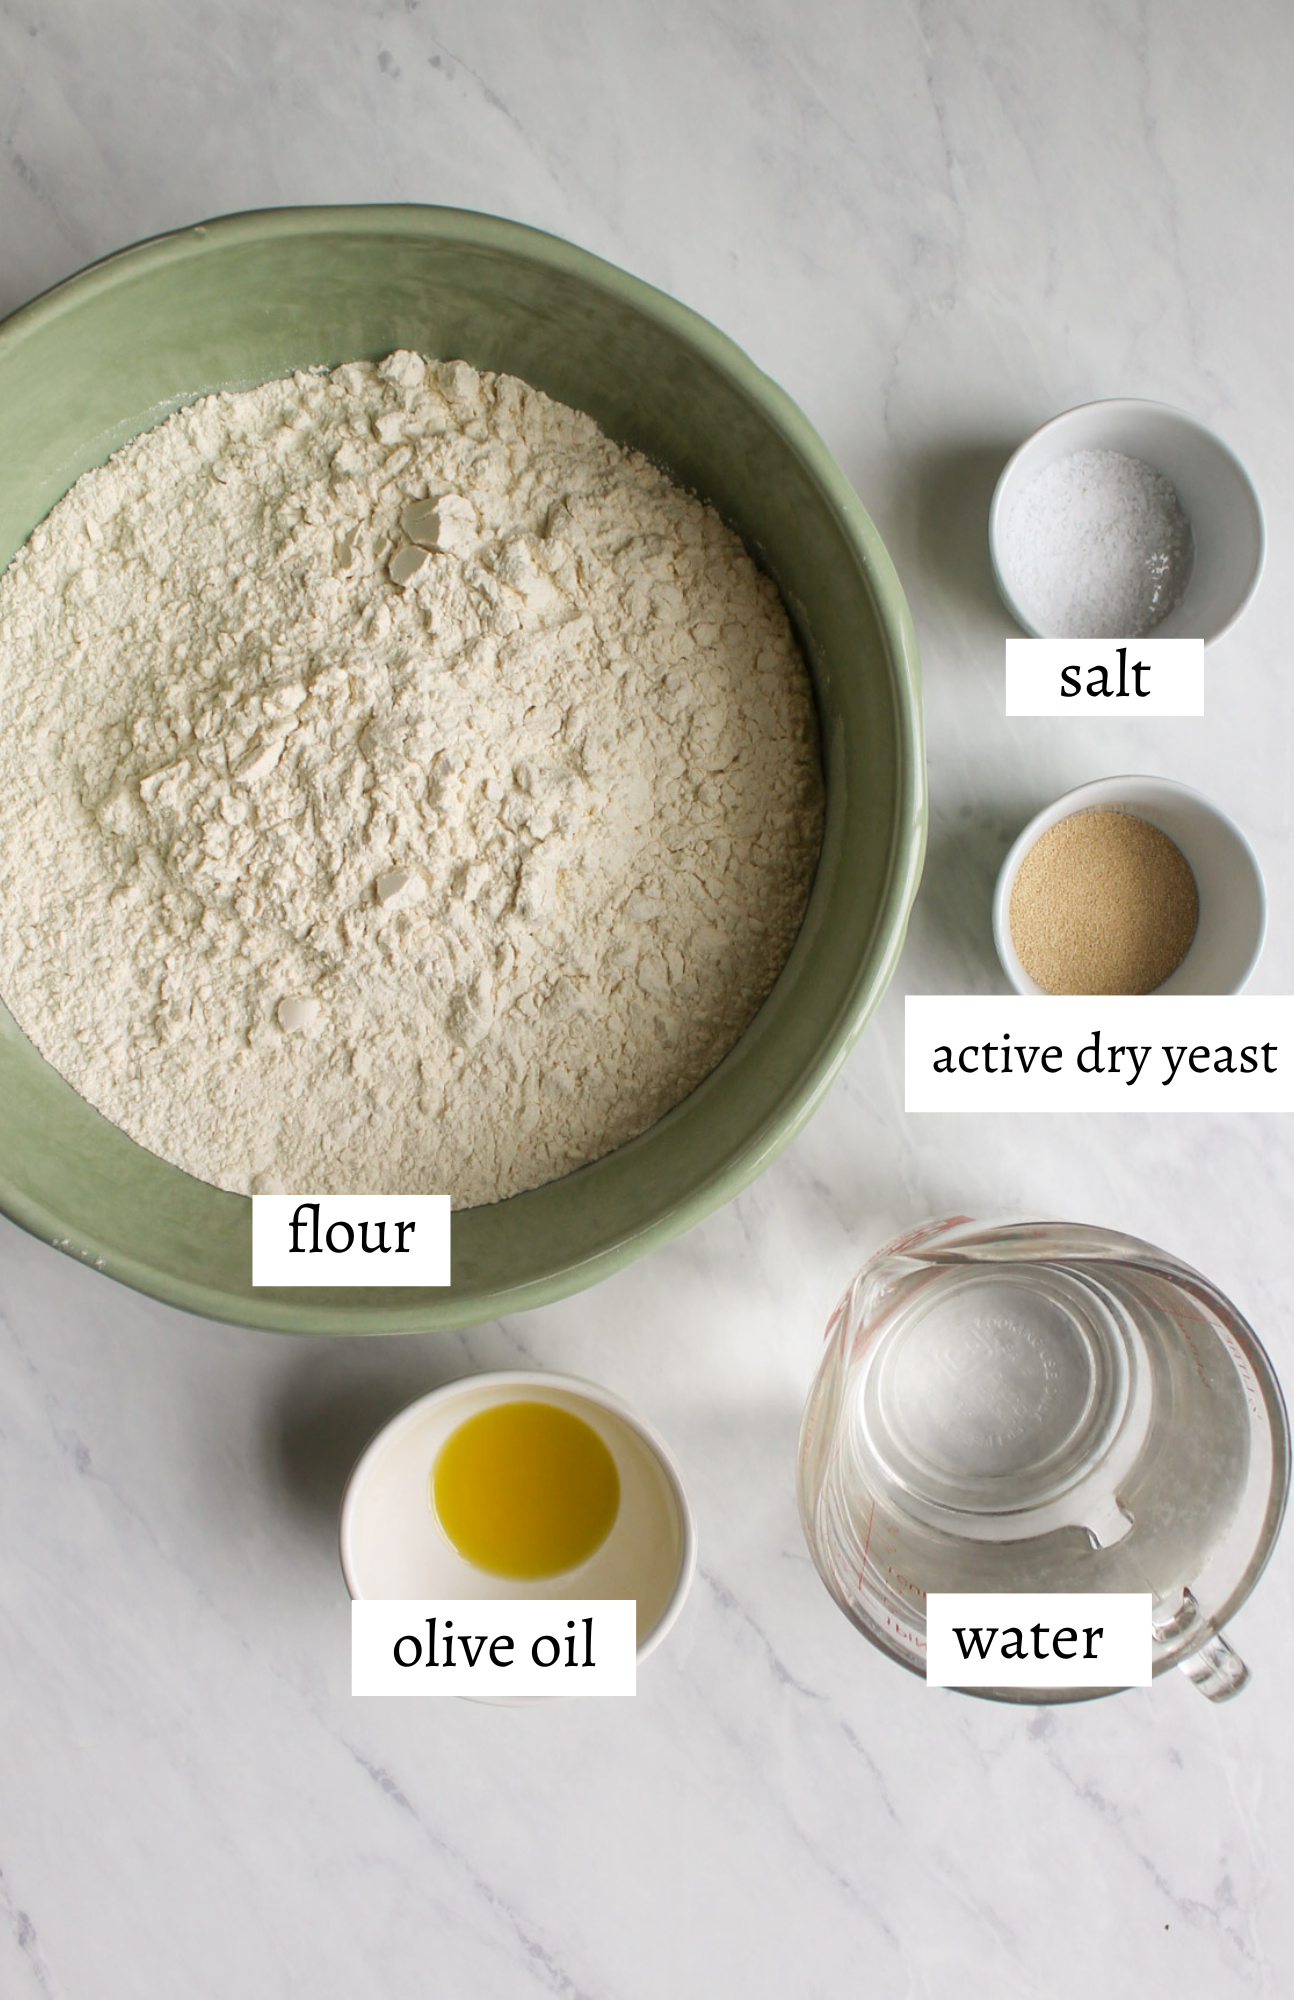
- Flour - No need to get fancy here, while I've used bread flour, I most often simply use regular all-purpose flour.
- Salt - Salt is your main flavor enhancer. I always use coarse kosher salt in my kitchen.
- Water - Use the water you drink, so if you filter your water use that. Warm it in the microwave for 30 seconds so it's warm but not hot. That will help activate the yeast, boiling hot will kill it.
- Yeast - I like to buy a small amount of dry yeast from the bulk bin at the co-op and store it in a jar in my cupboard. You only need a teaspoon per loaf so this only costs a few dollars. The packets of active dry yeast or instant yeast are fine, but don't use one that has been in the back of your cupboard for years! Yeast does go bad, check the expiration date!
- Olive Oil - Just a little olive oil gives flavor and a chewy texture to your bread.
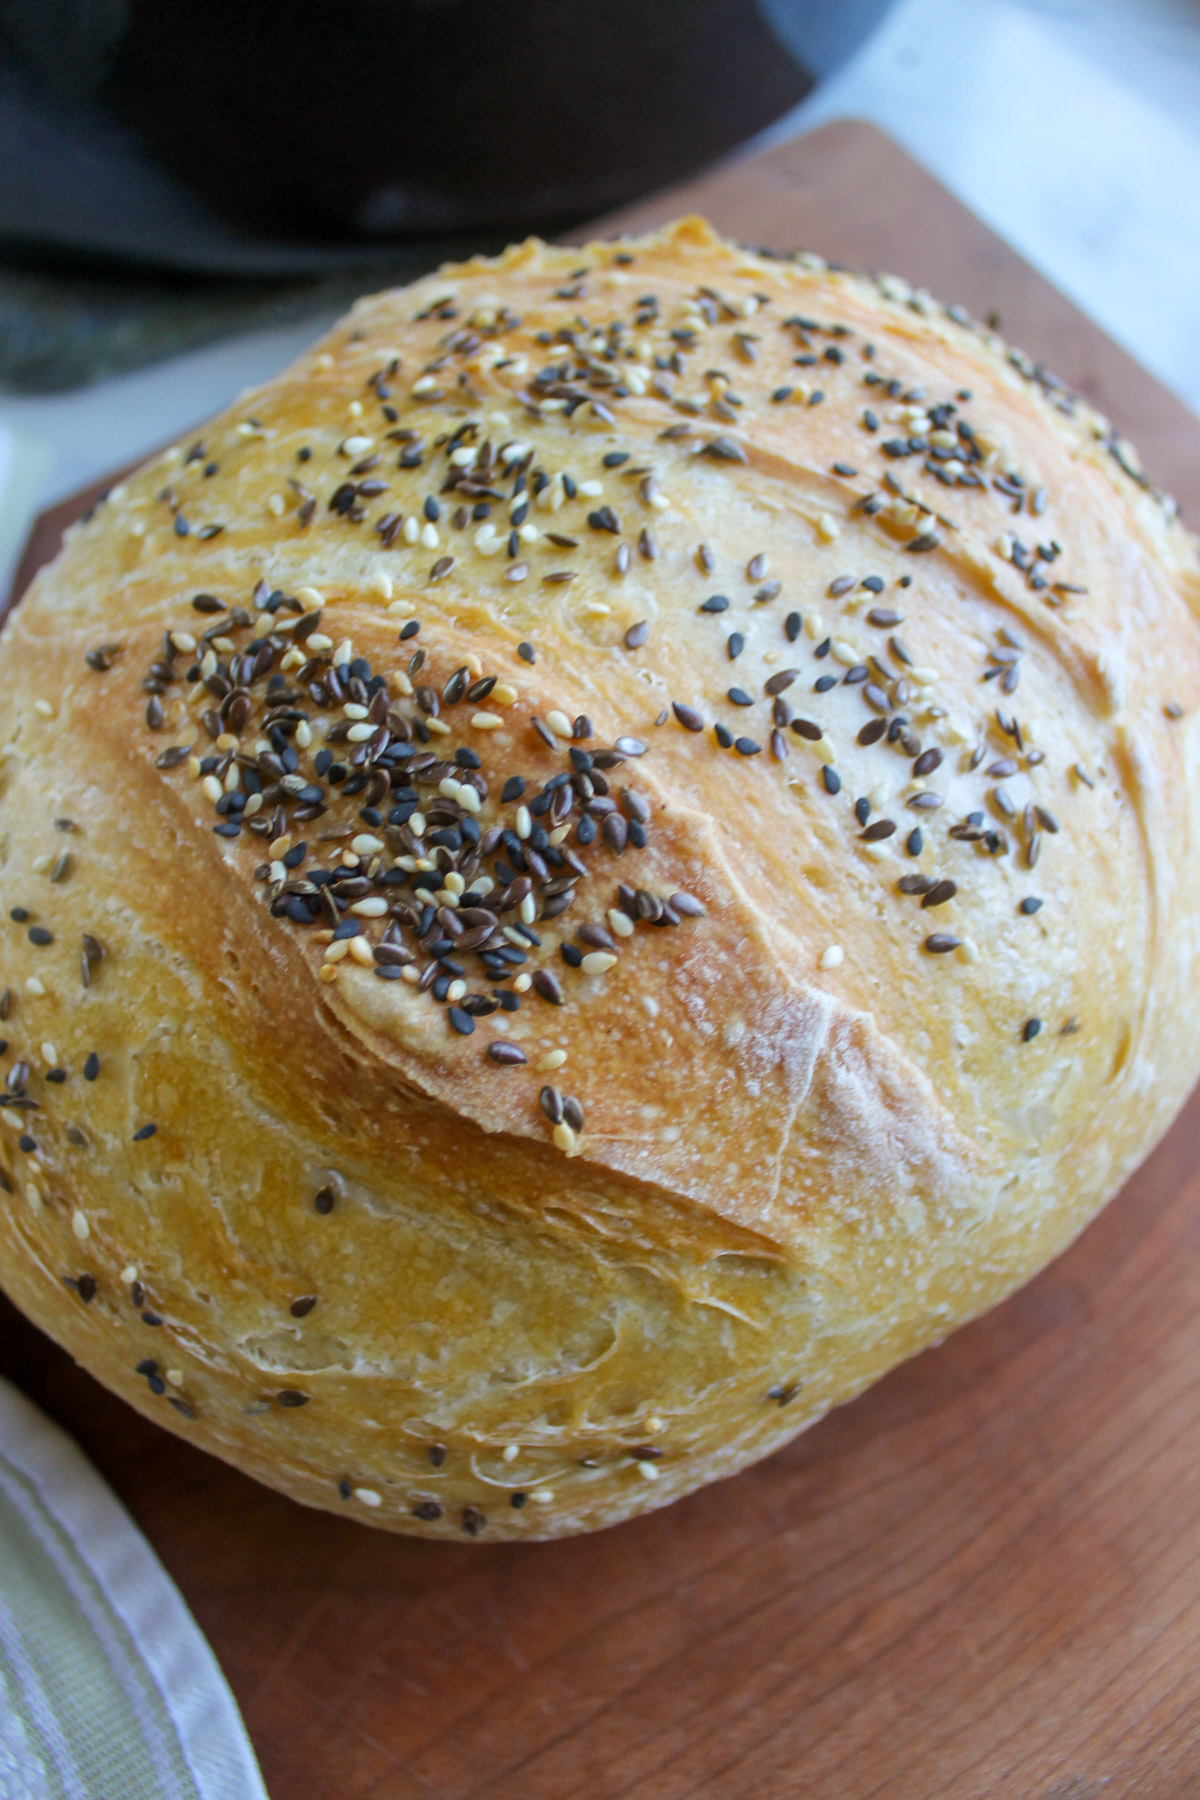
- Extra Toppings - I have topped this loaf with a mixture of sesame seeds, black sesame seeds, flax seeds and a sprinkle of garlic powder. This is optional and easy to customize. You can leave it totally plain, or try different seeds, fresh or dry herbs such as rosemary, thyme, sage or oregano.
See recipe card for quantities.
Instructions
It looks like a lot of steps but this is an extremely doable, straight-forward method! Mix it up on on Day 1, let it sit overnight on the counter to rise, on Day 2 shape it into a ball and bake it in a Dutch oven!
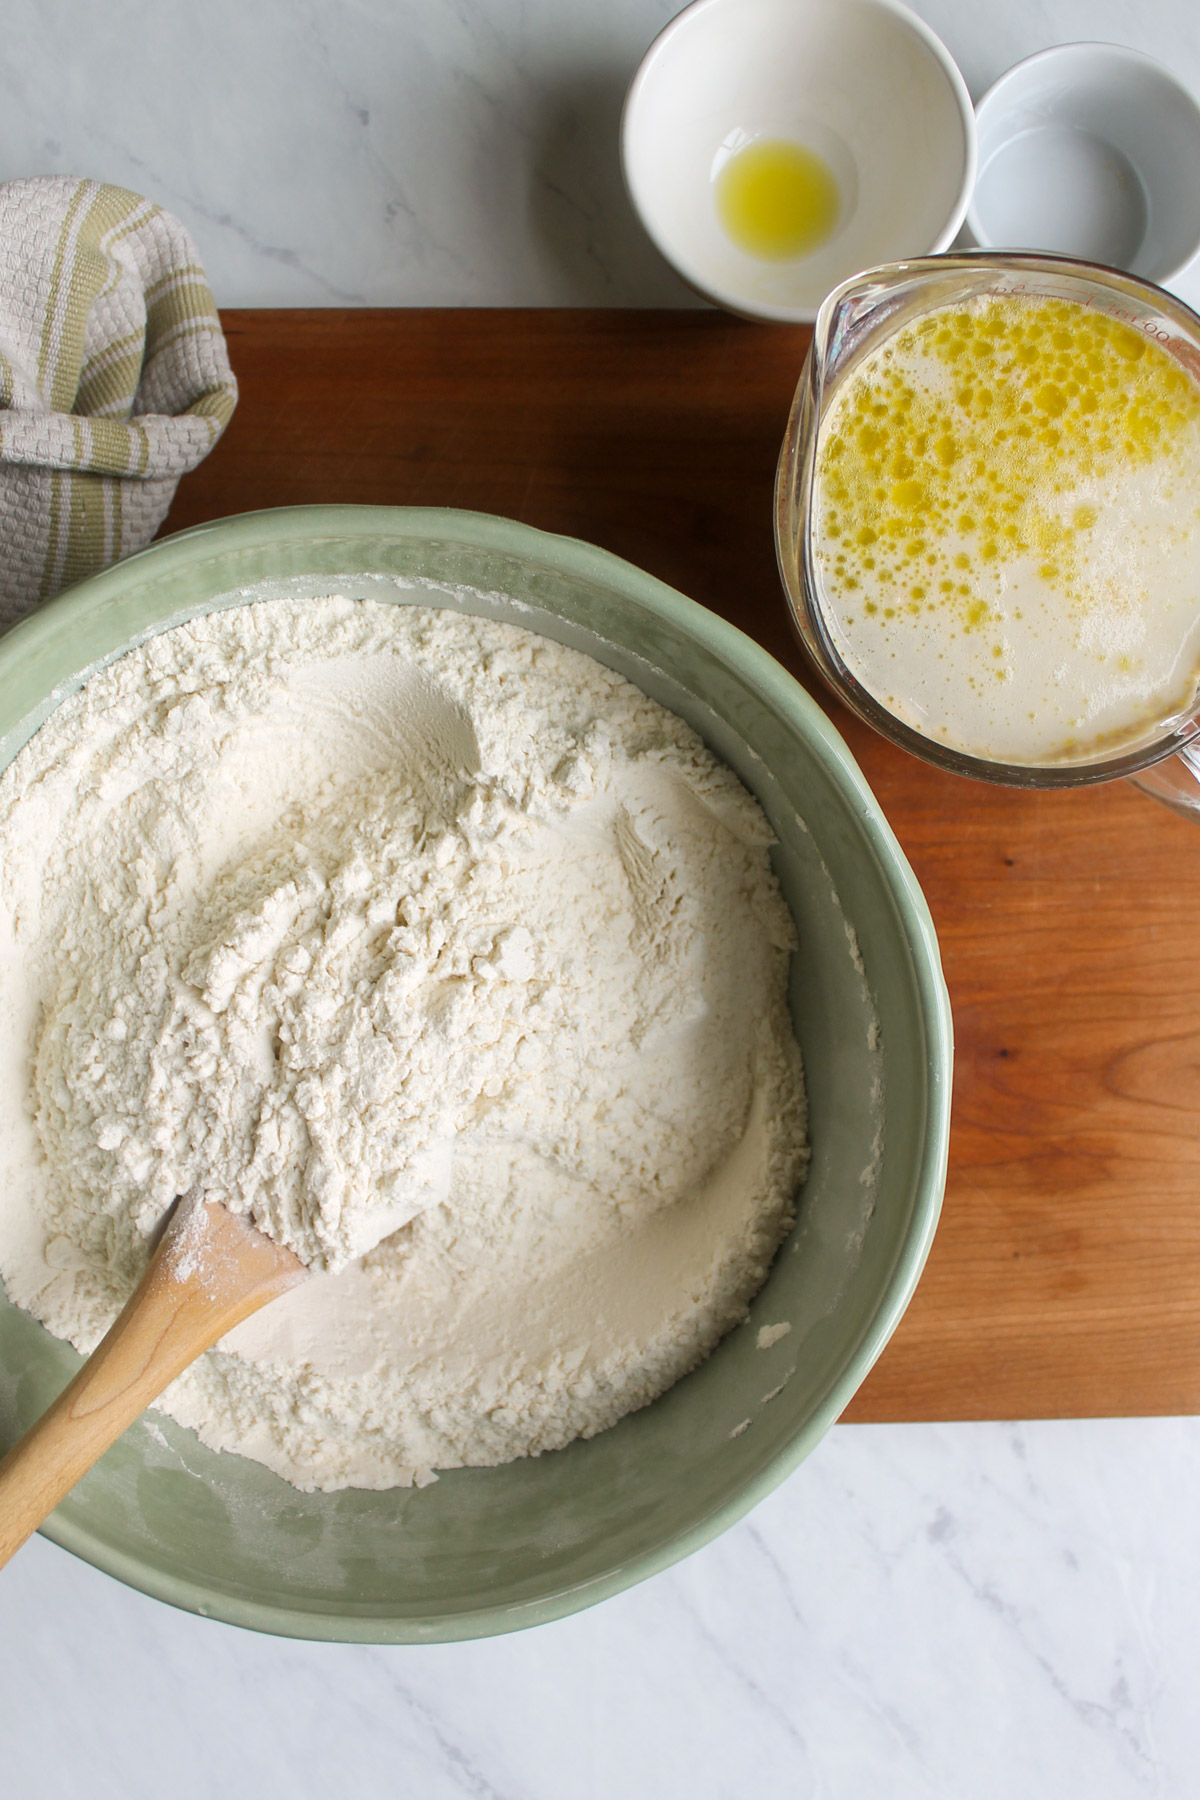
Step 1 - Day 1 - Mix your flour and salt in a large bowl.
Warm the water in a glass measuring cup in the microwave for 30 seconds. Add the yeast and olive oil, stir, and let sit for a few minutes.
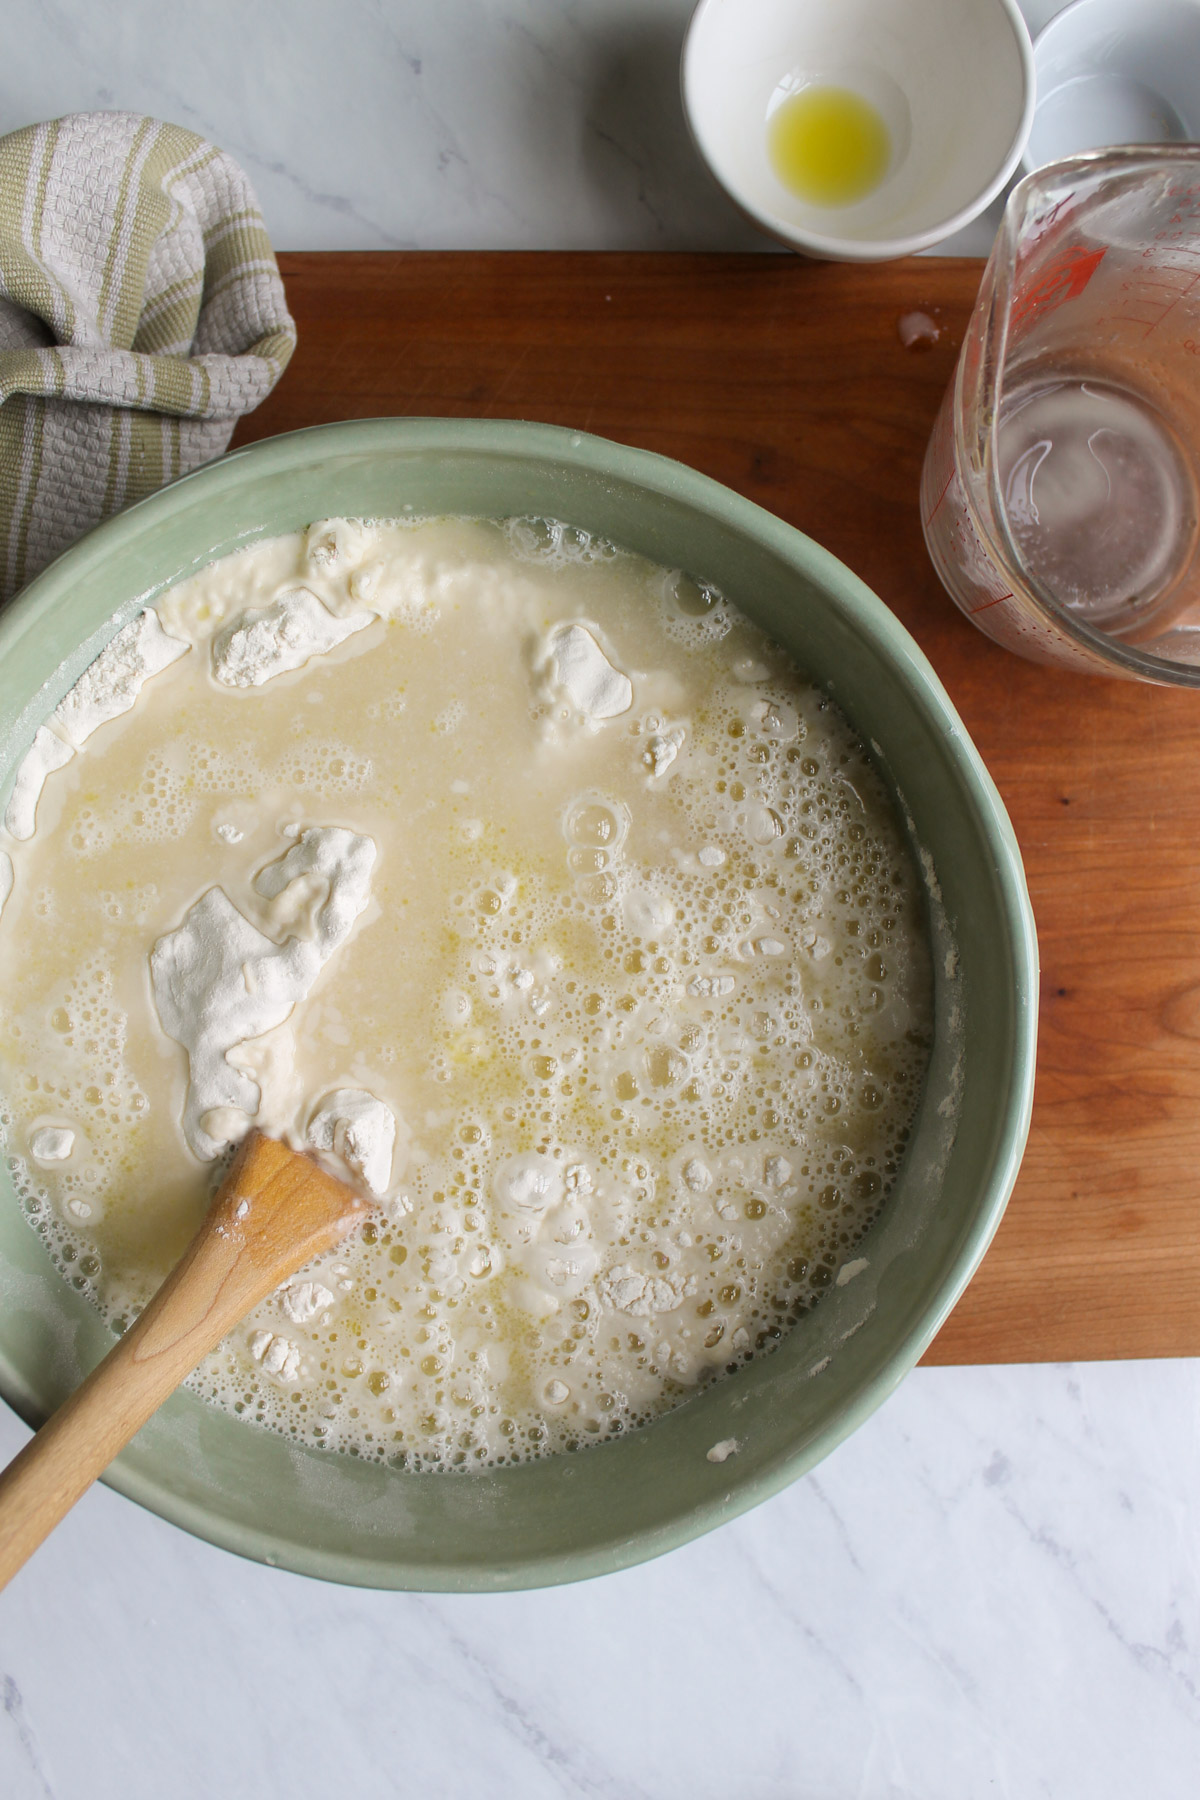
Step 2 - Pour the liquid into the flour and stir with a spoon or spatula.
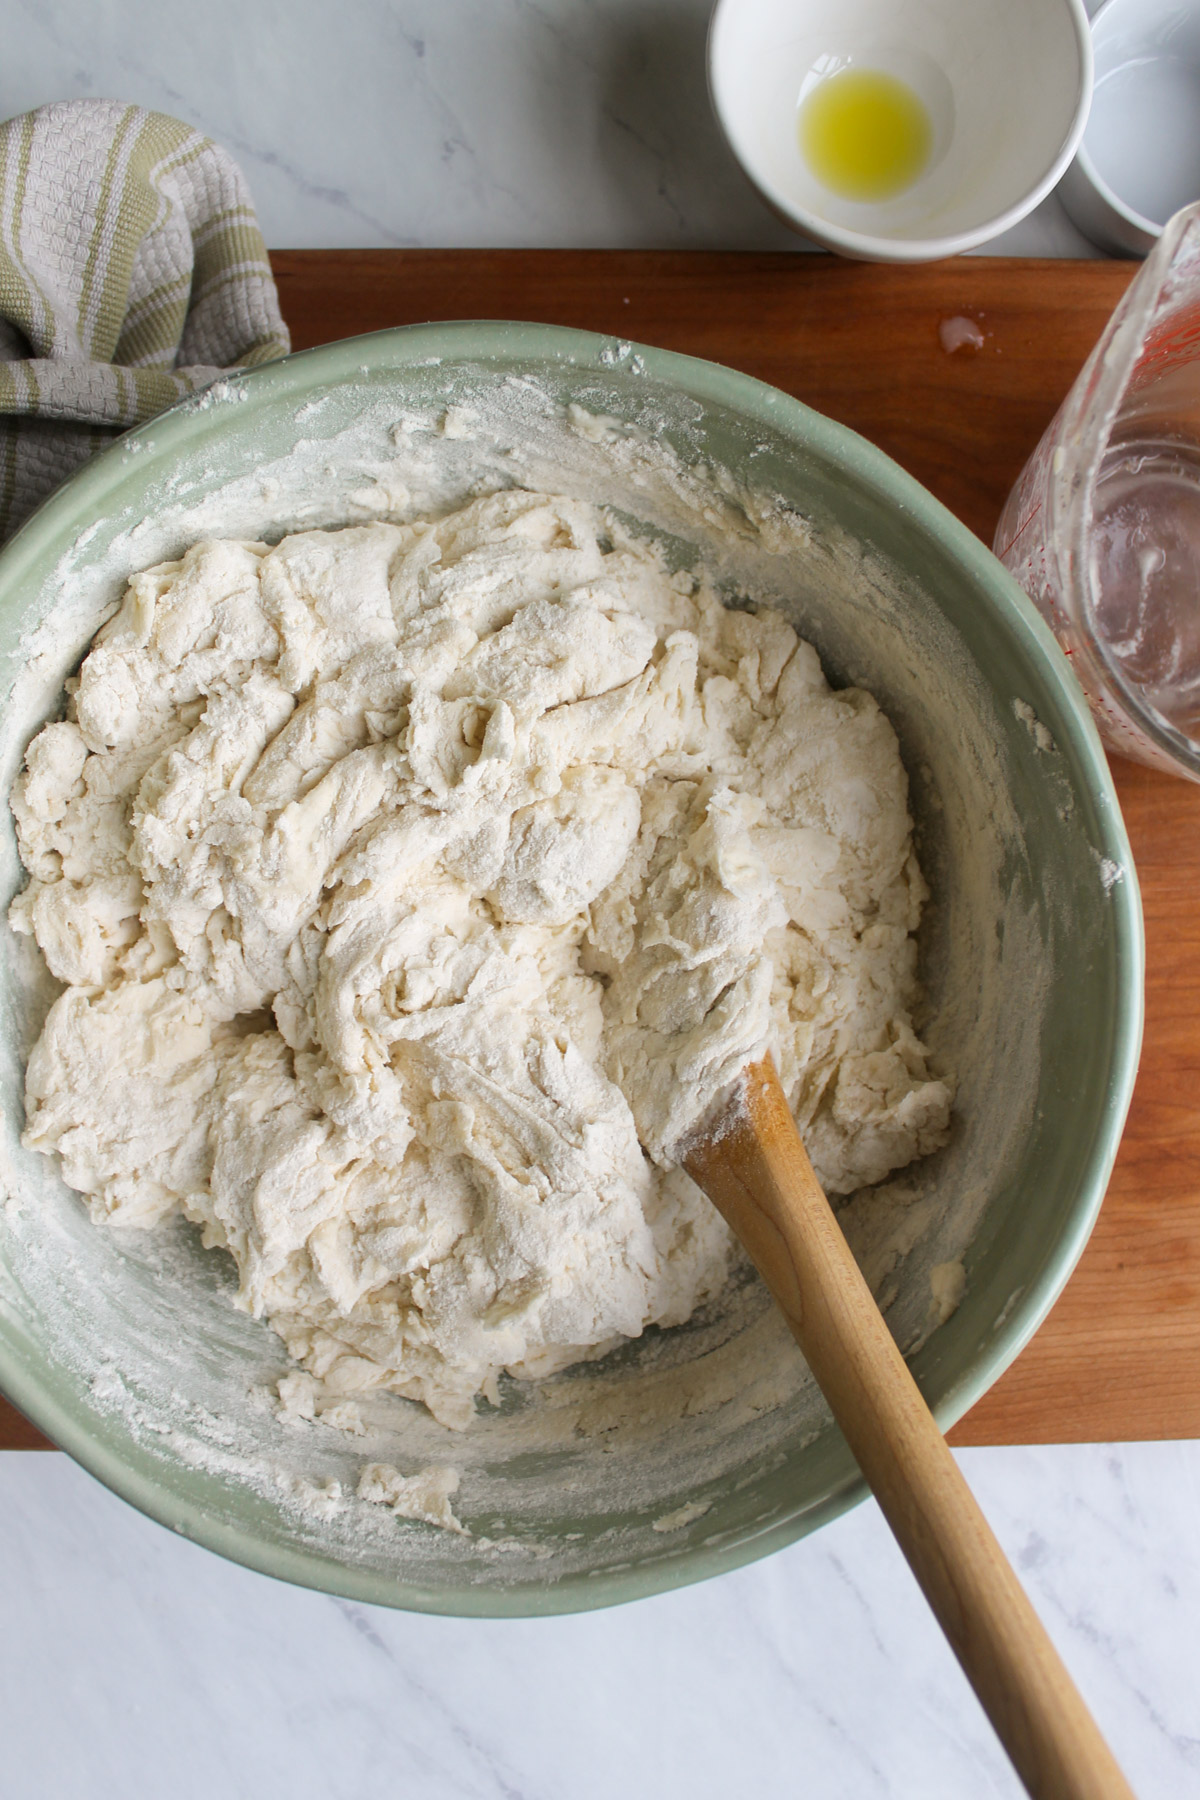
Step 3 - Stir until it becomes a dough that can't really be stirred anymore.
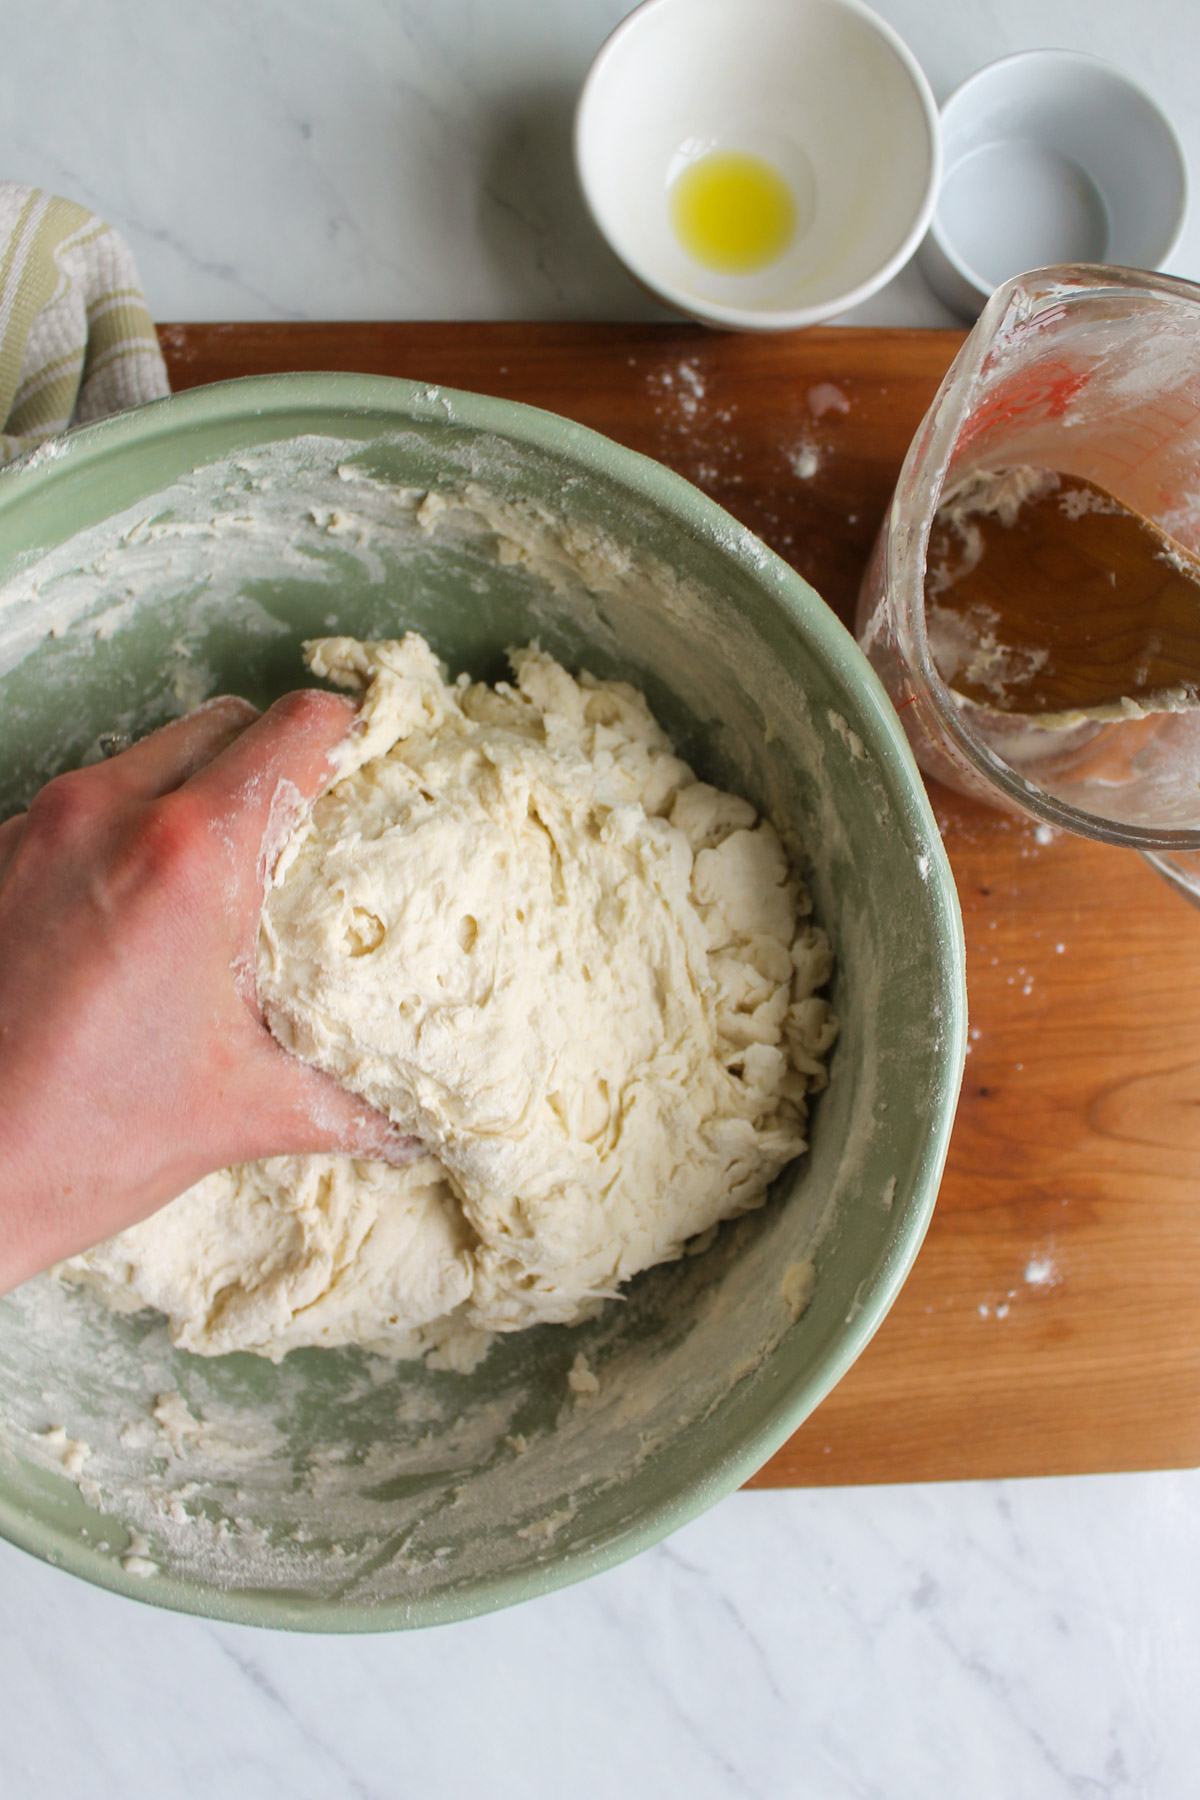
Step 4 - With your hands, flip and squish the dough in the bowl several times until all the flour is incorporated.
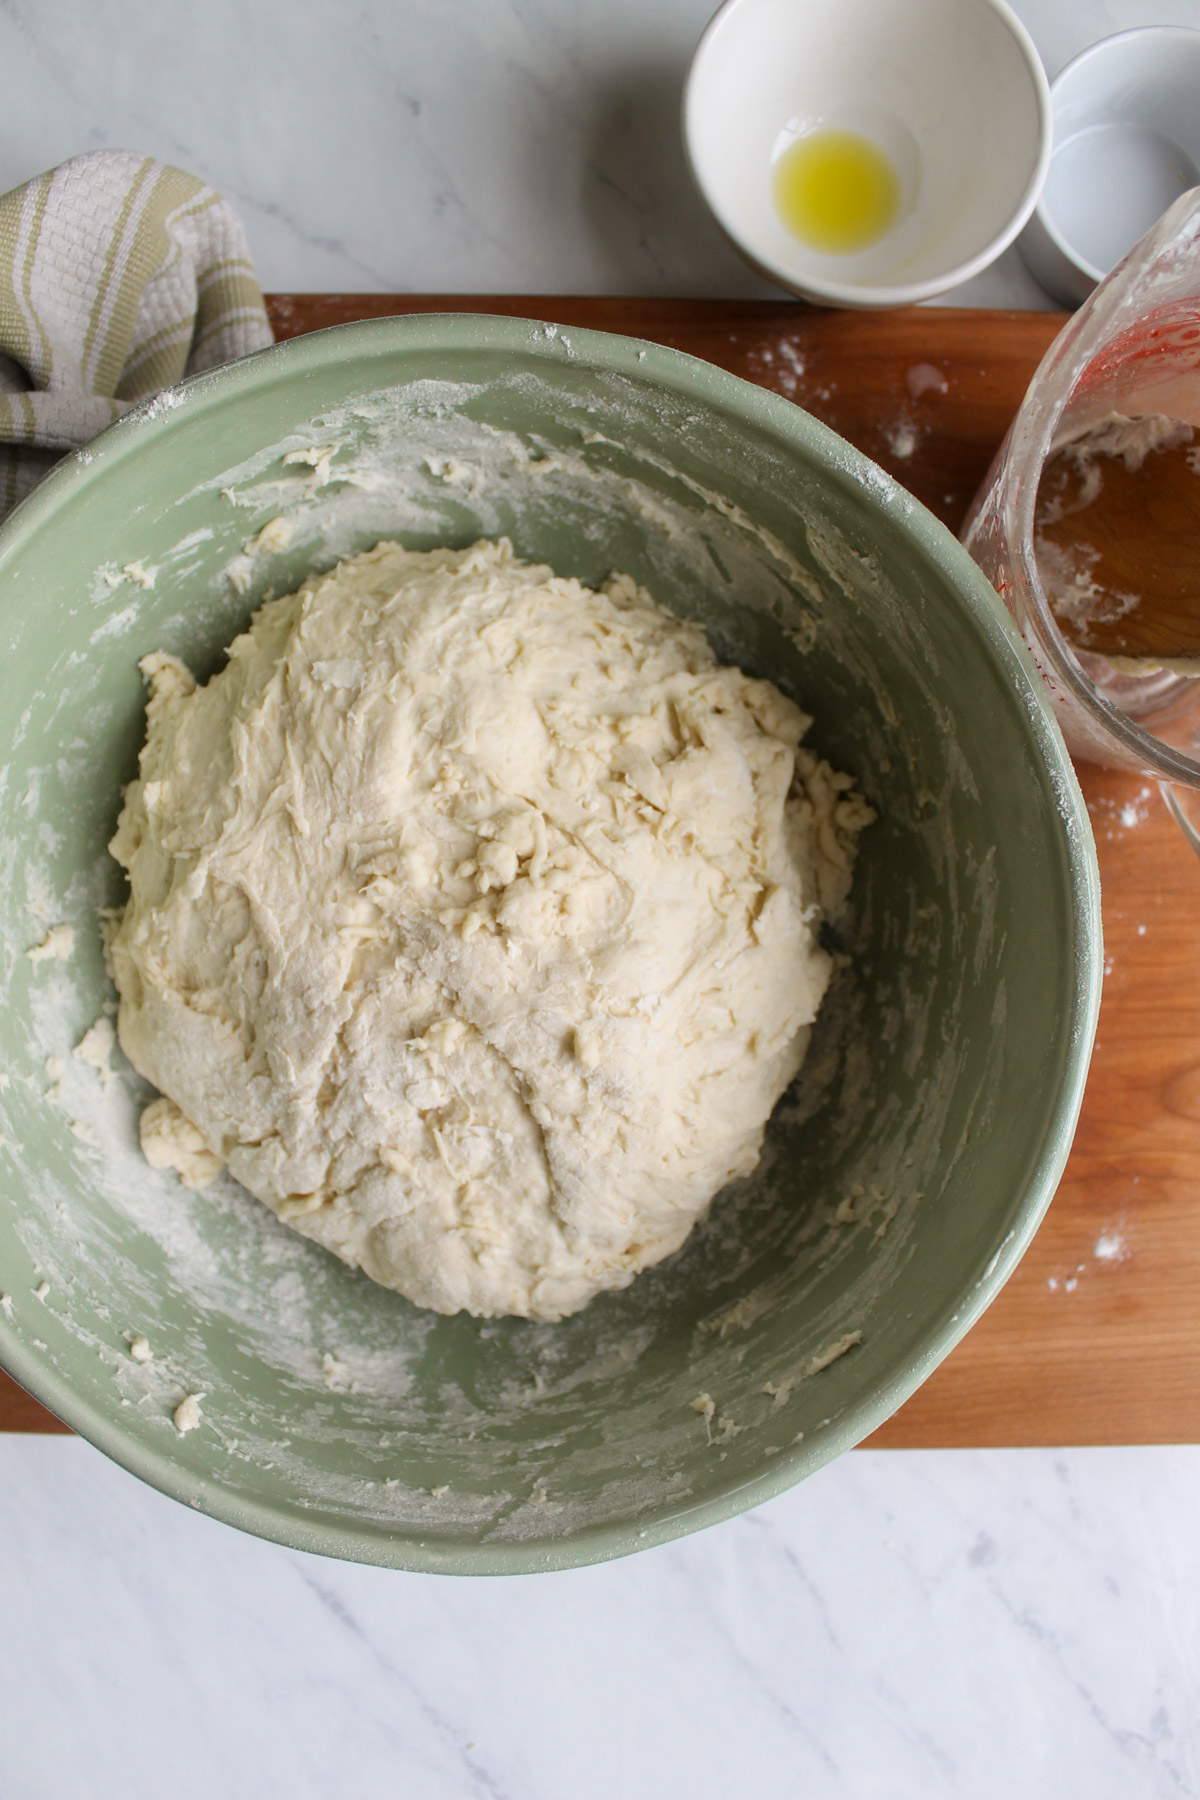
Step 5 - Tuck the dough into a ball in the bowl. It's ok if it feels sticky.
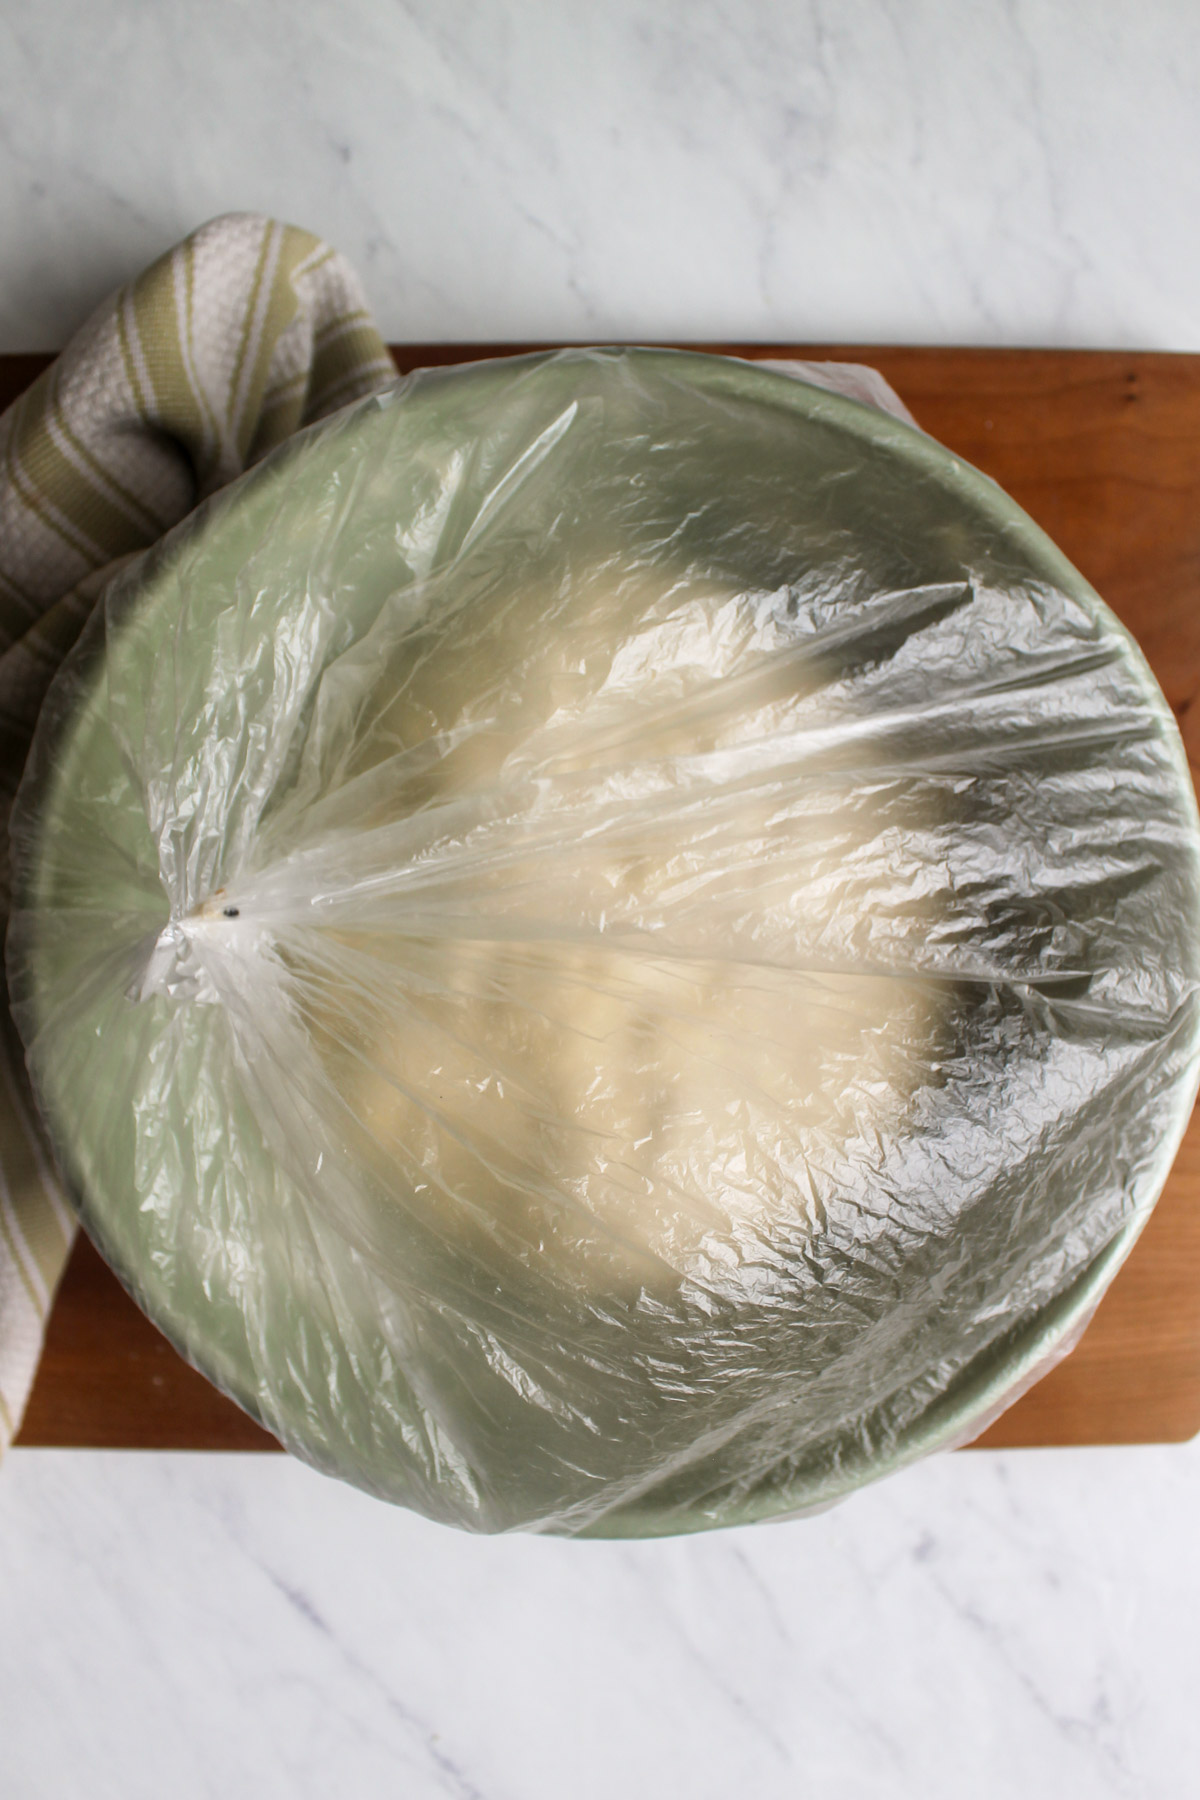
Step 6 - Cover with plastic wrap or put the whole bowl in a bag, a reused produce or bun bag works well.
Let the dough sit on the counter for 8 to 24 hours.
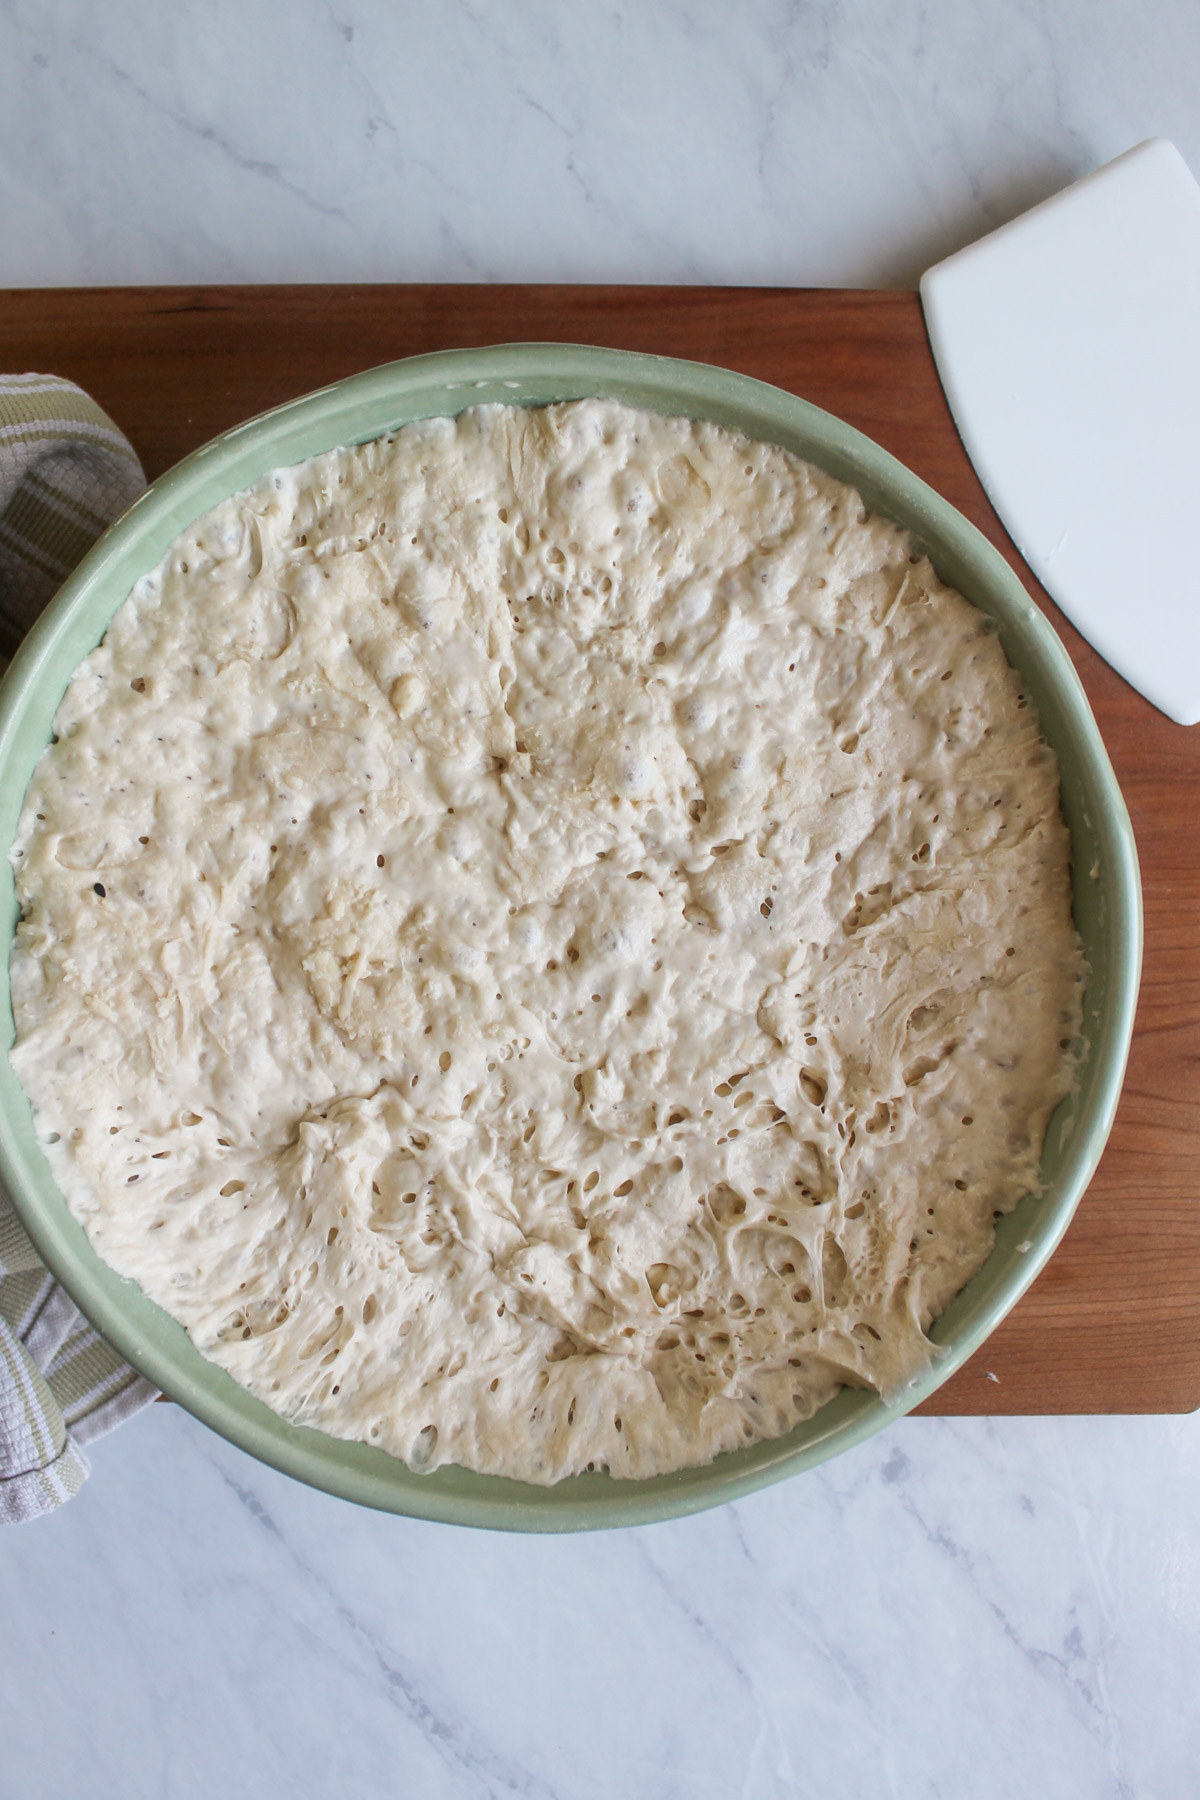
Step 7 - Day 2 - The next day the dough will have doubled in size and no longer be ball shape.
Preheat the oven to 450°F with the Dutch oven in the oven.
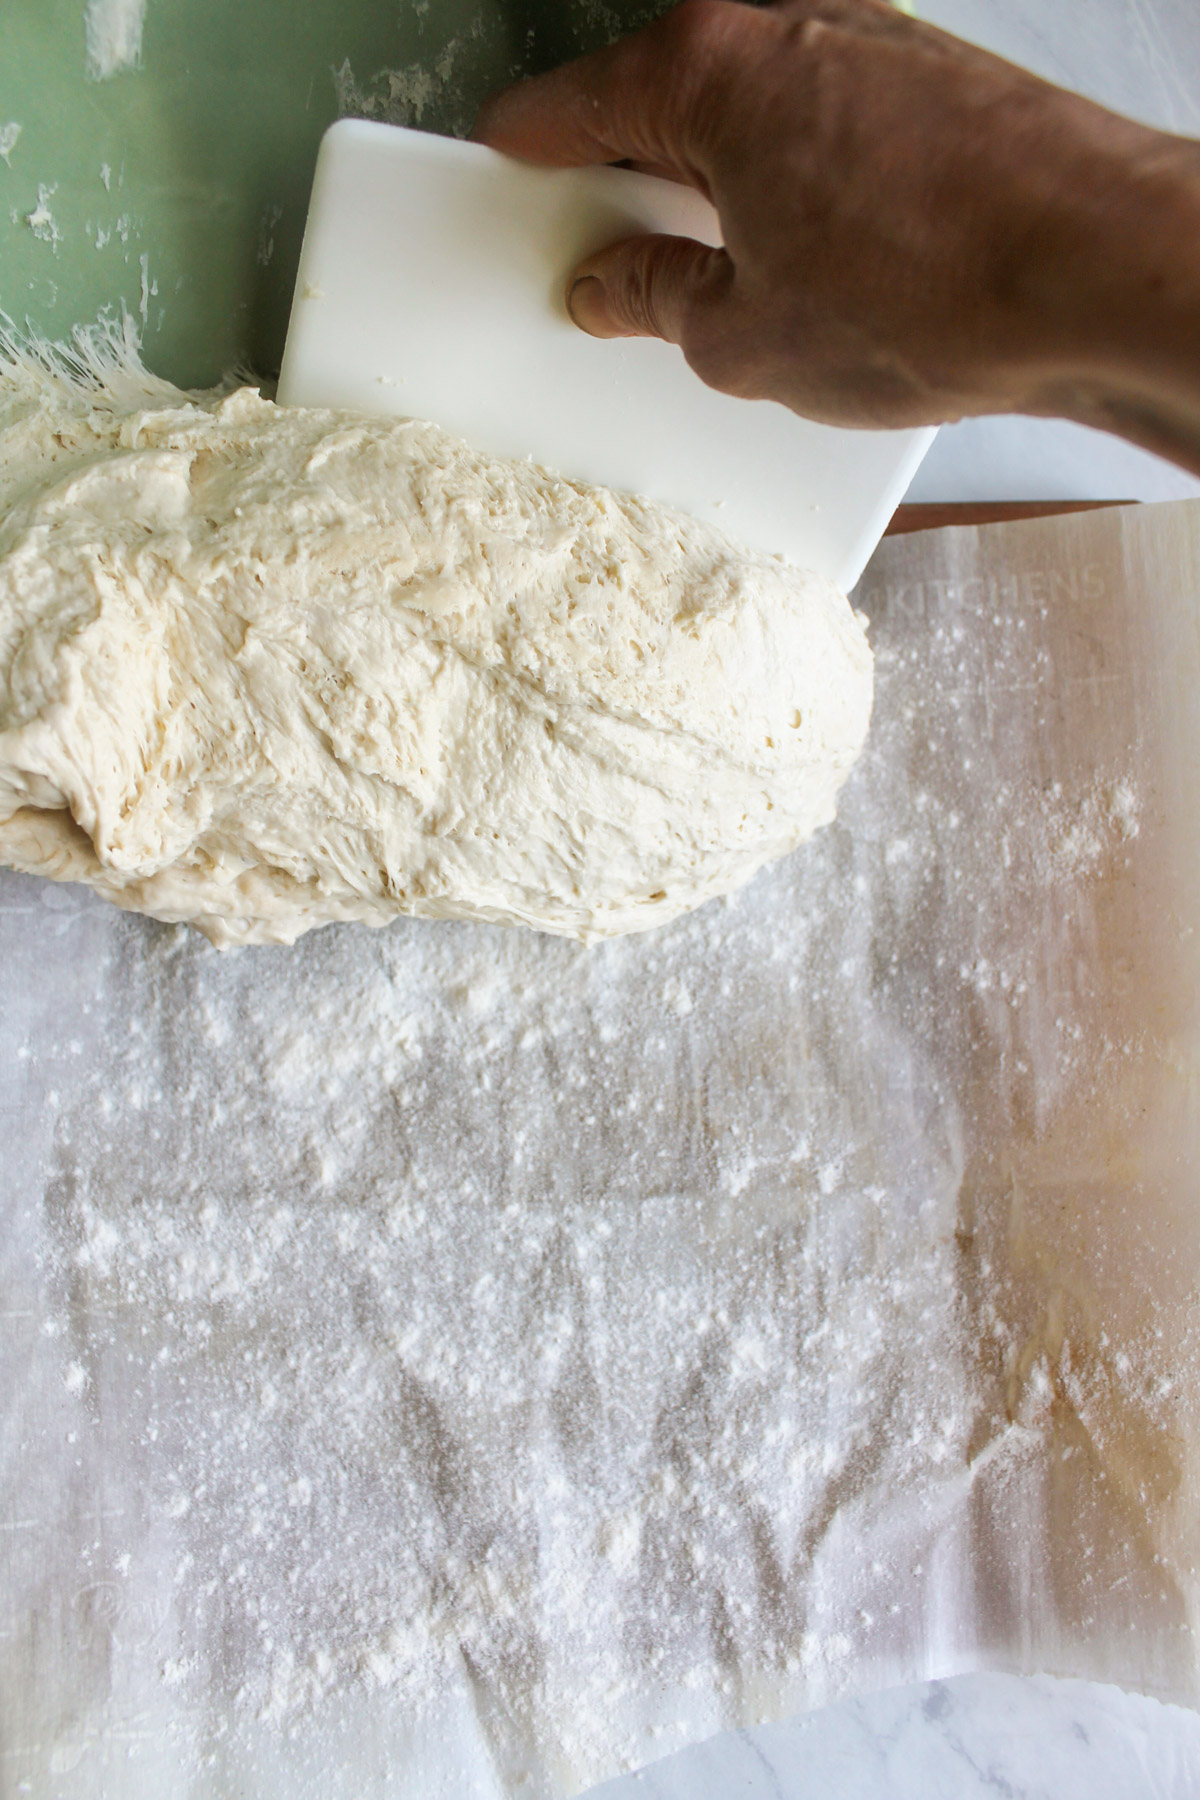
Step 8 - Remove the dough from the bowl onto a floured piece of parchment paper.
A plastic bendable bench scraper works great, but you can also use a rubber spatula.
Sprinkle generously with flour, anywhere the dough is sticking. You may use about ¼ cup of extra flour or more for dusting.
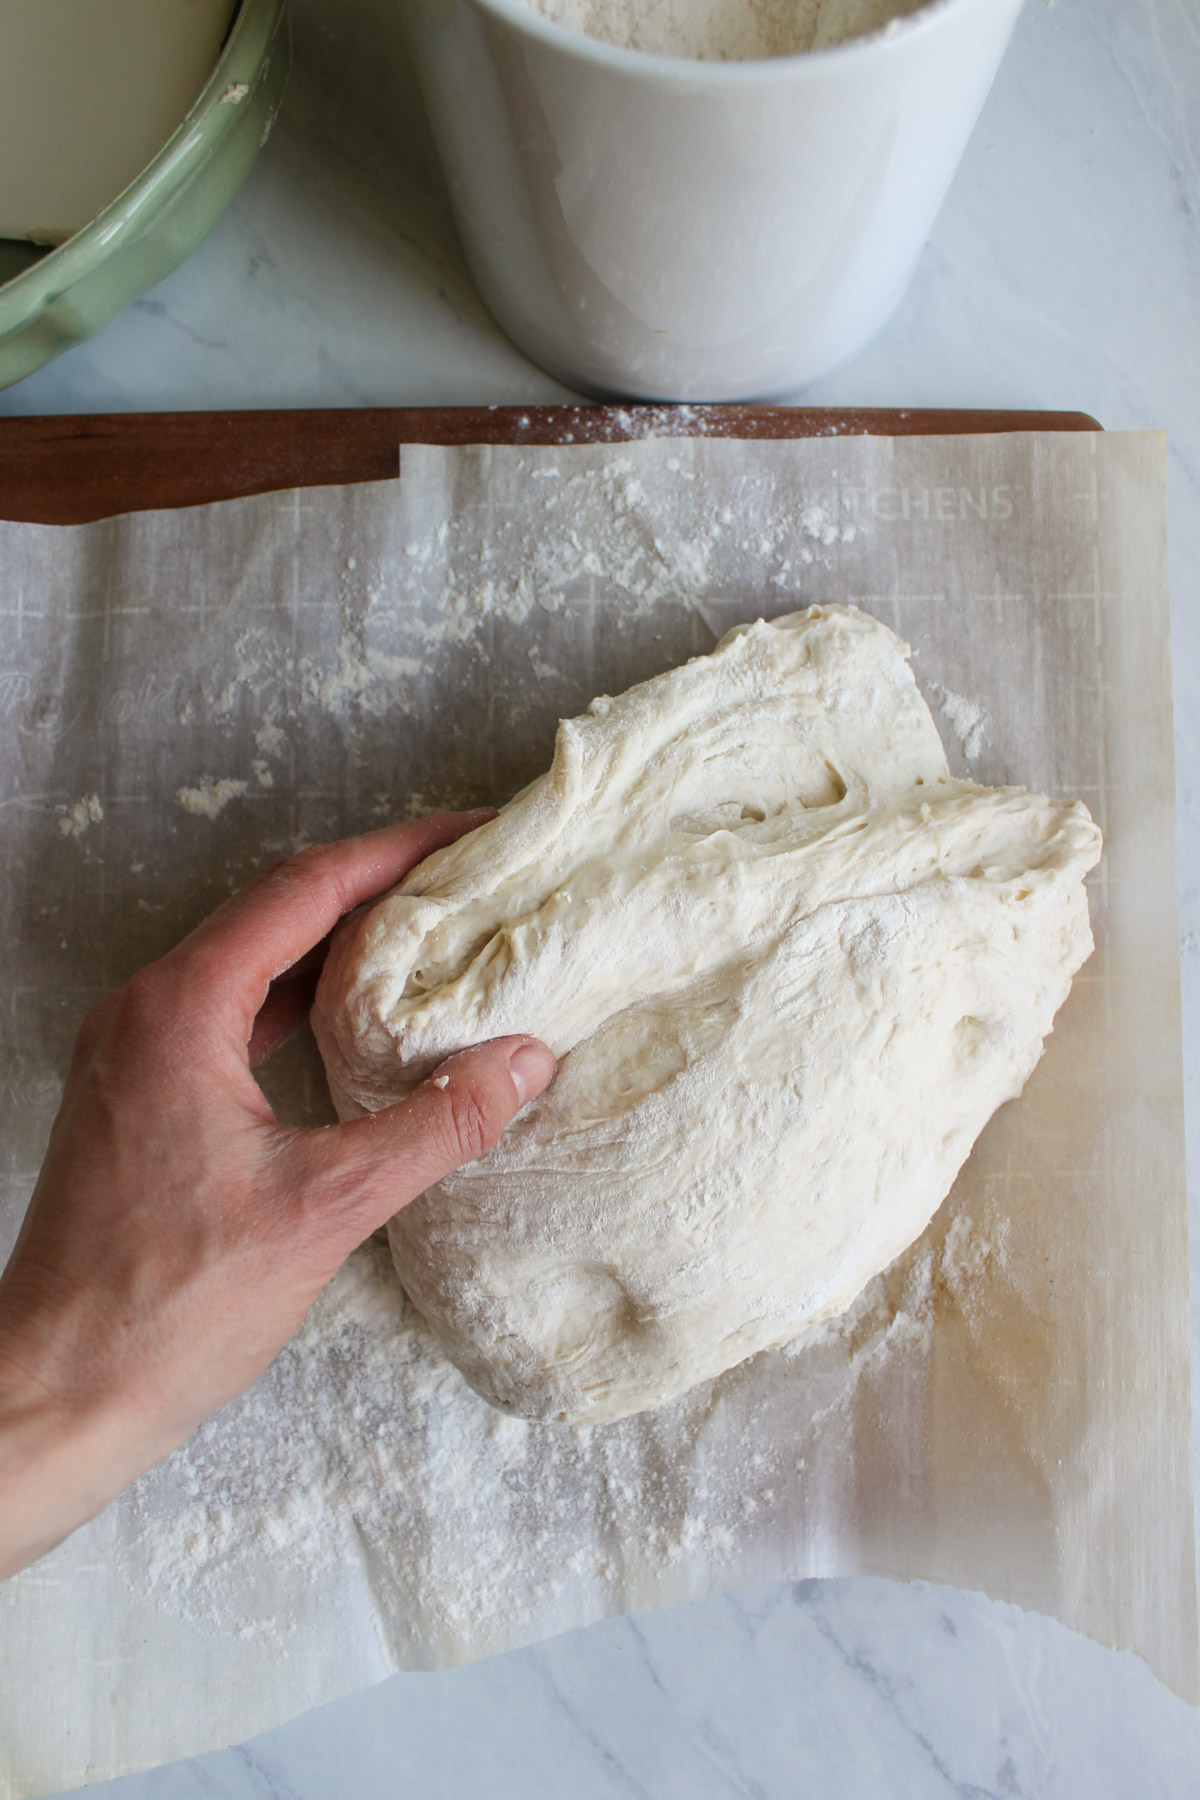
Step 9 - The dough will be loose, stretch it out a bit and fold it over in half a couple times.
Keep sprinkling the dough, the parchment paper, and your hands with flour if it's sticky as you go.
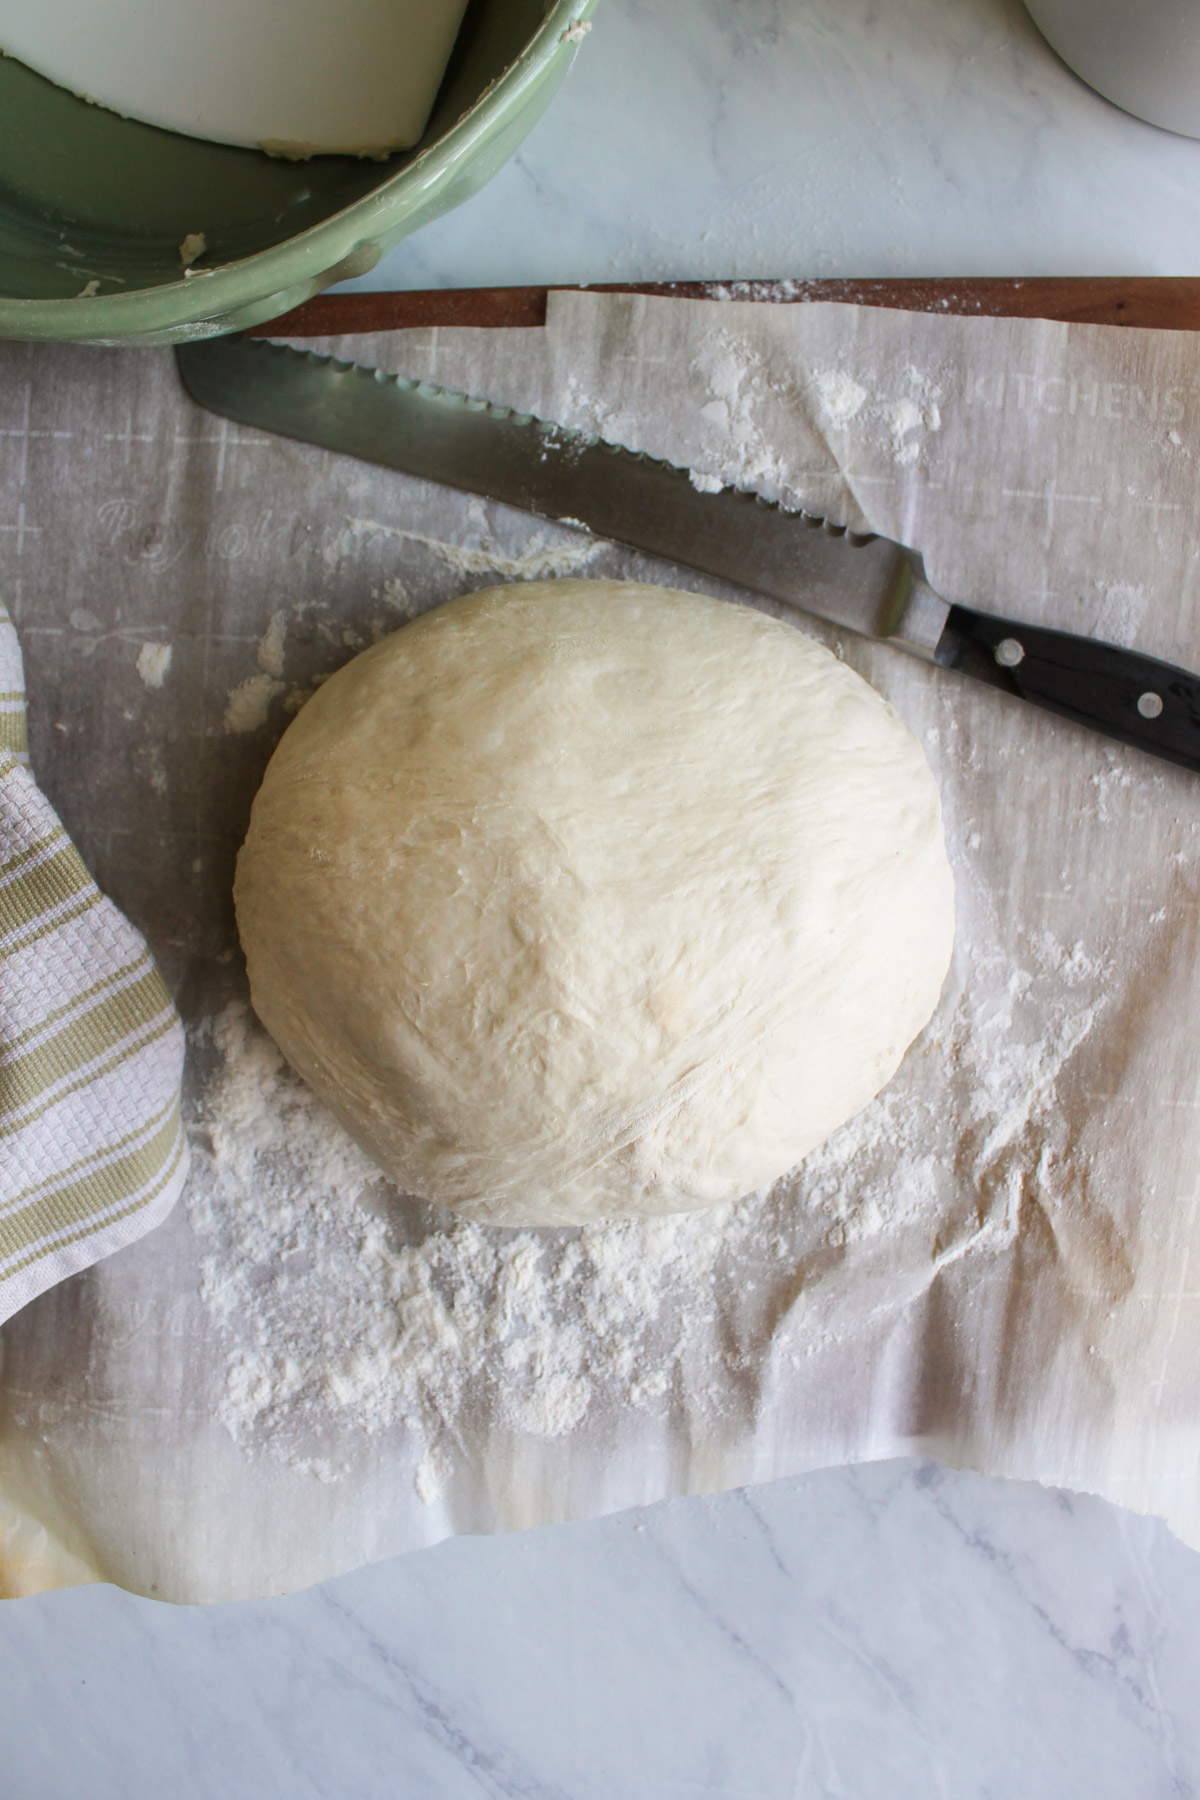
Step 10 - Tuck the seams under the dough, forming it into a ball.
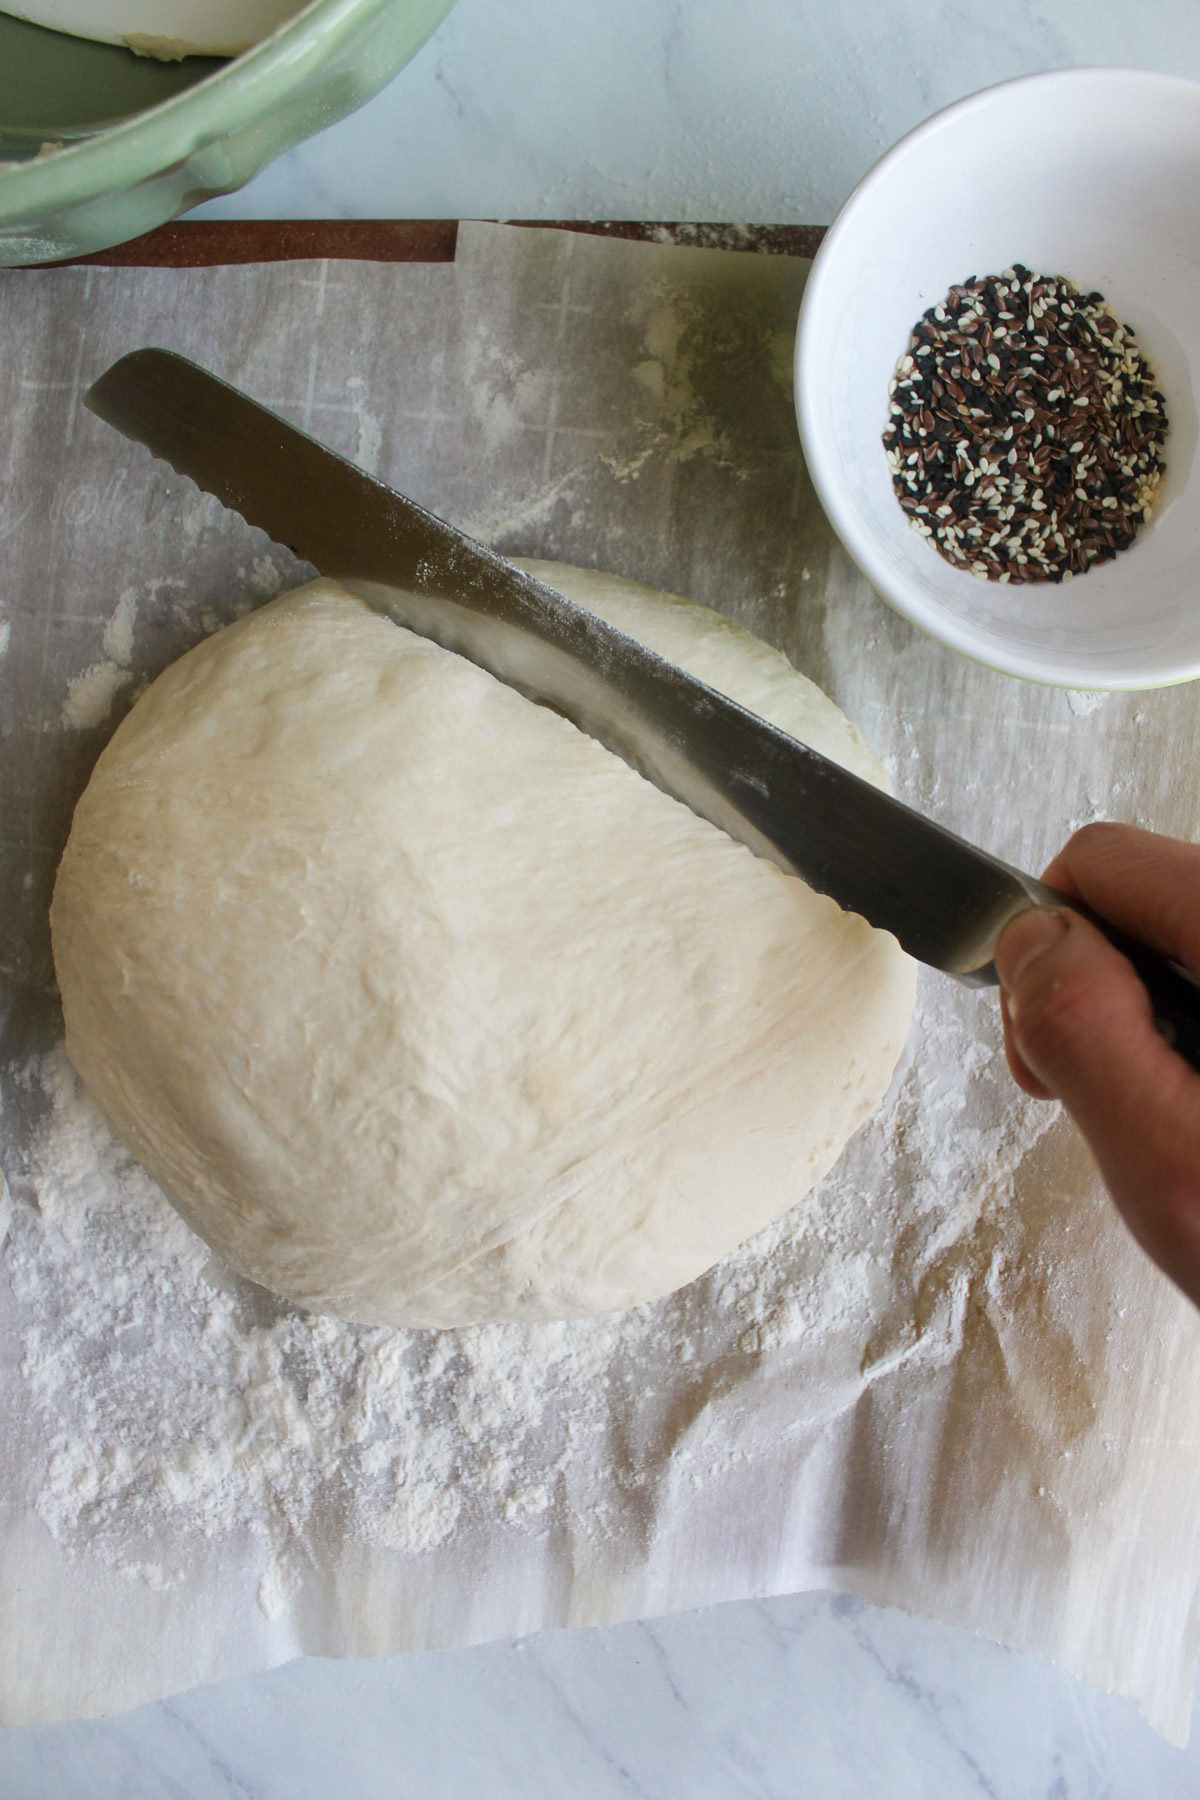
Step 11 - Make 2 or 3 large slits across the dough with a serrated knife. These vents will allow steam to escape.
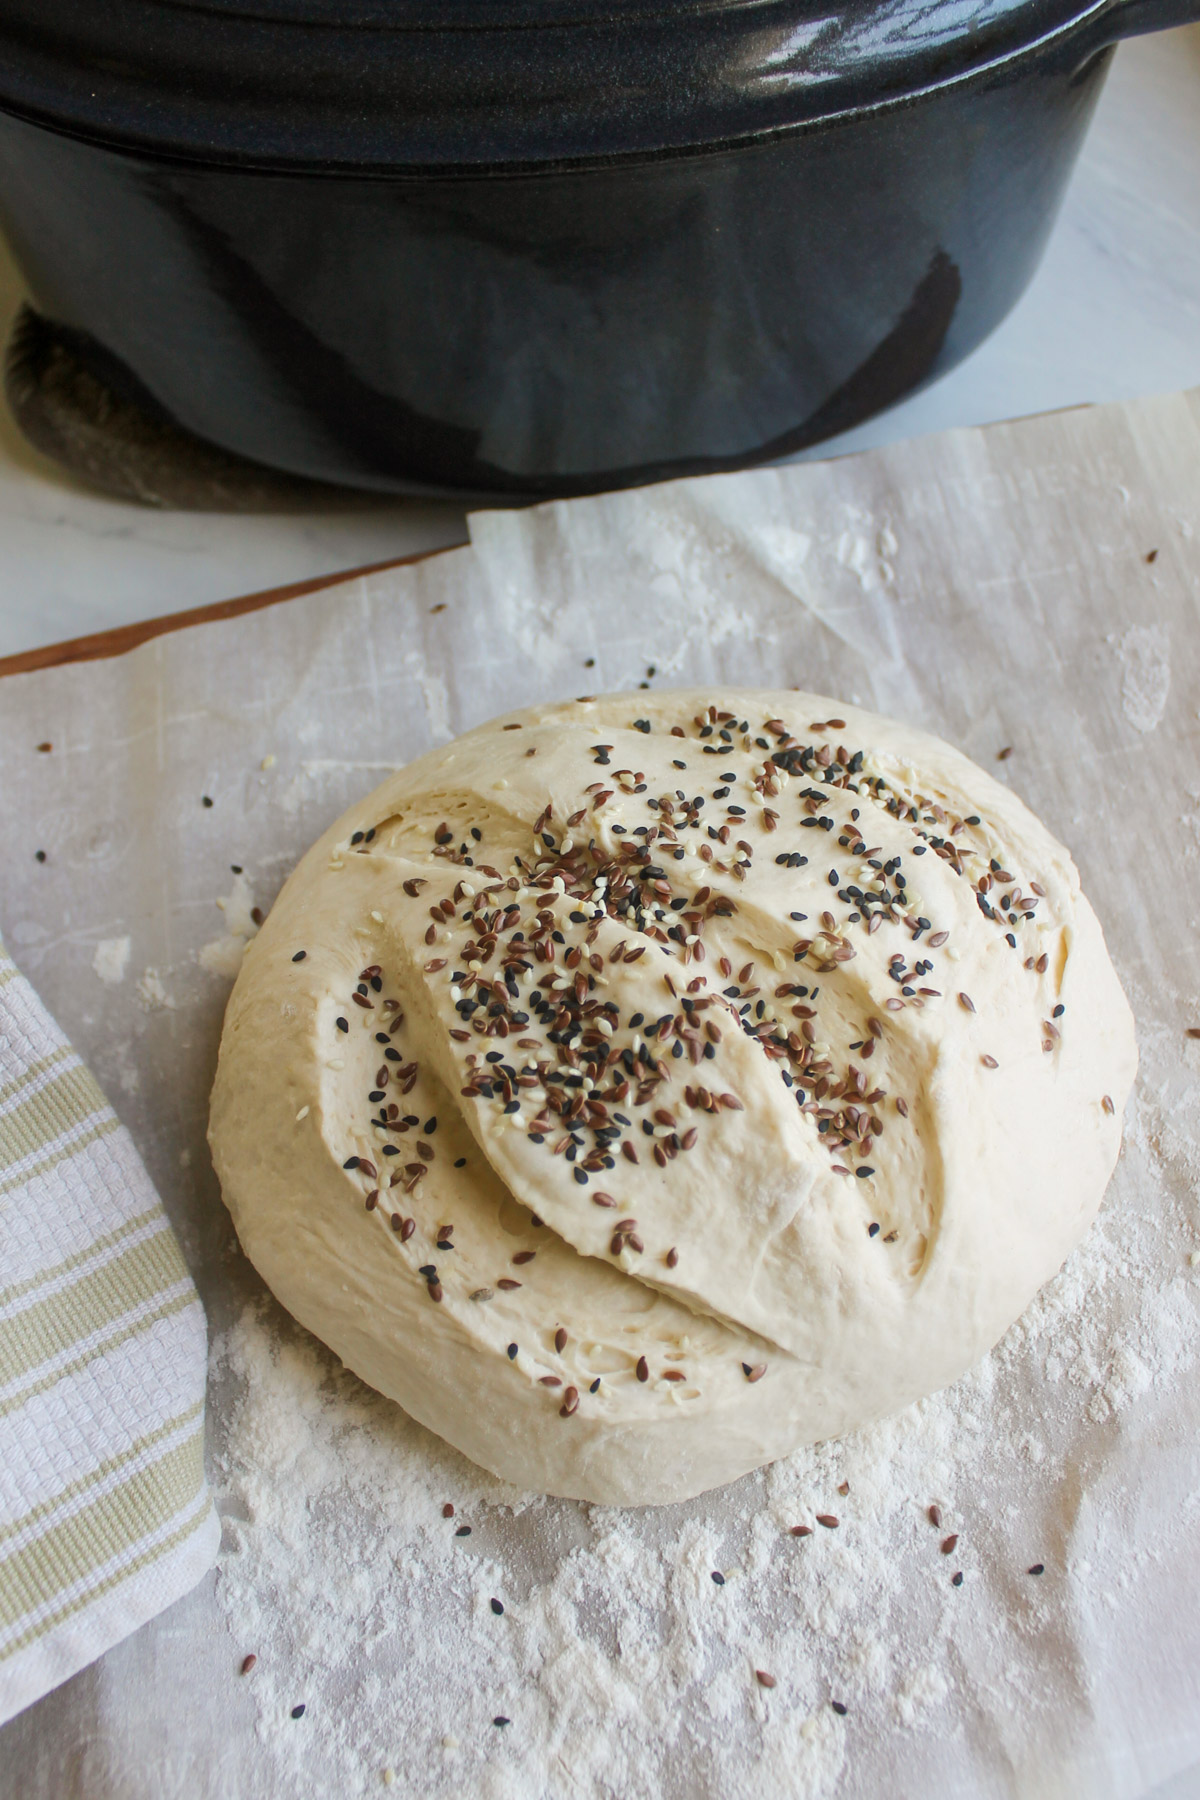
Step 12 - Top the dough with seeds, fresh or dried herbs if you like, or leave it plain.
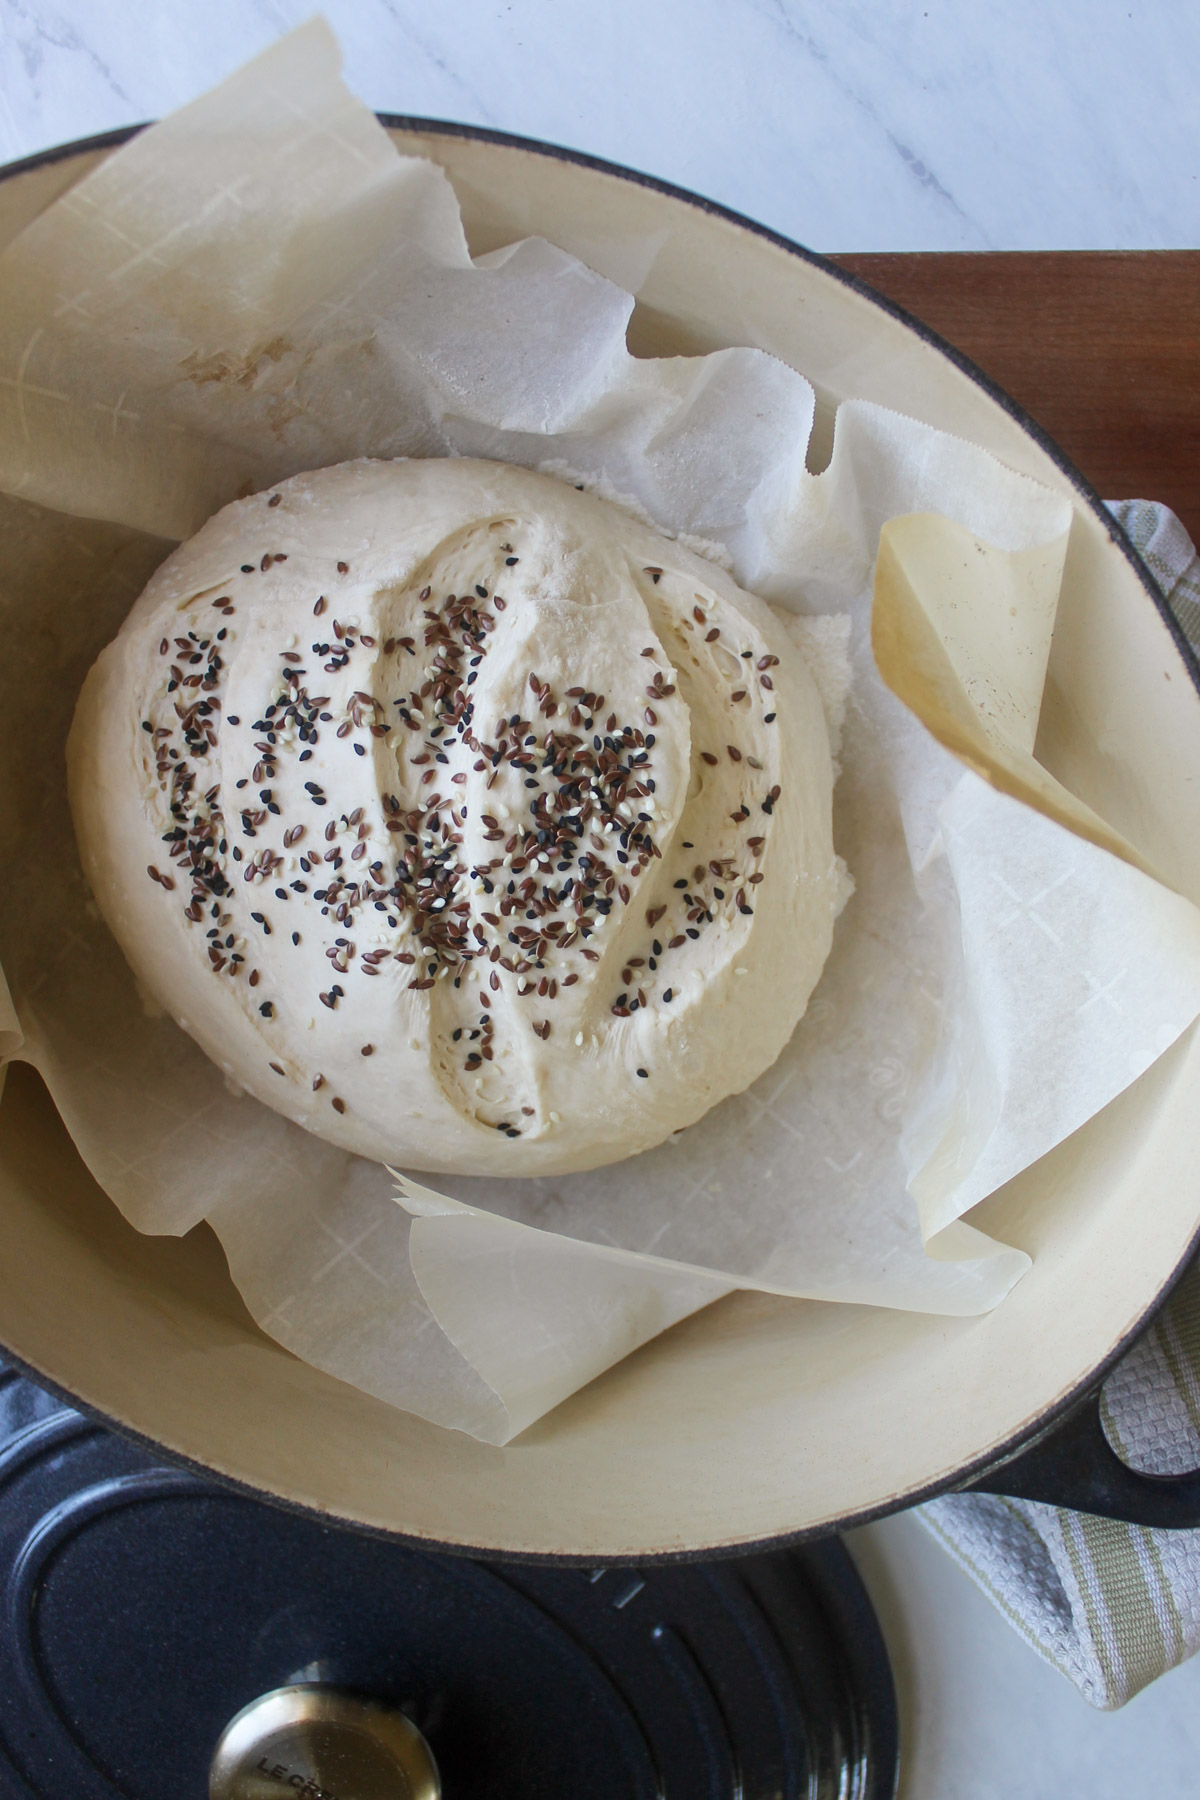
Step 13 - Carefully lift the parchment paper with the dough ball on it into the hot Dutch oven.
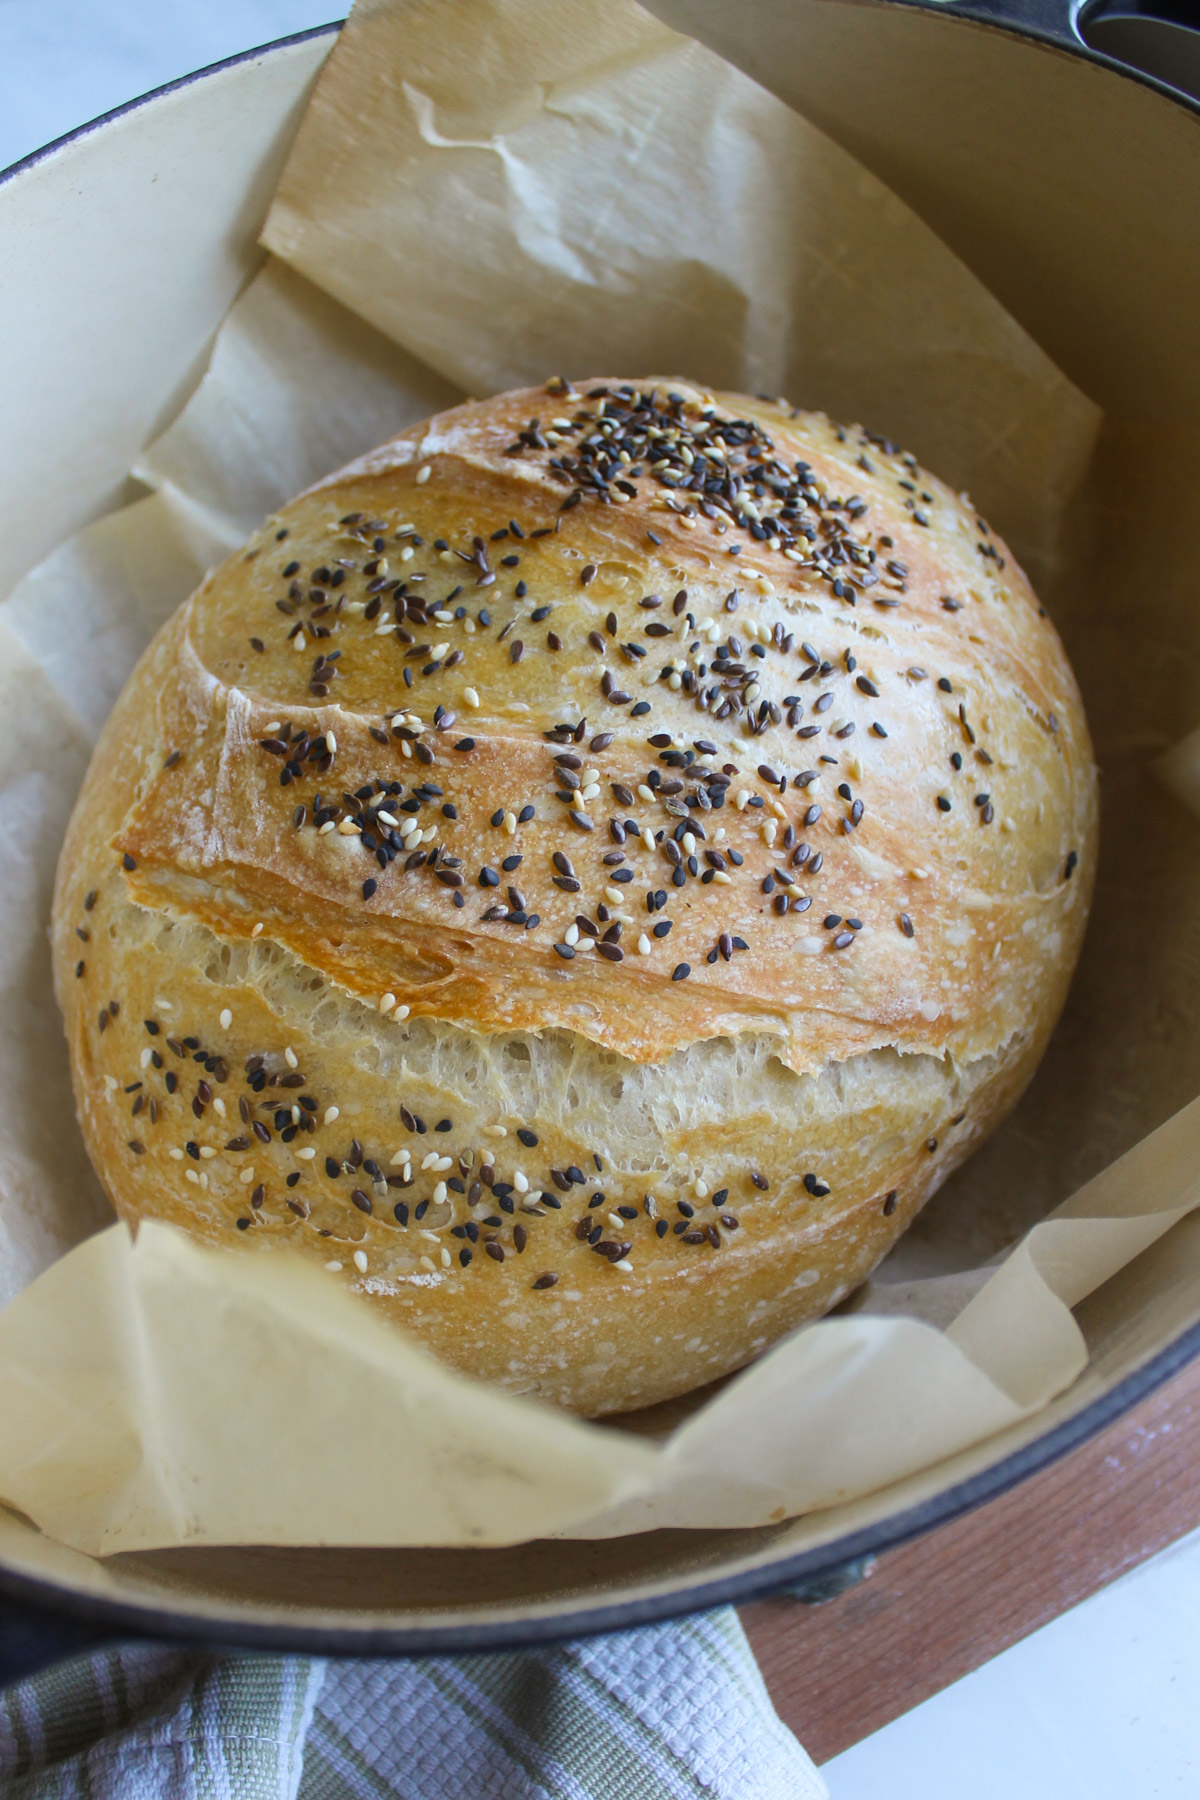
Step 14 - Bake covered for 30 minutes. Then remove the cover and bake another 25 to 30 minutes until golden brown.
Cool for 1 hour before slicing!
Helpful Tips
- Add Flour - On day 2, you'll likely need about ¼ cup or more of extra flour for dusting the parchment paper, the dough and your hands. Be generous, add as much as you need so the dough doesn't stick to the paper or anywhere. Don't be afraid to use plenty of flour!
- Parchment Paper - On day 2, the dough is turned out onto parchment paper, formed into a ball, transferred to the Dutch oven and finally baked all on parchment paper. You barely need to clean your pot at the end! You can reuse your sheet of parchment paper a few times for bread making or other baking uses!
- The White Bench Scraper - This is a super handy little tool allowing you to easily remove all the bread dough after it has risen in the bowl. If you don't have one, a rubber spatula will work. Be sure to sprinkle with flour if your dough is sticky.
- Why No-Knead Bread? - That's right, you don't have to knead it, or get your mixer out and run with the dough hook. Why? Because you are giving it "the gift of time." Letting it sit out on the counter at room temperature overnight allows the yeast to work its magic and do all that work for you!
- How Long Can the Dough Sit? - At a minimum, you can make bread dough in the morning and bake it around dinner time, 8 hours later. Or you can make the dough anytime on day 1 and bake it anytime on day 2. It's really forgiving and the exact timing isn't important. Your dough should be doubled in size, growing to fit the shape of the bowl instead of the ball it started with.
- If Your Dough Didn't Grow Overnight, it could mean your yeast is old, expired and should be thrown out. I like to buy a small amount of yeast from the bulk bin at the co-op and store it in a jar in the cupboard.
- Let it Cool before Slicing! - This is truly important! That yummy bread smell is going to make you want to slice it open and give it a taste, but it's really better to wait! Slicing into hot bread will ruin the texture, smashing it into a gummy consistency.
- How to Slice - Slice it however you like, but one cool way is to slice it in half right down the middle, then turn the half cut-side down and slice it. Perfect little sandwich portions!
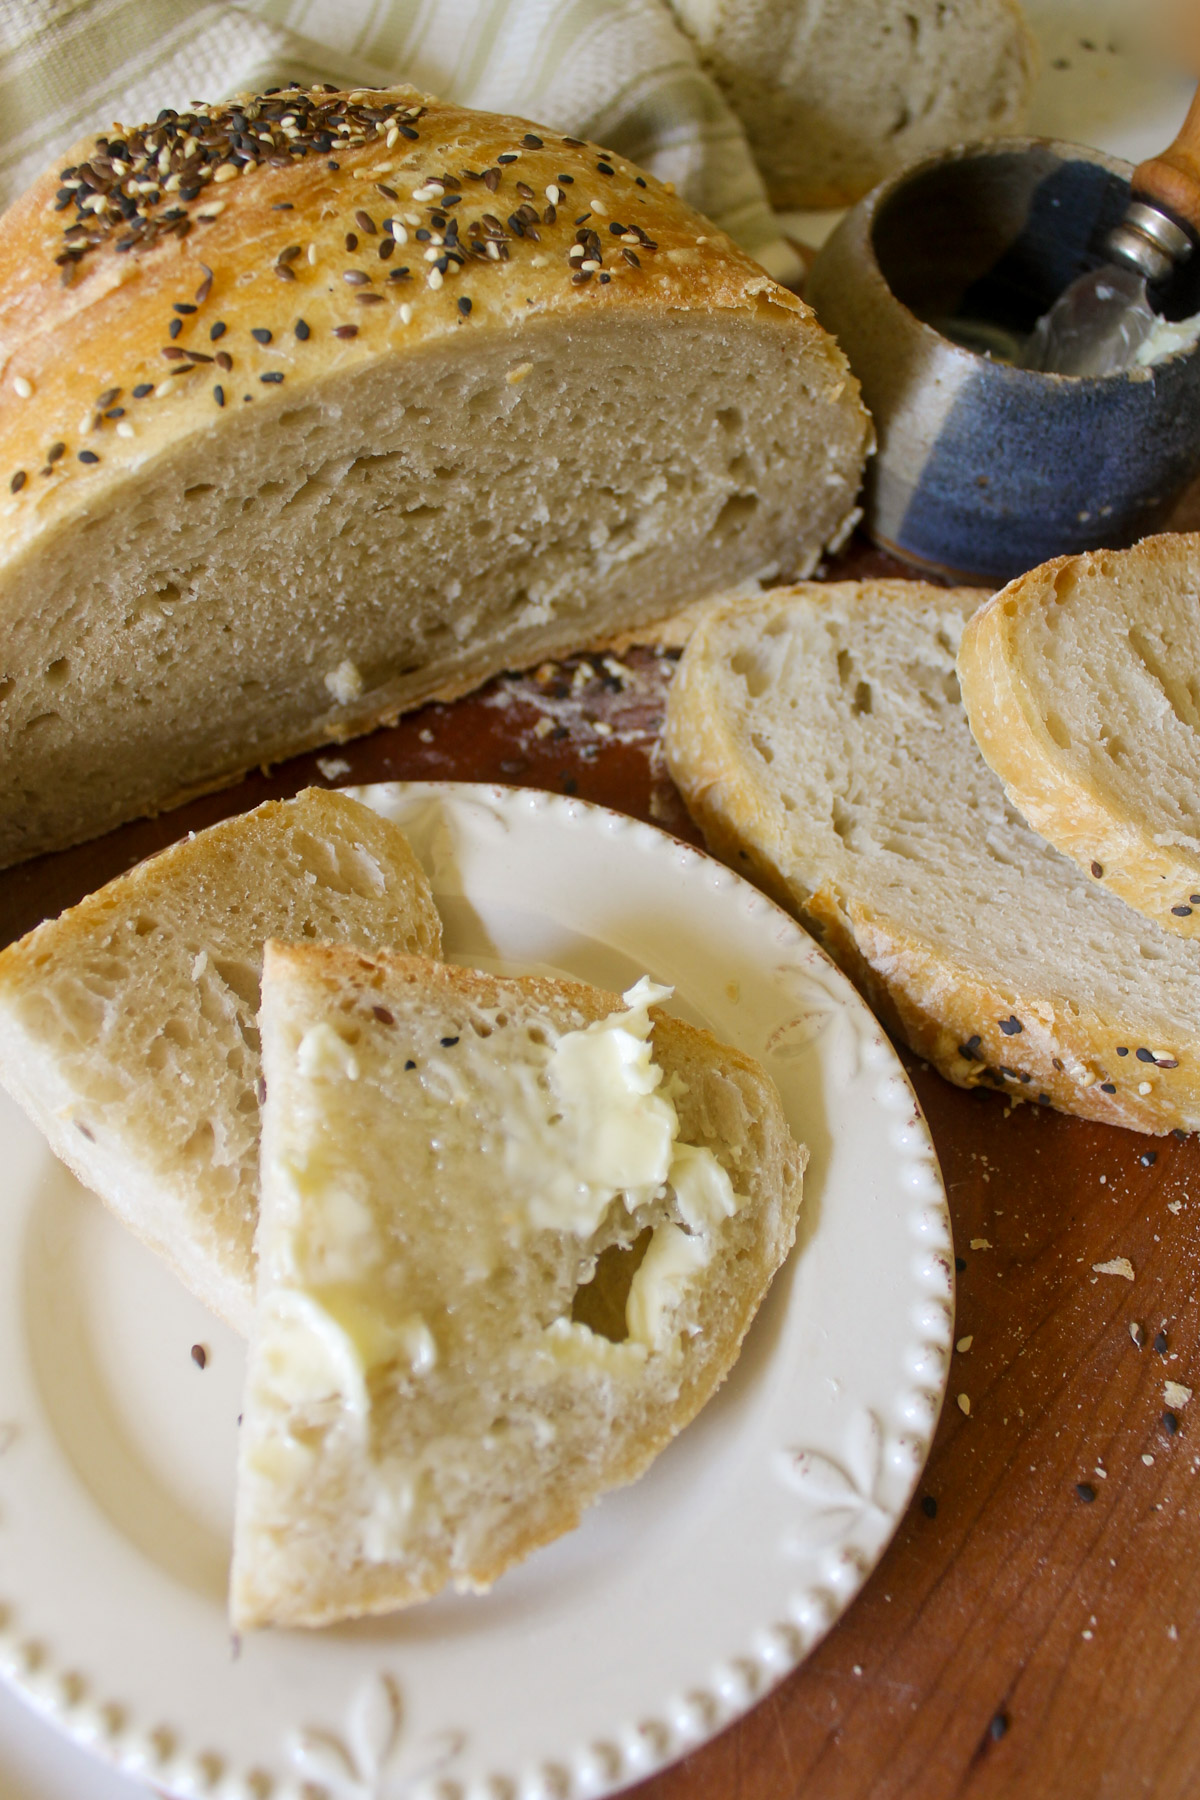
- Storage - When I buy fancy bread at the store, I usually save those paper bags. To store your homemade bread, let it cool completely, then put it in a paper bag, then put that in a plastic bag (reused produce or bun bags work great!). It should keep this way at room temperature for 3 to 4 days. As you get to day 3 and 4, you may want to toast the bread since it won't be as fresh as on day 1 and 2.
- Freezing - You can also freeze this bread for about 3 months. Maybe you want to use half the loaf fresh and freeze the other half. Freeze in a paper bag covered with a plastic bag and sealed tightly.
- Want a Smaller Loaf? - For a smaller family, you can make a slightly smaller loaf of bread by following the same recipe but instead using 3¼ cups of flour and 1½ cups of water.
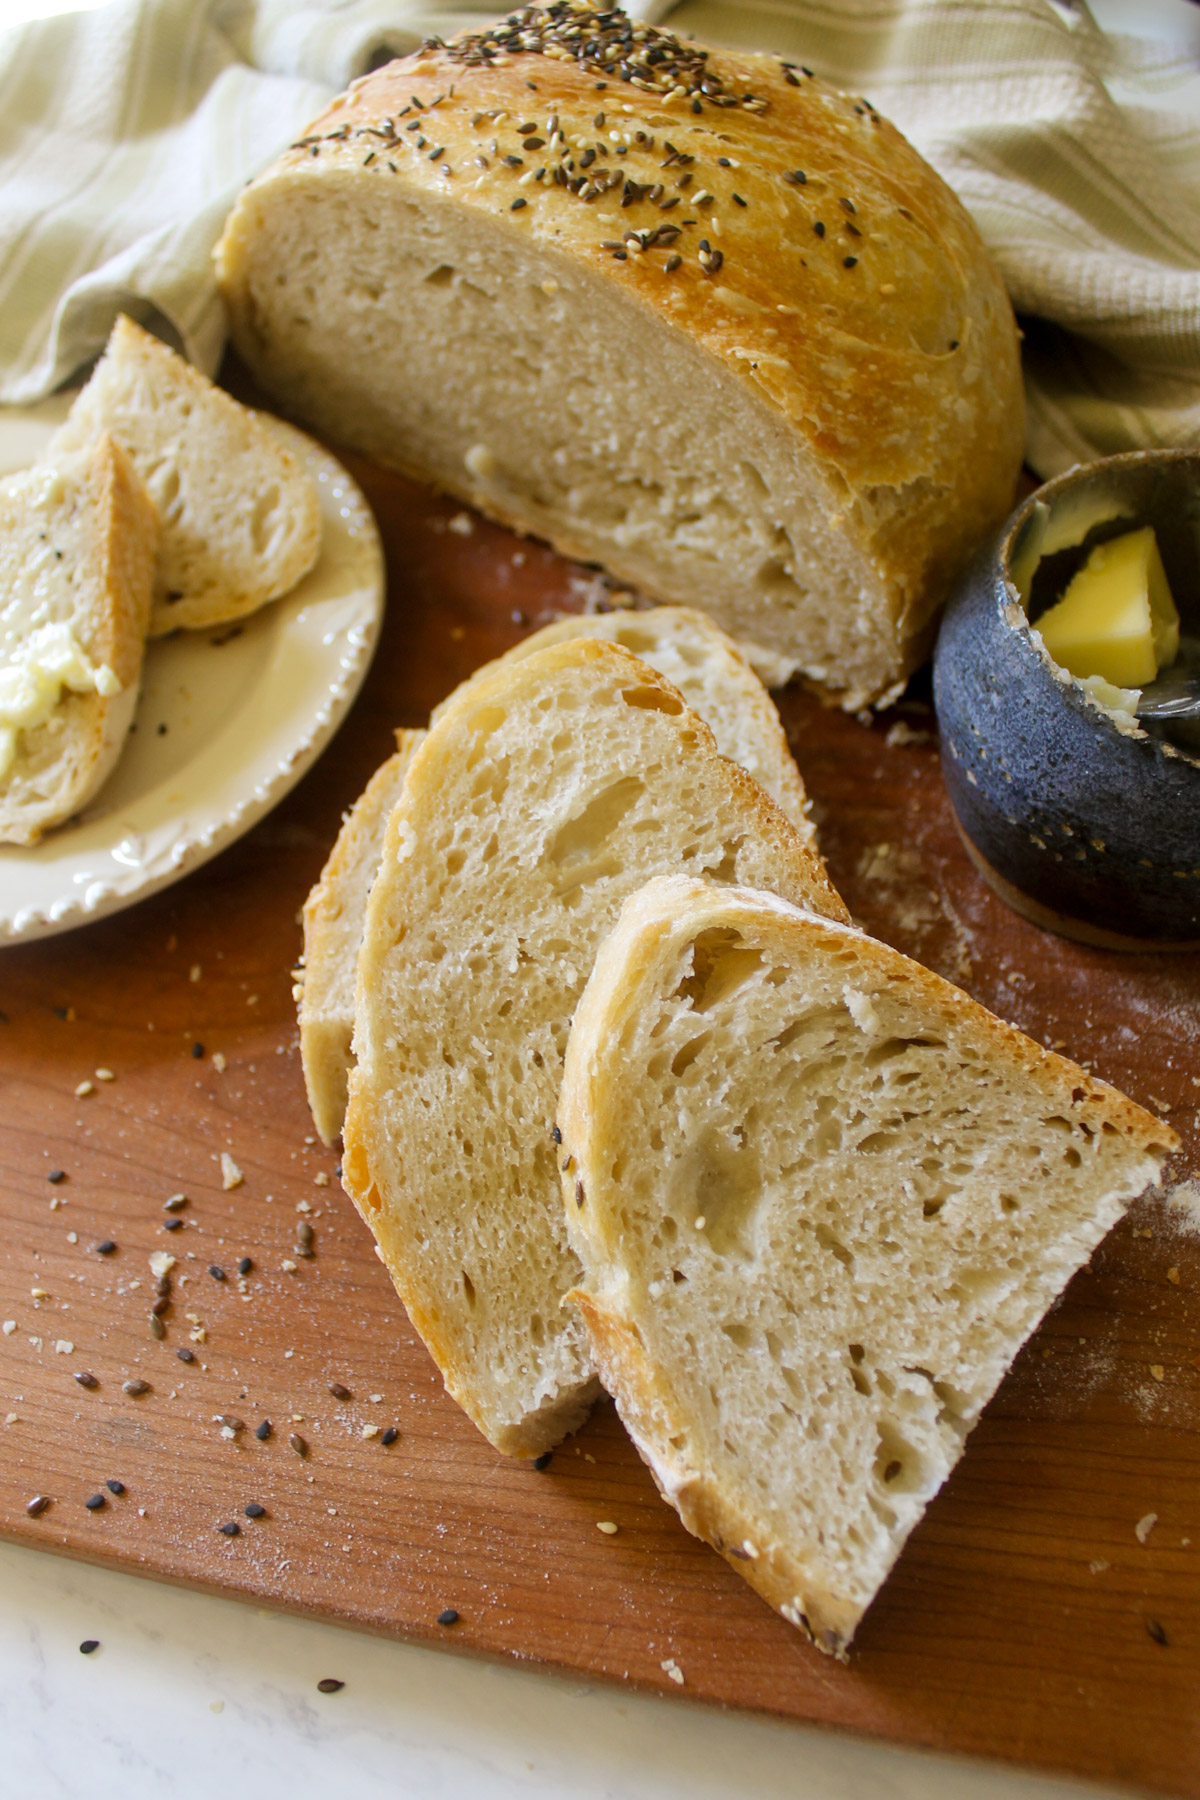
Ways to Use your Homemade Bread
This basic Dutch Oven Bread is extremely versatile and useful, replacing your store-bought bread each week!
- Breakfast - Toast your bread and eat it with eggs. Use it to make French toast or keep the loaf unflavored and make this Protein French Toast Bake!
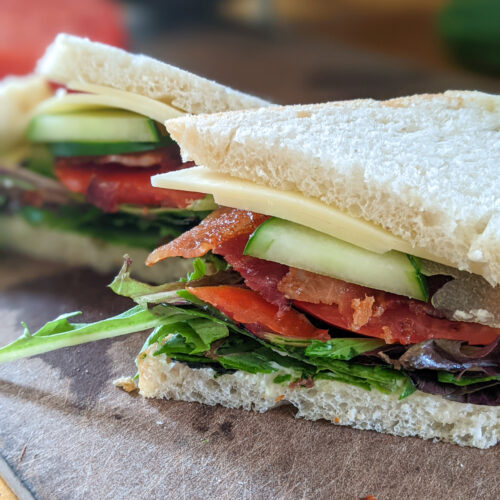
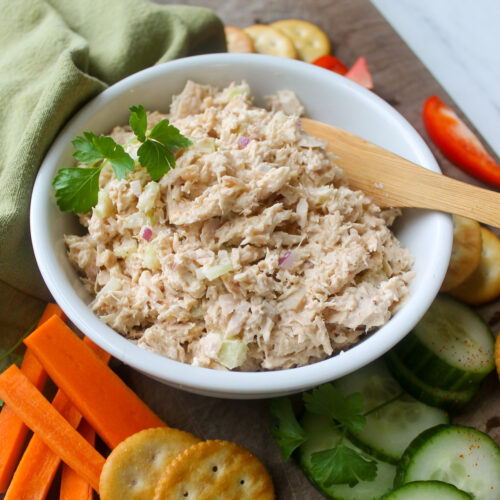
- Sandwiches - The perfect sandwich bread, fresh, toasted or paninis! Use it for grilled cheeses with Roasted Tomato Basil Soup or Slow Cooker Chicken Noodle Soup, ham or turkey with cheese, Egg Salad, Tuna Salad, or Chicken Salad with Grapes and Apples! Makes pretty impressive peanut butter and jelly sandwiches too!
- Bread with Soup - We love dunking homemade bread into cozy bowls of soup! It goes beautifully with my Tomato White Bean Soup, Ham and White Bean Soup, or this Italian Sausage White Bean Soup with Pasta.
- A Dinner Side Dish - Serve your crusty loaf of bread for dinner with butter alongside chicken or Simple Roasted Salmon! Make garlic bread for Spaghetti and Meatballs or serve it with my Simply Perfect Beef Roast.
- Ways to Use Day Old Bread - As your bread gets 3 or 4 days old, you may want to toast it or use it to make croutons. Croutons are great on this Chopped Dinner Salad or this Creamy Cauliflower White Bean Soup! Try it in this Panzanella Bread Salad or use it to scoop White Bean Bruschetta.
Recipe FAQs
Yes, a large soup pot with a lid can be used to make this bread. Preheat the pot while the oven preheats.
Yes! Simply make the dough plain on day 1 according to the recipe. On day 2, measure out 1 to 2 teaspoons each of cinnamon and sugar and a handful of raisins. Sprinkle some over the dough in the bowl. Then sprinkle a bit more as you fold the dough a few times, incorporating it in layers throughout. Bake as usual, it's perfect for French toast or a sweet breakfast spread with butter or jam.
No! No need to pull out the mixer, or buy proofing baskets or razor blades for decorating the top of your bread. Anyone can make this bread! It can all be done with basic kitchen bowls, a Dutch oven or large soup pot for baking, and a serrated bread knife.
This Dutch oven overnight bread is the best on day 1 and 2, but will last about 3 to 4 days. It has no preservatives like store-bought bread. Store it in a paper bag, then put that bag inside a plastic bag sealed tightly. I like to reuse paper bread bags and produce or bun bags from previous loaves of store-bought bread!
More Ways to Love Homemade Bread!
If you made this recipe, I'd love to hear how you liked it! Be sure to leave a star rating by clicking the stars in the recipe card, or leave a comment below!
Follow Sungrown Kitchen on Pinterest, Instagram, and Facebook for loads of garden recipes! Be sure to Subscribe Here for new recipes delivered straight to your inbox!
Overnight Dutch Oven Bread
Hit the stars to rate this recipe!
Print Pin RateIngredients
- 4¼ cups flour plus about ¼ cup more for dusting on day 2
- 1 teaspoon kosher salt
- 2 cups water warm
- 1 teaspoon active dry yeast
- 2 teaspoons olive oil
Instructions
Day 1
- In a large bowl, mix together flour and salt. In a glass measuring cup, measure the water and microwave for 30 seconds until luke warm but not hot. Add the yeast and olive oil to the water, stir, and let sit a few minutes.
- Add the liquid to the flour. Mix with a spoon until you can't stir anymore. Then flip and squash the dough with your hands several times until the flour is incorporated. Shape it into a ball by pulling and tucking the seams underneath and set in the bowl. It's ok if it's sticky.
- Cover the bowl with plastic wrap or pop the whole bowl in a reused bun or produce bag. Let it sit on the counter for 8 to 24 hours.
Day 2
- Your dough will have doubled in size, taking the shape of the bowl and no longer be in a ball.
- Preheat the oven with the Dutch oven in the oven to 450℉.
- Turn the dough out of the bowl onto a sheet of parchment paper sprinkled generously with flour. Use a bendable bench scraper or a spatula to remove all the dough from the bowl. The dough will be loose and sticky, sprinkle with more flour, you may use about ¼ cup or more extra flour for dusting. Keep adding flour as you go wherever the dough is sticky. Don't bee afraid to use too much flour, keep sprinkling until it is no longer sticky.
- Stretch the dough and fold it over in half a couple times, turning it into a ball by tucking the seams underneath.
- With the ball of dough still on the floured parchment paper, cut 2 or 3 large slits across the top with a serrated bread knife. Sprinkle with seeds or herbs if you like.
- Carefully remove the hot Dutch oven from the oven and lift the parchment paper with the dough ball into the pot. It will bake on the parchment paper.
- Bake COVERED for 30 minutes, then remove the cover and bake another 25 to 30 minutes until golden.
- Allow to cool at least an hour before slicing!
Notes
- Toppings - I topped this loaf with a sprinkling of sesame seeds, black sesame seeds, flax seeds and a dusting of garlic powder. Fresh or dried herbs such as rosemary, thyme, oregano or sage make great additions or substitutions. The bread can also be baked plain without any topping.
- Cinnamon Raisin Bread - Make by sprinkling the dough with 1 to 2 teaspoons each of cinnamon and sugar and a handful or raisins as you fold the dough several times incorporating it in layers (step 4 on day 2).
- Flour - Use regular all-purpose flour or bread flour. On day 2, sprinkle the dough, your hands and the parchment paper with plenty of flour wherever it is sticky. You may use about ¼ cup extra flour or more for dusting.
- Yeast - I like to buy a small amount of yeast from the bulk bin at the co-op and store it in a jar in the cupboard. Packets of instant dry yeast or active dry yeast are fine, but check the expiration date!
- Rise Time - Bread dough can be made in the morning and baked for dinner, about 8 hours. Or it can be made anytime on day 1 and baked on day 2, about 24 hours. The dough should be doubled in size.
- Preheat your Dutch oven in the oven as the oven preheats. Be careful when transferring your parchment paper with the dough, it's hot!
- A large soup pot with a lid can be used if you don't have a Dutch oven.





John says
I’m not much of a baker, mostly cakes and cupcakes and brownies from mixes. I’ve made bread in the past. But this was by far the easiest. I have to say I was skeptical with the mass of dough upon the first mix, but then adding just a little bit more flour in the morning and all of a sudden it had the consistency I was hoping for. I actually added some dehydrated onions into the dry mix And some salt and pepper. Sprinkled with garlic powder and a few dry herbs before baking.
Meryl Downing says
Thanks John! Yes you are right, just keep sprinkling with flour! Your seasonings sound like a great variation! Hope you will keep making bread, it's so fun!
Sharon says
This is amazing and so easy I did add some honey to the liquid mixture and it was really great!
Meryl Downing says
Thanks Sharon, that sounds like a tasty addition! Glad you liked it!
Trish Shecterle says
This bread was amazing!!! You MUST try it…. So easy, hearty with some depth and weight to it. Made Avocado Toast with Pickled Onions on it….awesome. This will be a regular!
Meryl Downing says
Thank you Trish, so glad you liked it! It's a weekly staple, Avocado Toast with Pickled Onions sounds delicious with it!
JDR says
The bread is great, especially as toast with orange marmalade. ❤️