When your garden green beans are growing faster than you can eat them, blanch and freeze extras to enjoy all winter long! This quick and easy small batch recipe to blanch and freeze garden green beans allows you to cook and eat or freeze any amount of beans you have in just 15 minutes!
Preserving the Harvest
Green beans are one of the mega producers in our garden, and can feel like a part-time job to keep up with picking them! We love to blanch (this just means boiling!) them and eat them fresh! They're one of those summer foods like watermelon and corn on the cob that we really do only get in the summer!
Being one of the easiest and most prolific things to grow, we always have more green beans than we can eat! I often pick as many as I can each day, or at least every other day, and then blanch them all for a dinner side dish and freeze the extras.
- Those jars of frozen green beans are wonderful to pull out in the winter as an easy side dish that tastes almost summer fresh! Use them fresh in this Green Bean Salad with Tomato and Feta, Simple Green Beans and Carrots with Butter, or Bacon Mushroom Green Bean Pasta. Or use them frozen in this Roasted Frozen Green Beans or Green Bean Au Gratin, especially around the holidays!
- Stretch your gardening efforts and enjoy your blanched and frozen green beans in recipes all winter long. They're great in stir-fry, soup, Tater Tot Casserole, or Chicken Veggie Pot Pie!
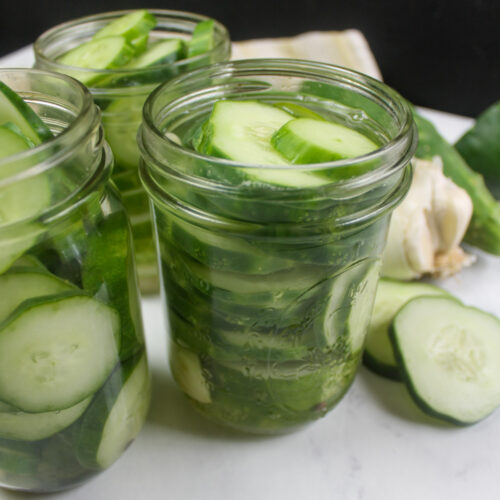
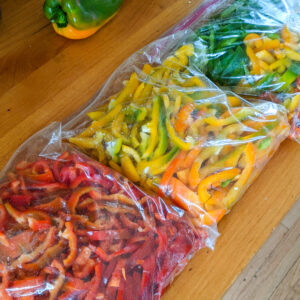
- When canning can feel like a chore, blanching even a small batch of green beans can be done quickly whenever you get too many! Try these Small Batch Refrigerator Pickles and learn How to Freeze Garden Herbs and Greens when your garden is overflowing! Freeze Garden Bell Peppers too!
Jump to:
Ingredients
Healthy, fresh and truly seasonal, use this method to cook your garden green beans to eat fresh and freeze your extras for months to come!
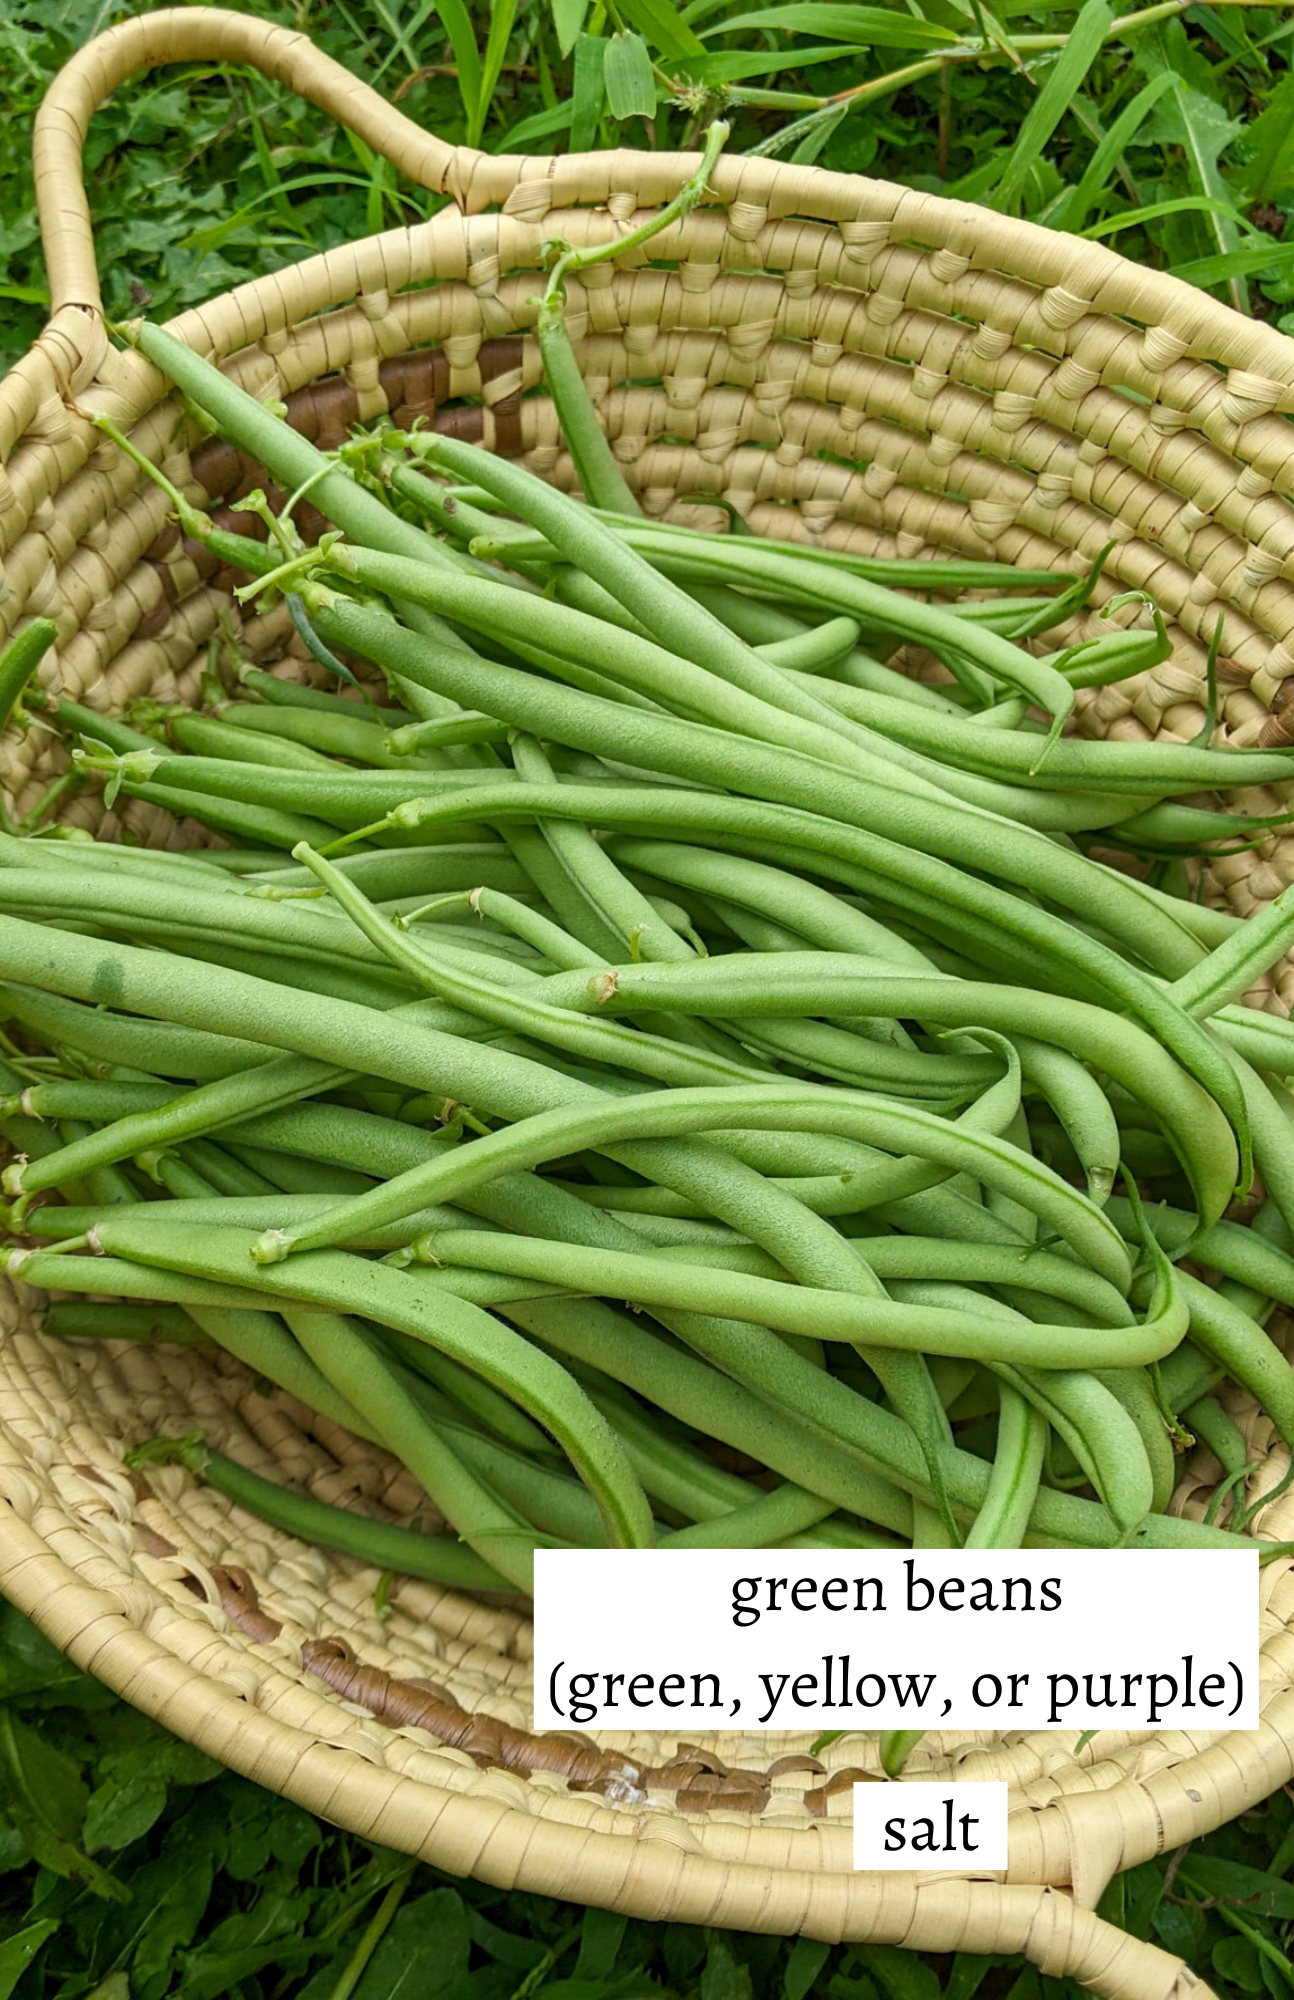
- Garden Green Beans - Pick your garden green beans as often as you can, they are the best when they are young and tender! If you are new gardener, start with green beans! Plant seeds directly in the ground, they grow fast and each plant produces a ton of green beans! Pole beans or bush beans will work for this freezing method, but I prefer bush beans for the best texture and tenderness. You can also do yellow, purple or any type of beans, but I've found the simple basic green beans are usually my favorite! Homegrown garden green beans are SO much better than anything you can buy at the store in the winter, so it's best to grow your own with extra to freeze!
- Kosher Salt - Adding salt to your boiling water lightly seasons the green beans and also preserves their nutrients, texture and vibrant green color. Don't skip the salt, remember you won't be consuming all of it, most will get drained with the water.
See recipe card for quantities.
Instructions
This method couldn't be easier and takes just 15 minutes! Green beans grow abundantly, so you'll likely be picking them daily!
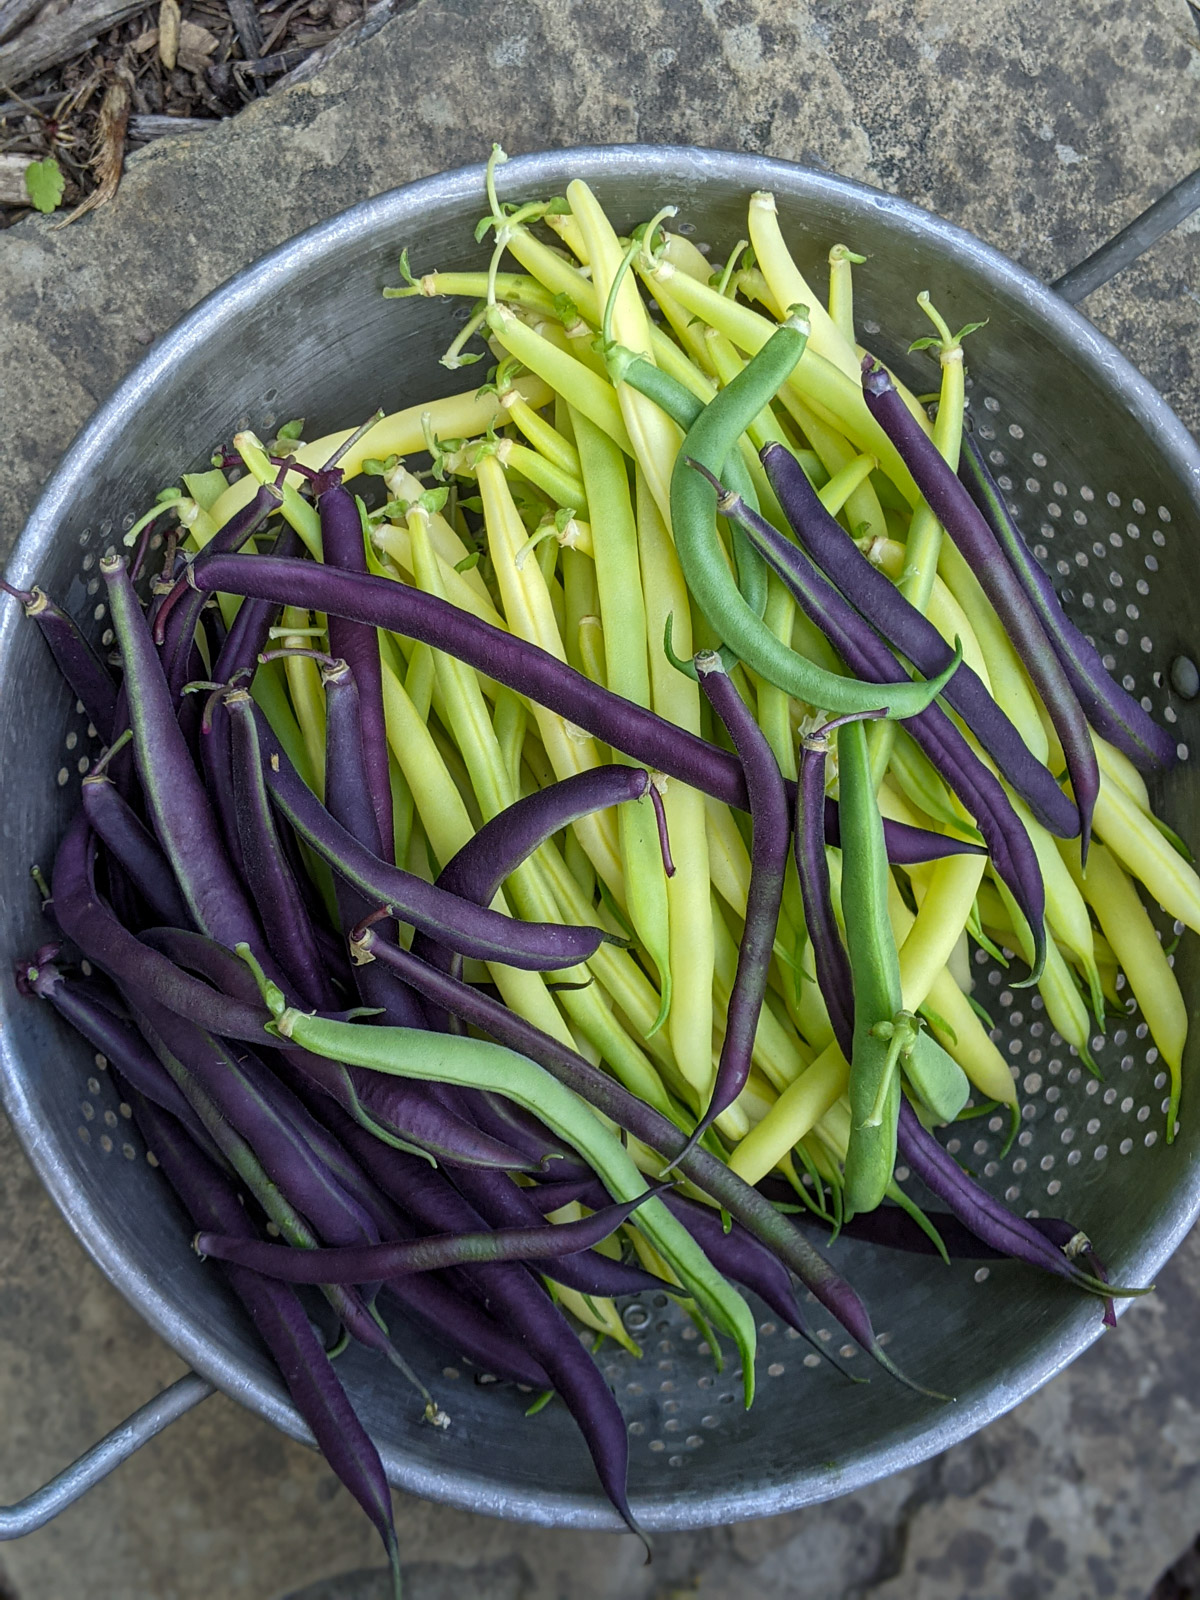
Step 1 - Pick your green beans when they are thin and tender, probably every day or ever other day in peak season!
Any color and any amount of beans will work for this recipe.
Set a pot of water to boil.
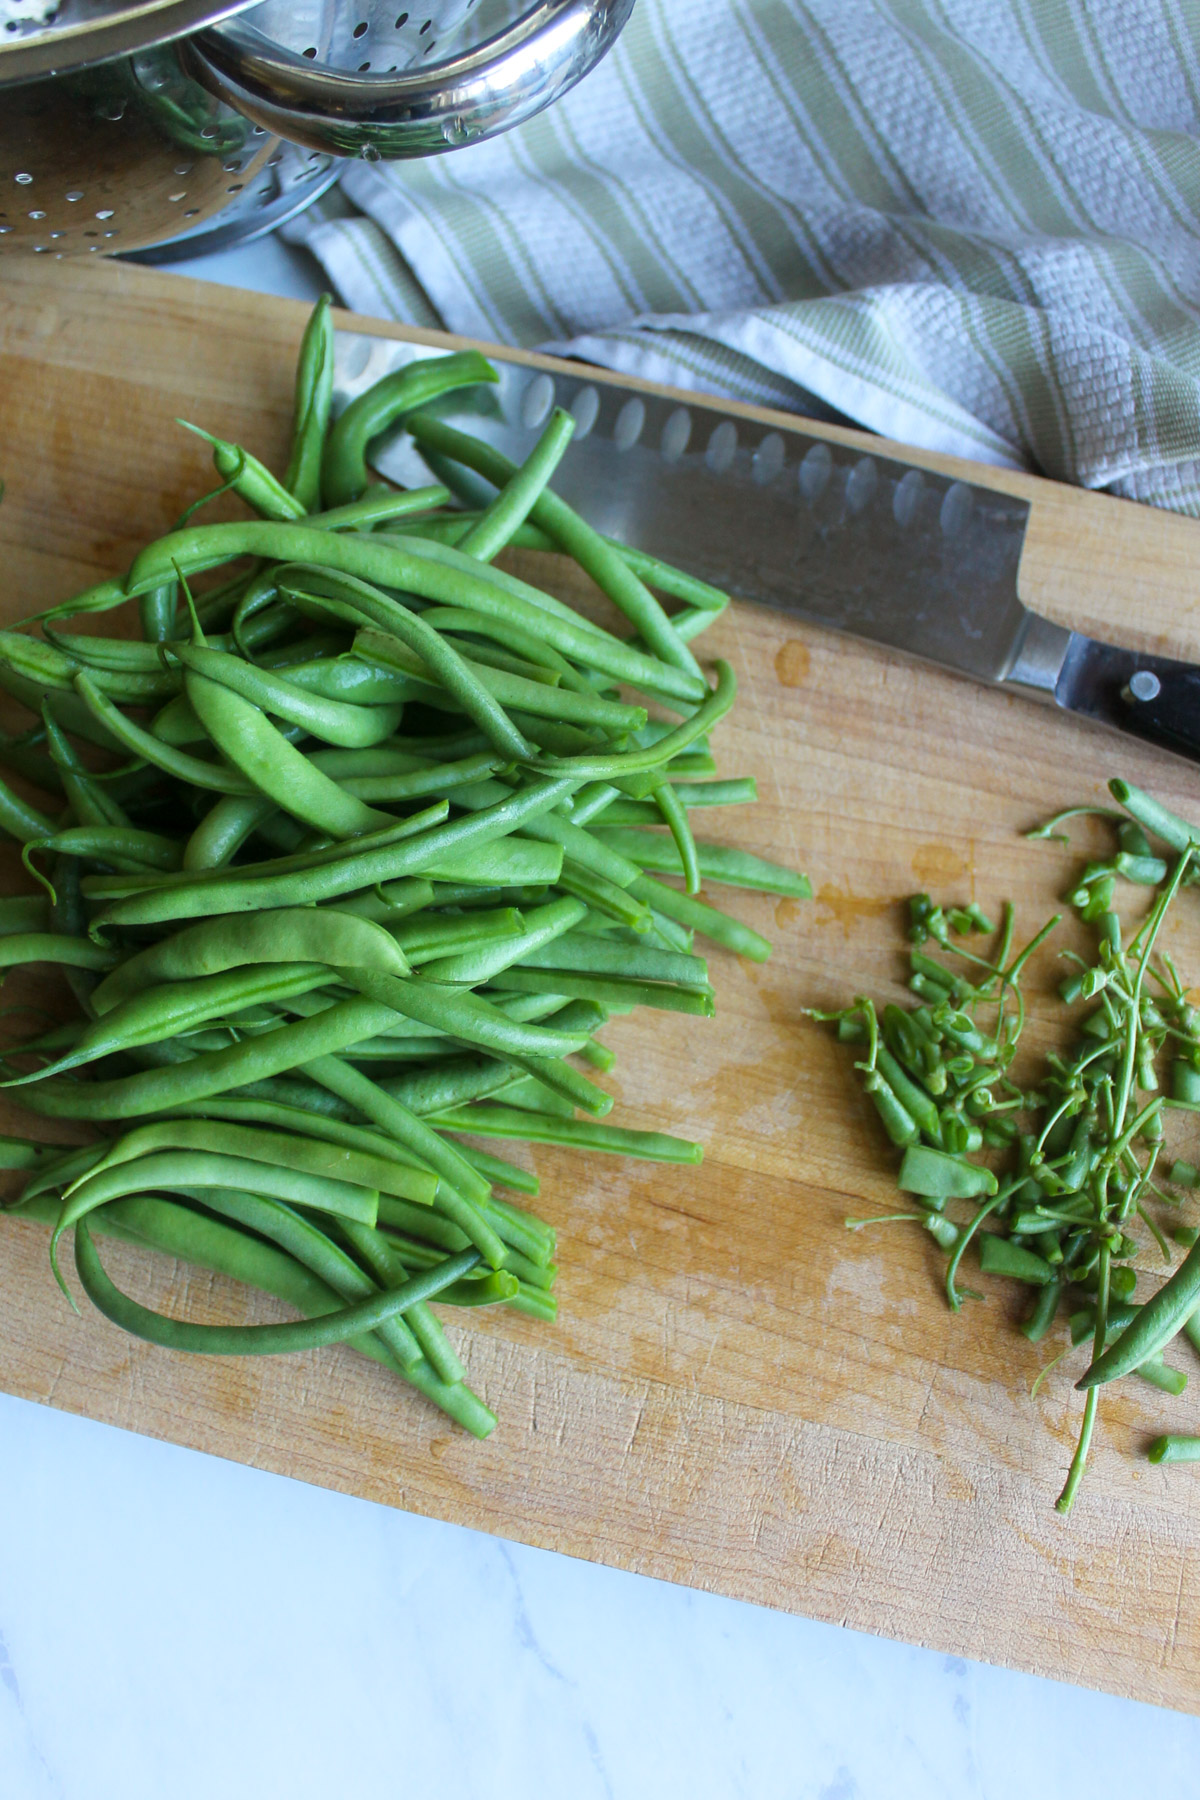
Step 2 - Wash the beans and trim off the stem end. I like to bundle a few beans at a time to trim the ends.
If you try to trim the whole pile at once, you will likely waste a lot of the ends.
You can choose to chop them into pieces or leave them whole.
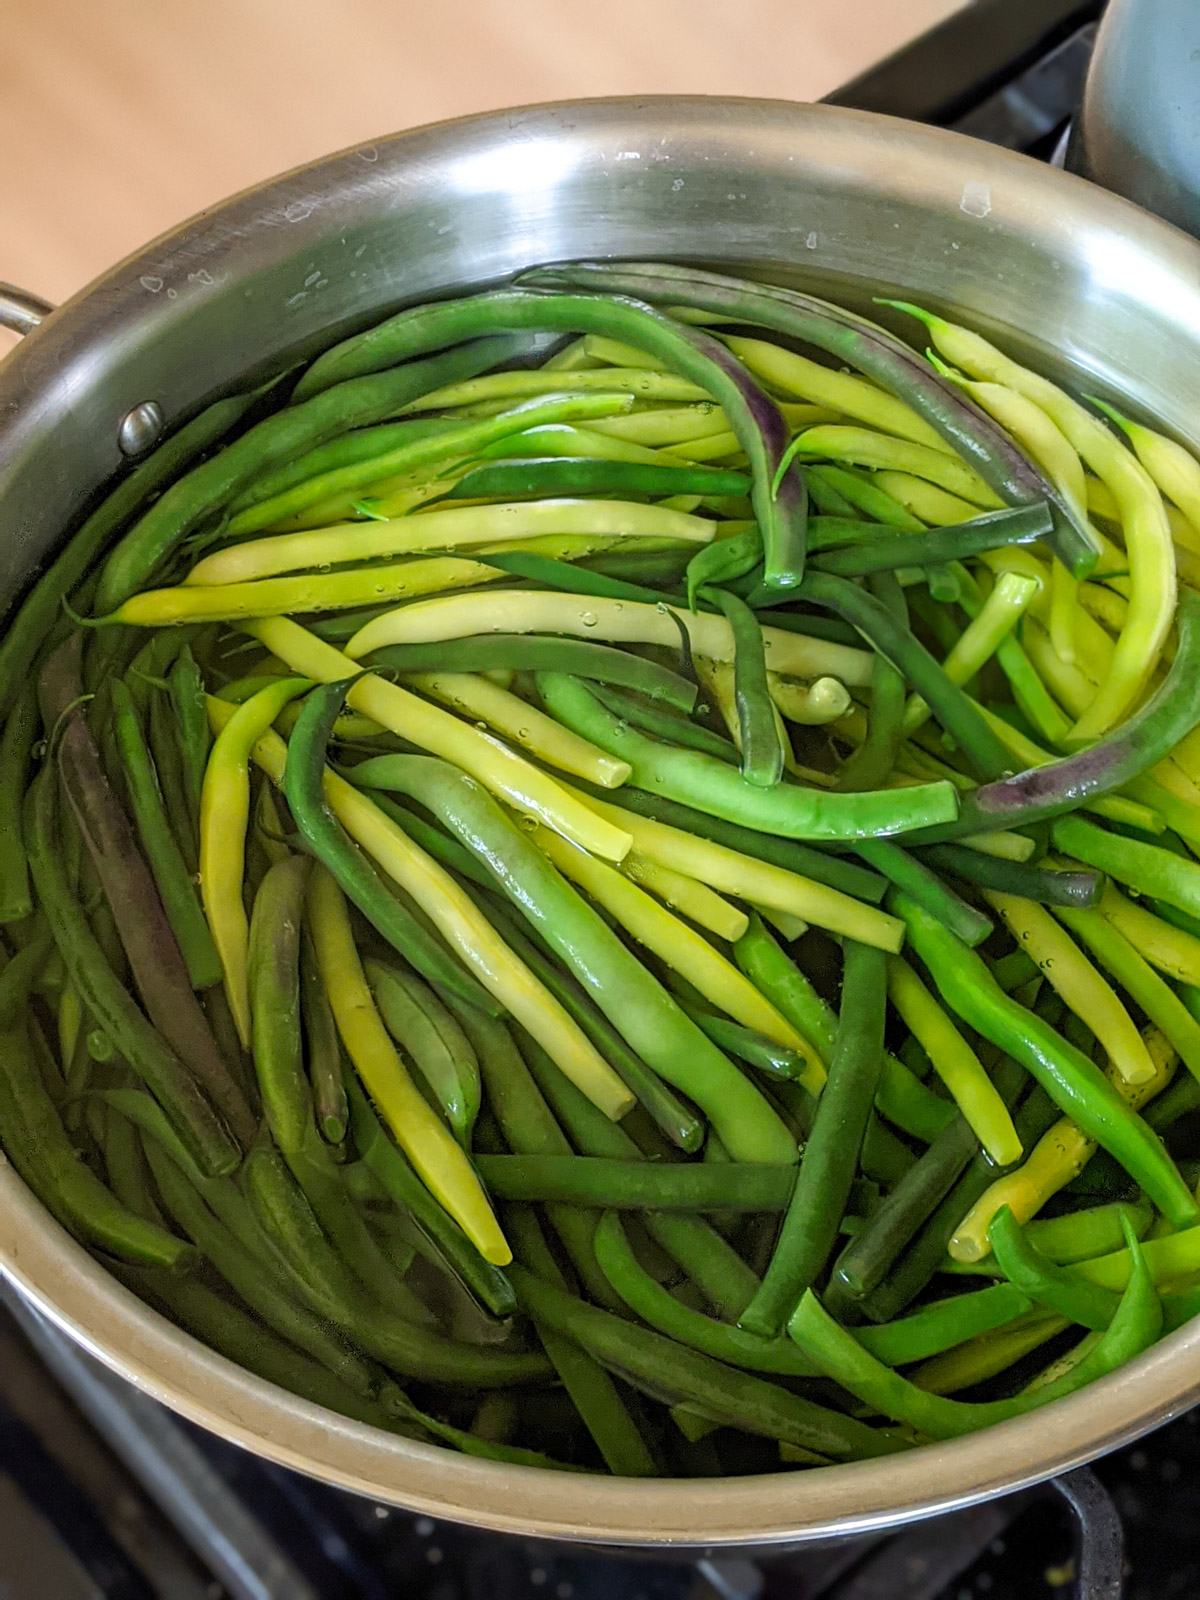
Step 3 - When the water is rapidly boiling, add salt and drop in the green beans for 3 minutes. Set a timer and don't over cook.
Very small beans may only need 2 minutes and large overgrown beans may need 4 minutes.
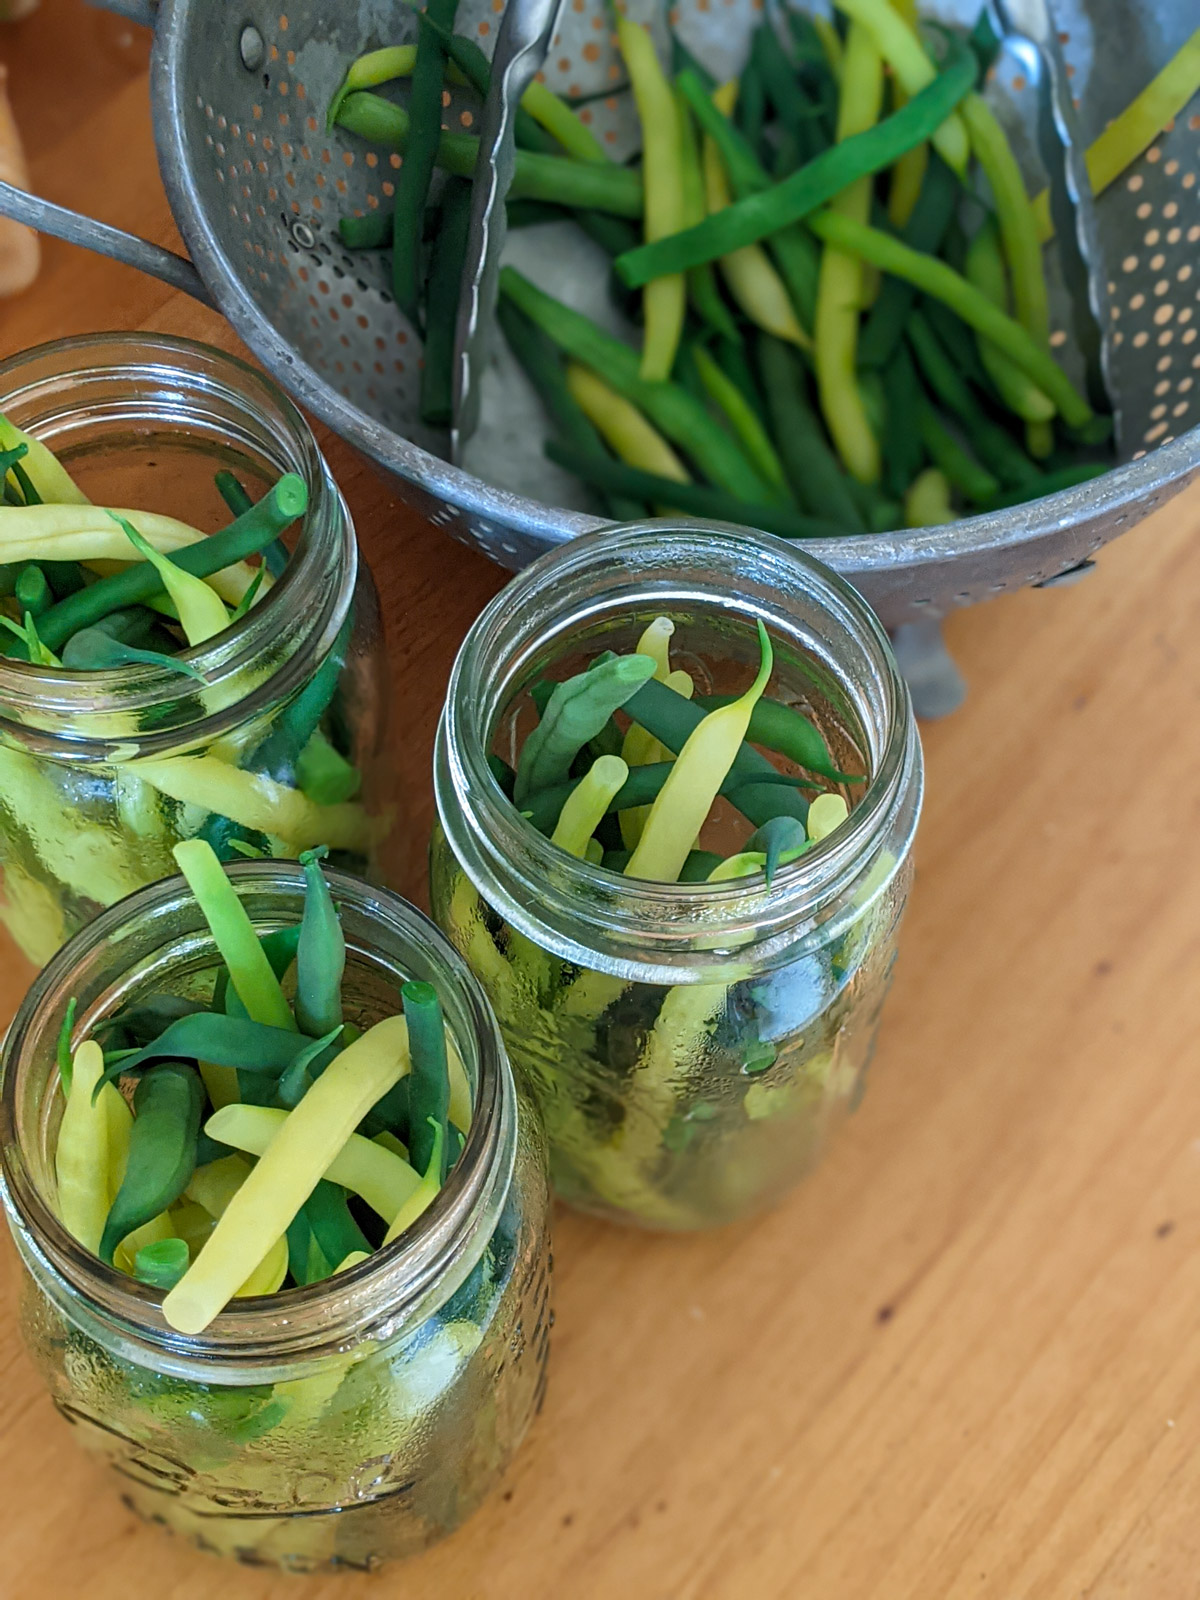
Step 4 - Drain well in a colander, shaking to remove excess water. Serve beans right away as a simple side dish, or freeze extras.
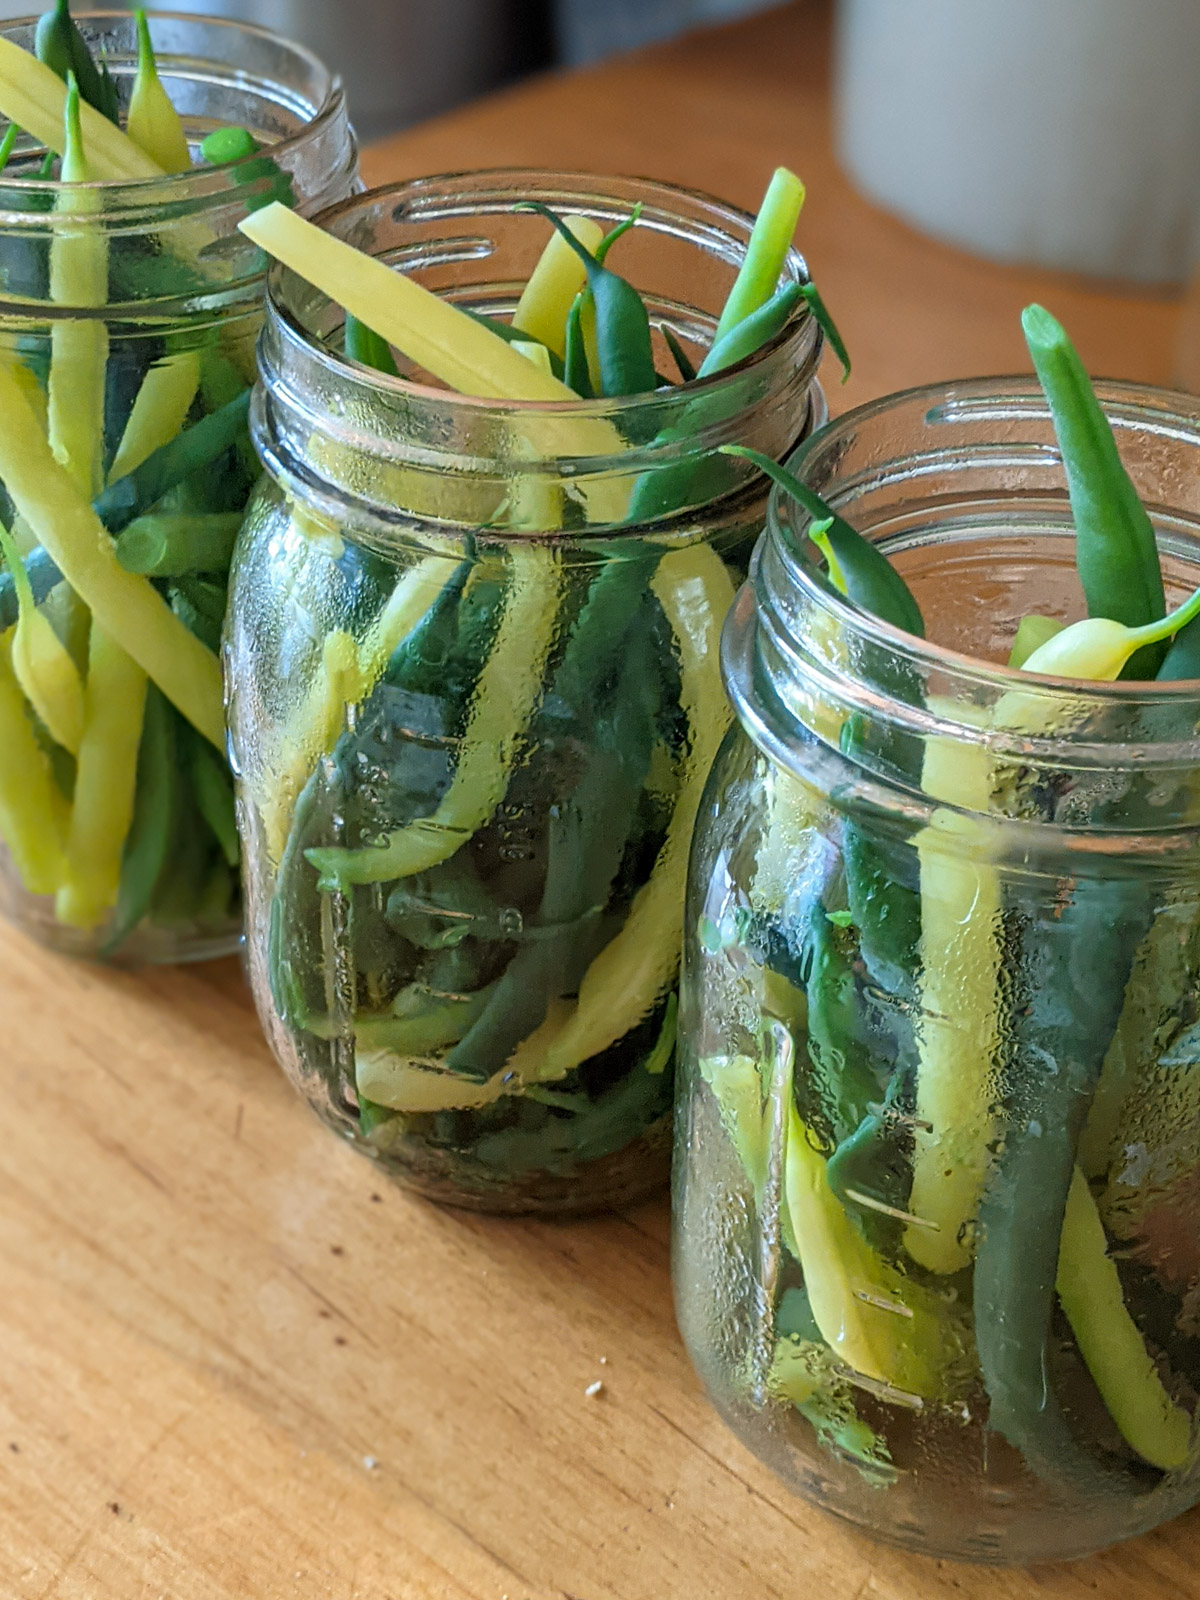
I like to freeze beans in glass jars for perfect side dish servings to pull out in the winter.
How to Use Blanched Green Beans
After blanching your green beans, you can serve some of them right away and freeze the extras to use all winter long!
- A Simple Side Dish - Boiling is salted water seasons the green beans so they can be eaten plain as a simple side dish! You can also add a pat of butter or shredded Parmesan cheese.
- Use Fresh in Recipes - Blanched green beans can be made into Green Bean Salad with Tomato and Feta, or added to pasta salad, White Bean Salad, potato salad, or Panzanella Bread Salad in the summer. Extra green beans can be frozen immediately after draining.
- How to Use Frozen Green Beans - Once you've got jars of green beans stashed in your freezer, just grab as you need them, there's no need to thaw! To use, just drop frozen green beans into boiling salted water for 1 minute, just enough to heat through, and they are almost as good as fresh from the garden!
- You could also saute onions and garlic with butter in a skillet, toss in a handful of frozen green beans and saute just enough to heat through.
- Recipes to Use Frozen Green Beans - You can throw frozen green beans into lots of recipes, without even needing to thaw. Try them chopped in Green Bean Au Gratin, Tater Tot Hot-dish, Vegetable Soup, Chicken Veggie Pot Pie or any recipe that you would use a bag of store-bought frozen green beans. You can chop them before you blanch them, or chop them when they are frozen.
Why Freeze in Glass Jars?
- If you've read my recipes, you may know I freeze ALOT of things in glass jars. Why? I love that jars are single serving, grab and go, easy to use, smaller portions. They are reusable and often free, or you can reuse ones from products you buy like peanut butter, jam or coconut oil. I prefer glass to plastic for all sorts of environmental reasons.
- Adding still hot green beans into jars is fine since they will cool quickly in the smaller portion as they freeze.
- If you were going to freeze a large ziploc bag of green beans, you should shock them in a bowl of ice water after blanching to stop the cooking process. Then lay them on a sheet tray and freeze them a few hours before transferring to the bag so they don't freeze in a giant clump. With jars, you can skip all that!
- Plus when it's winter and you just need a quick side dish, you can grab a jar of frozen green beans, dump them into boiling water for a minute and they're ready to go!
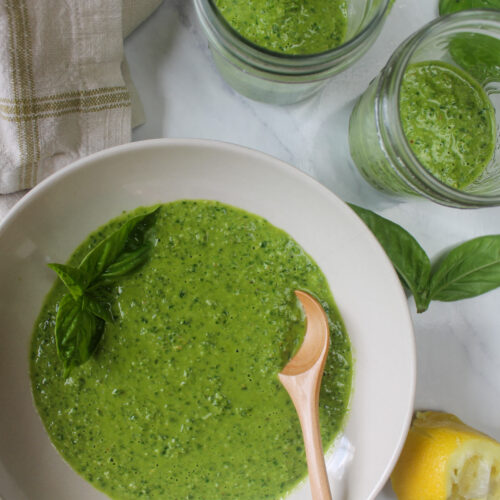
- My freezer is full of jars of Pesto, Garden Tomato Marinara Sauce, Carrot Ginger Soup, Homemade Applesauce, Vegetable Beef Chili and lots of other soups that can be pulled out when you need them!
- Of course, you need a big deep freezer to really freeze a lot in jars! If you don't have one, any freezer safe container or bag is just fine to use.
Recipe Tips
- When to Pick Green Beans - Pick green beans when they are young, thin and tender. They will continue to grow if you don't pick them, and get tougher and less delicious! In the peak of green bean season, I try to pick them every day! If you do fall behind, bigger green beans are usually still edible, and can be chopped and frozen to put in casseroles, soup or Green Bean Au Gratin.
- Freshly picked green beans can sit on your counter or in the fridge a day or two if you don't get around to blanching and freezing them right away!
- When picking beans, don't toss them in your bowl, lay them more carefully all in the same direction. This makes it much easier when trimming the stems off if they are already lined up. There is no need to trim off the pointy tip.
- Don't Overcook - Green beans cook quickly in boiling water in just 3 minutes, maybe 2 to 4 minutes if using smaller or larger beans. Don't drop them in the water and forget about them. You want tender, al dente beans, still with a small bite to them and never mushy!
- Salt the Water - Don't skip the salt! It lightly seasons the beans and turns them a bright beautiful green. You won't eat most of that salt anyways, it will get drained with the water.
- Drain Well - Drain green beans in a colander after blanching and really shake off excess water before transferring them to jars or containers. This will help prevent freezer burn.
- Any Color Beans - Use this recipe for pole or bush beans in any color including green beans, yellow wax beans or purple beans. Purple beans turn green when you blanch them! I've found that the more exotic the beans I grow, the less I liked them. My favorites are just the basic green beans. Purple beans are less tender and can be more stringy, my least favorite. I prefer bush beans to pole beans for the same reason.
- Blanching Method - Use this same method for cooking other green vegetables such as peas, broccoli or asparagus.
- Storage - Blanched green beans can be stored in the fridge for up to 3 days and reheated or added cold to salads like pasta, potato or white bean bean salad. Or freeze green beans immediately after blanching for up to 6 months.
- Save the bean trimmings to add to the freezer for Homemade Chicken Stock.
Recipe FAQs
Yes, blanching fresh green beans in boiling salted water for 3 minutes before freezing preserves their quality and textue. It turns them a vibrant green color and locks in summer freshness for about 6 months.
You can "blanch and shock" garden green beans, which means boiling them in salted water and then stopping the cooking process by submerging them into a bowl of ice water. If doing a very large amount of green beans, this may be worth it, but often this step is unnecessary. It's fine to just blanch the green beans, drain well, shaking off excess water, put in containers and freeze right away.
Drop trimmed green beans into boiling salted water for 3 minutes, drain and eat or freeze. Very small green beans may only need 2 minutes while overgrown larger beans may need 4 minutes.
You can freeze green beans raw, but they are preserved better when blanched in boiling salted water for 3 minutes. The salted water preserves their nutrients, texture, and vibrant green color. They will keep well in the freezer for 6 months, much longer than if you don't blanch.
To reheat blanched and frozen green beans, drop them back into boiling, lightly salted water for 1 minute until just heated through. You can also add frozen chopped green beans directly to soups, casseroles, or Green Bean Au Gratin.
More Recipes to Preserve your Garden!
If you made this recipe, I'd love to hear how you liked it! Be sure to leave a star rating by clicking the stars in the recipe card, or leave a comment below!
Follow Sungrown Kitchen on Pinterest, Instagram, and Facebook for loads of garden recipes! Be sure to Subscribe Here for new recipes delivered straight to your inbox!
How to Blanch and Freeze Garden Green Beans
Hit the stars to rate this recipe!
Print Pin RateIngredients
- 3 cups green beans or any amount
- 1 teaspoon kosher salt
Instructions
- Bring a pot of water to a boil and add salt.
- Wash any amount of garden green beans you have and trim off the stem end. You can choose to chop them of leave them whole.
- Drop the green beans into rapidly boiling salted water for 3 minutes. Drain well in a colander and shake to remove excess water.
- Serve any amount of the green beans hot right away as a simple side dish, or portion into glass jars or containers and freeze for up to 6 months.
- To use after freezing - drop frozen green beans into boiling salted water for 1 minute, drain and serve. Or use straight from frozen in any recipe calling for frozen green beans.
Notes
- Pick green beans when they are thin, young and tender. If you wait until they are large and overgrown, they will be tougher and need to be cooked longer.
- Don't overcook, you want beans to be tender but firm, al dente, with a bit of bite to them, never mushy. Set a timer for 3 minutes.
- This recipe can be used for any amount of green, yellow or purple beans you have. You can simply blanch a handful and serve fresh with dinner, or do a larger pot and freeze extras.
- Blanched green beans are already seasoned from the salted water and can be eaten plain as a side dish, or served with a pat of butter or Parmesan cheese.
- Blanched green beans can be used fresh in pasta salads or this Green Bean Salad with Tomato and Feta. Or they can be used frozen in Tater Tot Hot-dish, Vegetable Soup, Chicken Veggie Pot Pie or Green Bean Au Gratin.
- Freeze extra green beans in any sized containers or freezer bags. Glass jars are great for pulling out in the winter in the perfect serving size!


Leave a Reply