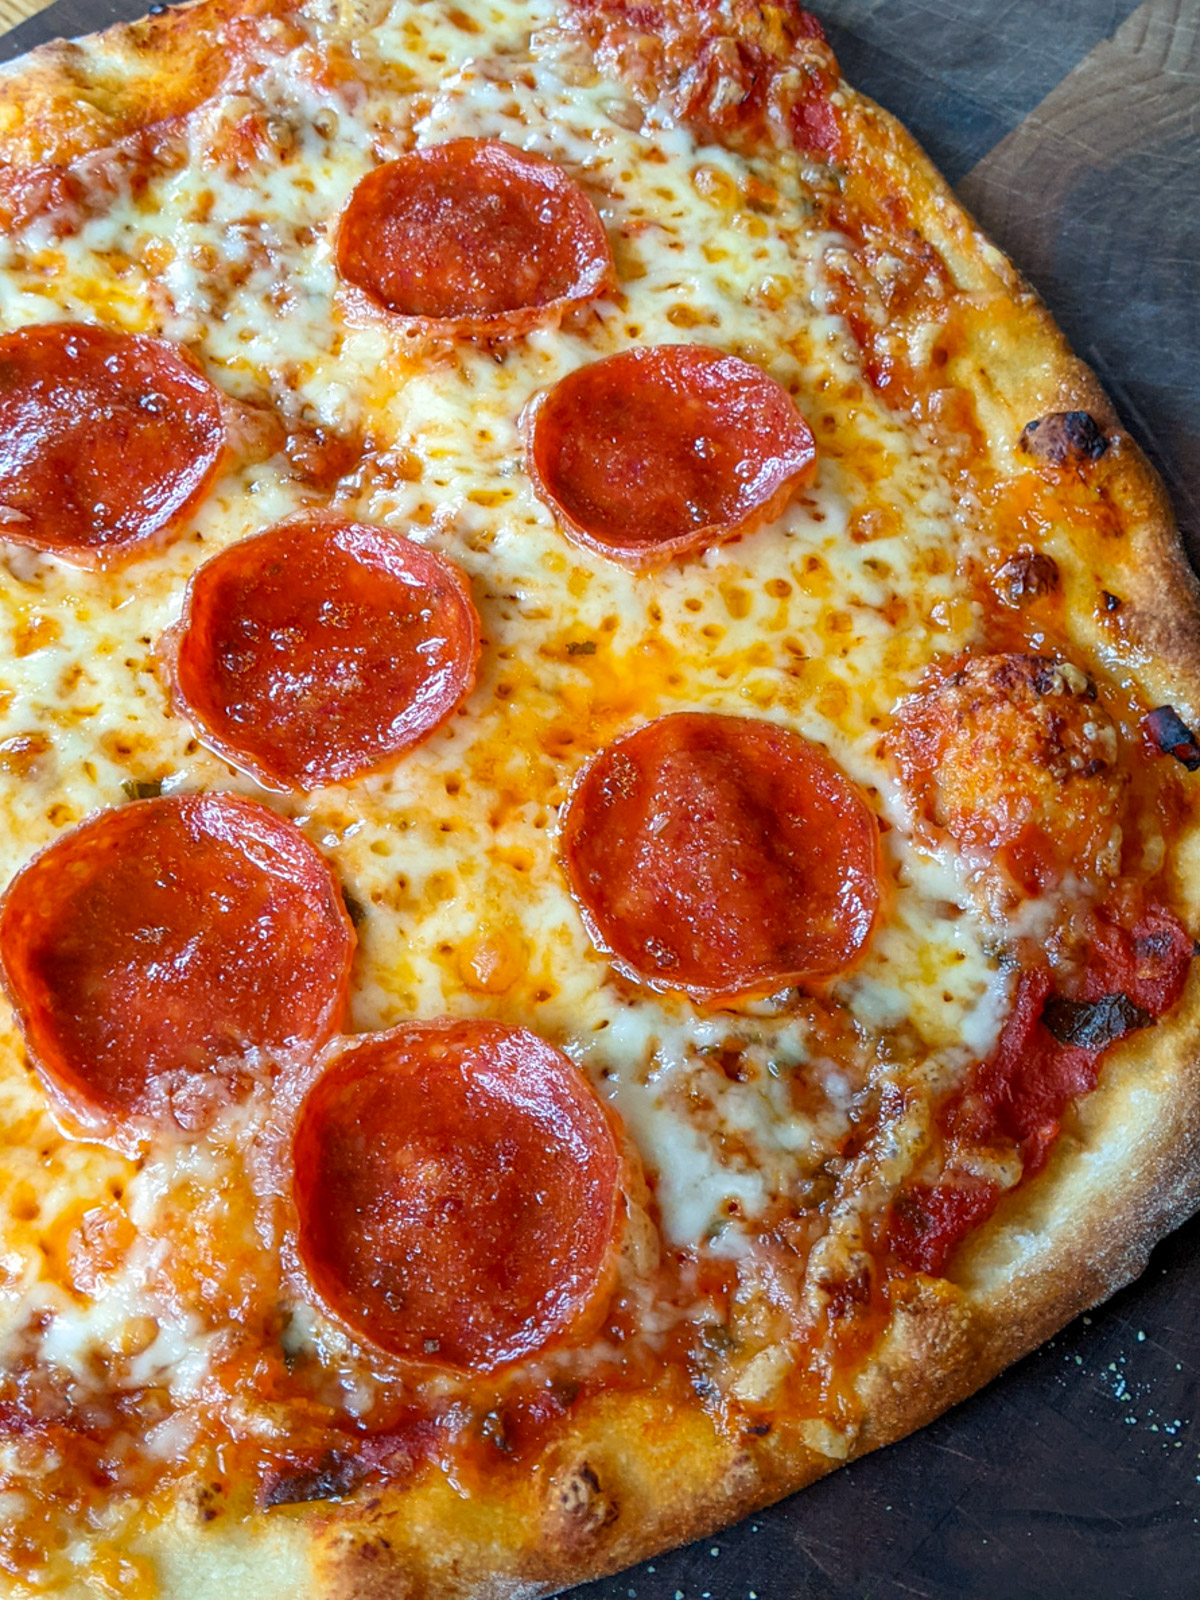
Friday Night is Homemade Pizza Night in our house! This is more than just a recipe! It's my Complete Process, a full guide to cooking pizza at home including all the tips and tricks I use to easily make delicious homemade pizza every week.
All the steps, from the crust, sauce, cheese and toppings are completely made from scratch in your regular oven. But, I'll show you ways to cut corners if you want to, and how to use your freezer and your pantry so it's not all the work in one night. It's the best pizza in town, with no fancy equipment, right from your own kitchen!
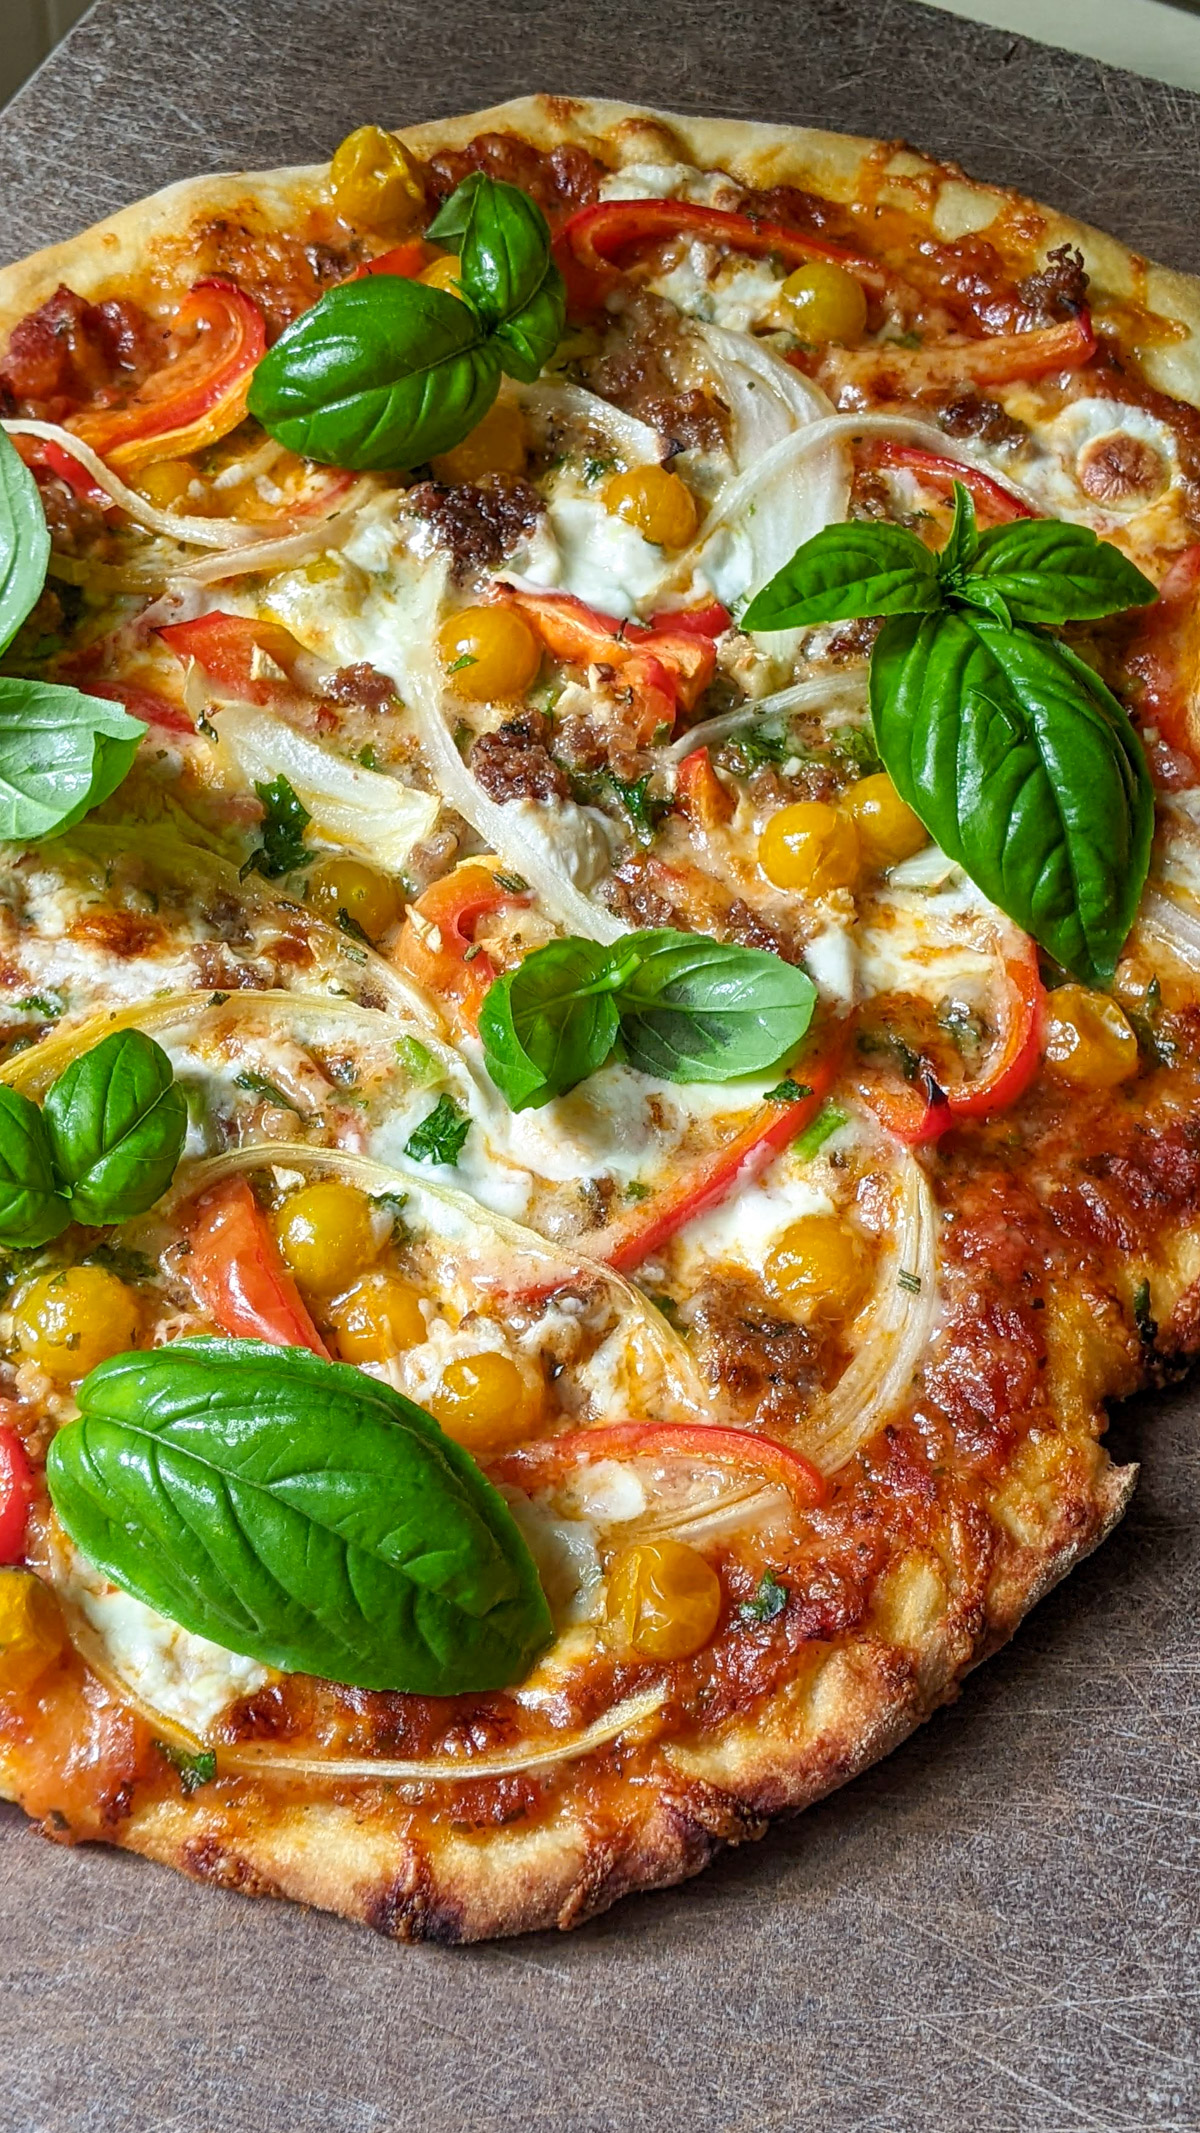
Pizza Night - A Pandemic Silver Lining
What seems like forever ago, in our long ago life before the pandemic, we would often go to my in-laws house at some point over the weekend. Those days were filled with swimming, cousins, fishing, kayaking, ice fishing in the winter, and often ordering pizza.
In the isolating months of March and April, I longed for the simple days of bringing the kids over for pizza night. We had to start some new traditions at home with just the 4 of us. Family Pizza Night was officially born.
Depending on the difficulty and challenges of the week, it would be either homemade, take-out, or frozen, but Friday would always be pizza. Well, online school pretty much ensured every week would be difficult and challenging. But, Fridays soon became our favorite days.
For one, the first grade had no zoom calls on Friday and a lighter amount of work. We started our Field Trip Friday tradition where we would meet up with a few friends also doing school online and go for a hike or outdoor adventure. That ebbed and flowed along with the state restrictions, and we hiked alone when we had to.
After a healthy dose of fresh air, Friday always ended with pizza and a movie.
Jump to:

The Homemade Pizza System
The more I made homemade pizza from scratch, the easier it got. What once felt like a chore now felt like an easy weeknight dinner, and the perfect end to our favorite day. So we seldom ordered in, and instead rolled up our sleeves, sometimes getting the kids to help.
- Homemade pizza night got easier for me because I did what I always do in my kitchen. I made it part of "my system." My meal prep, my freezer stash, and my pantry, all working together so the actual work on Friday nights was pretty minimal.
Here is the breakdown, ingredient by ingredient. With ways to cut corners if you want to, ways to stretch your efforts, and ways to save time while still making seriously delicious pizza!
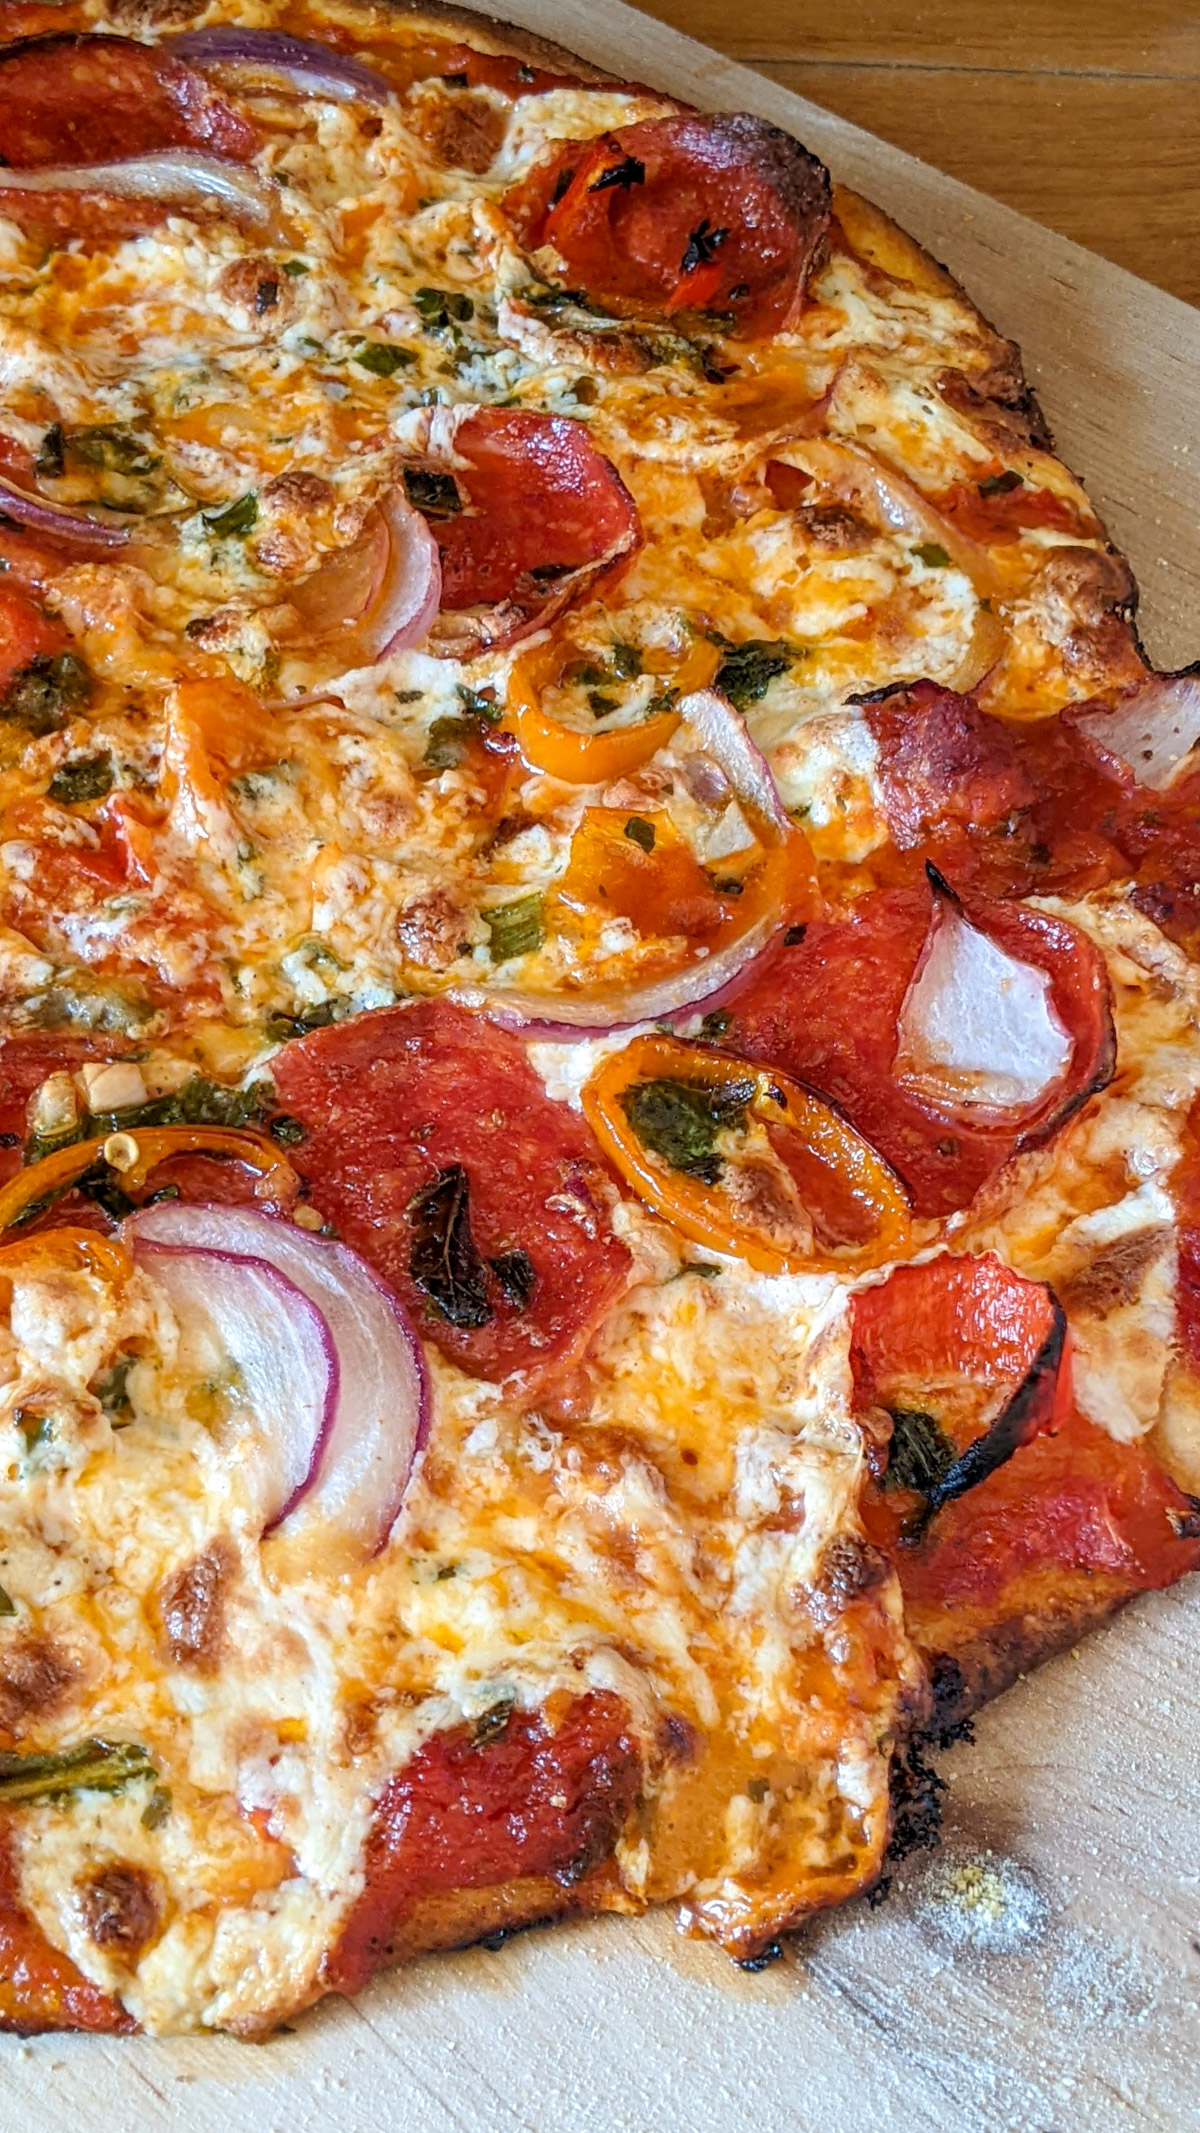
The Pizza Dough Process
This simple artisan pizza dough recipe is part of the meal prep.
- The recipe makes 8 pizza crusts, which is 2 nights worth for my family of four.
- I make the dough the morning of, or a day or two before pizza night.
- Cut it into 8 balls, put 4 in the freezer for next week, and 4 in a bowl on the counter on Friday morning (or in my fridge until Friday morning).
- So I'm only making pizza dough every other week, saving me a lot of time. On the off week, I start defrosting the pizza dough in the fridge overnight on Thursday and then let it sit on the counter all day on pizza night.
Stock Your Freezer with Pizza Dough - If you start making pizza a lot, making extra and storing pizza dough in the freezer is a great time saver. You can make the recipe 2, 3 or even 4 times in one day, giving you lots of pizza nights to store in the freezer!
Don't try to double the recipe in the stand mixer, it won't fit. Just make one batch followed by another, as many times as you want to.
Make sure you have enough containers and enough freezer space. But having a big dough making day is so much easier than making it every week or every other. You only have 1 mess to clean up!

Making the Dough
Ideally, I mix the dough in a stand mixer with the dough hook. If you don't have a mixer, you can mix it in a bowl and then knead it by hand on a cutting board. Either way, it's not hard.
- Add the flour and salt to the bowl of the stand mixer.
- Fill a glass measuring cup with 2 cups of water and warm it for 1 minute in the microwave.
- Then add the yeast, honey and olive oil to the water and whisk with a fork. Let it sit a few minutes before adding the yeast mixture into the flour mixture.
- Allow to mix with the dough hook on low speed for about 5 minutes. You may need to stop a few times, pull the dough from the hook and restart.
If working by hand, mix the dough into a ball, then knead on a cutting board about 5 minutes. Lift and turn with your left hand and push down with the heel of your right hand, over and over for 5 minutes.
If the pizza dough is sticky, add a bit of flour. A few times, pulling and stretching the pizza dough, wrapping it around itself, and then tucking it back into a ball. This helps develop the gluten.
Portioning and Storing Pizza Dough
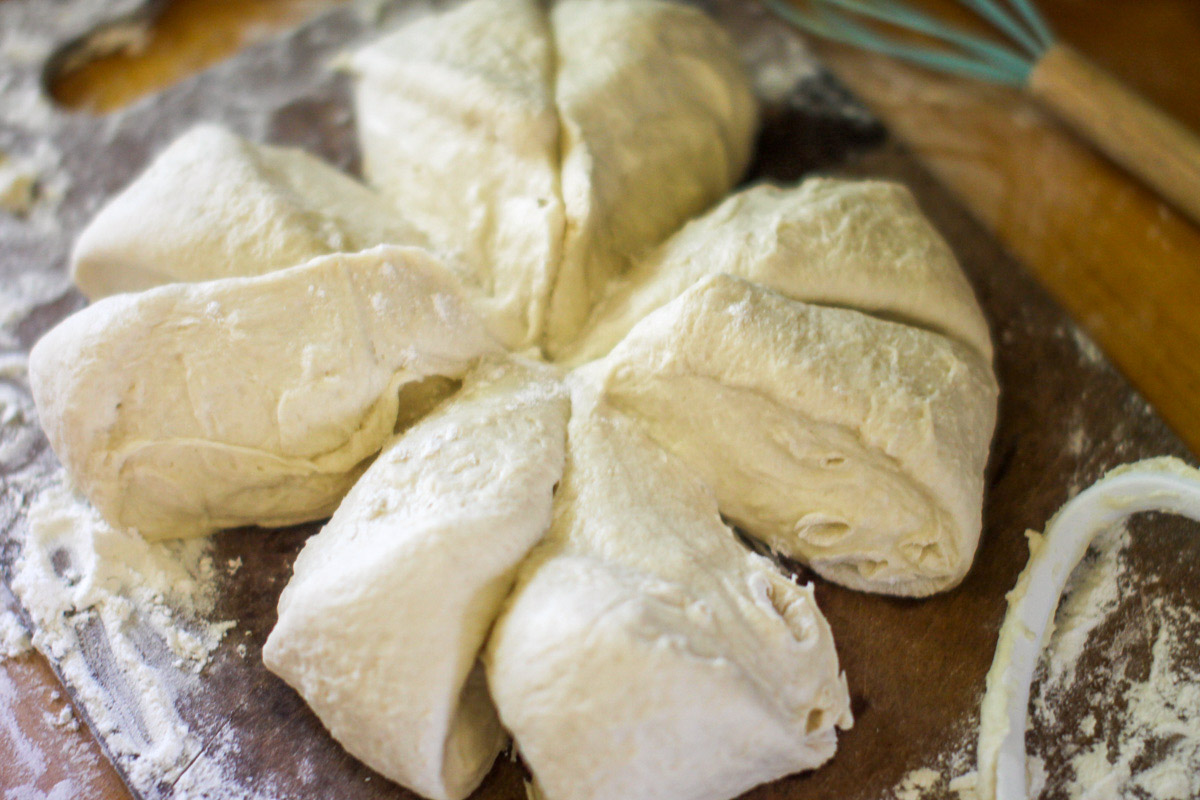
When you take the dough from the mixer, stretch and pull it and then tuck the ends under itself to look like a mushroom top. Cut the dough in half with a knife, then in quarters, then in 8 equal wedge-shaped pieces.
Take each piece and form again into the little mushroom ball. Oil a large bowl, and a container with a lid for the freezer and set 4 dough balls in each. Choose containers that are larger than the dough is now, it will expand to be bigger in size.
Now of course you can adjust this for your family size. These are thin and not very large pizzas. A hungry adult would easily eat 1 pizza or more and a kid maybe half. Freeze whatever amount you don't plan to use.
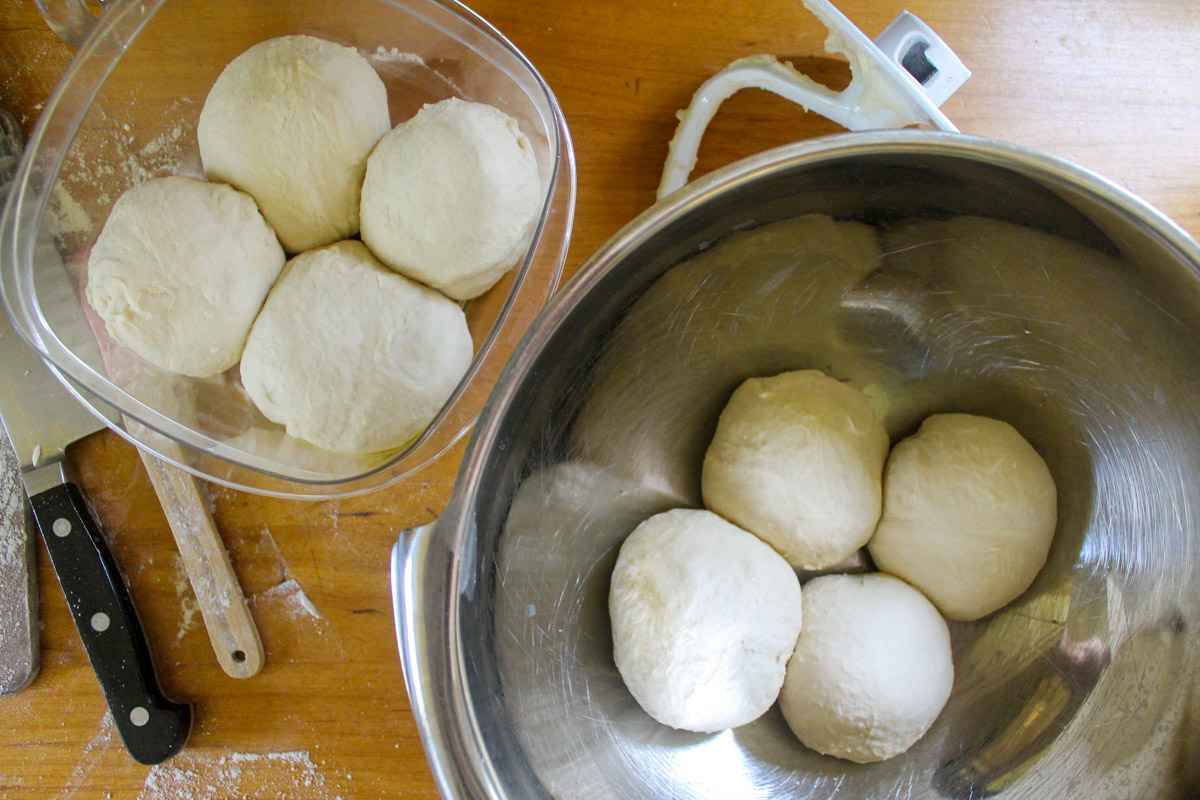
Cover the bowl with plastic wrap, or better yet, reuse an old bread or bun bag to be eco-friendly!
- Proofing pizza dough at this point is as simple as leaving it on the counter all day if pizza night is tonight.
- Or, set it in your fridge overnight and pull out the morning of pizza night (up to 2 days in advance).
- Put the extra container (or containers if you are making extra batches) in the freezer right away.
Frozen dough can be thawed in the fridge overnight. On the morning of pizza night, take the refrigerated pizza dough and let it sit on the counter all day.
If the dough part of homemade pizza seems like the hard part to you, there are plenty of store-bought refrigerated pizza dough options and crusts. Give them a try!
The Sauce
There are lots of options for the sauce for your pizza. Again a major meal prep part of my pizza process, I almost NEVER make the sauce on the day I make the pizza. I always have pint jars of sauce in my freezer.
The difference between pasta sauce and pizza sauce just depends on the eater! To me, any basic tomato marinara sauce can be used for pizza sauce. So, instead of making a separate batch of sauce just for pizza, I instead make a big pasta dinner!
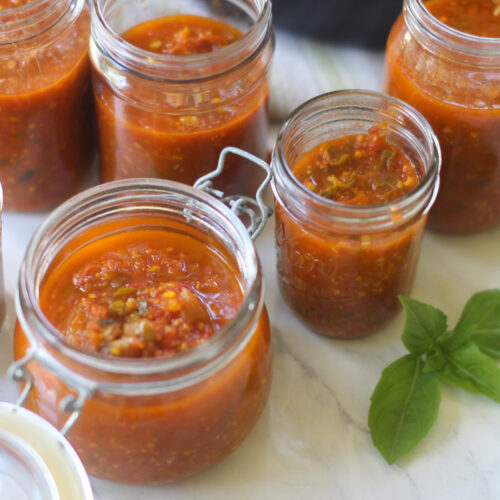
Then I freeze the leftover sauce in pint jars for pizza nights. One pint jar (a little less than 2 cups) is the right amount for 4 pizzas.
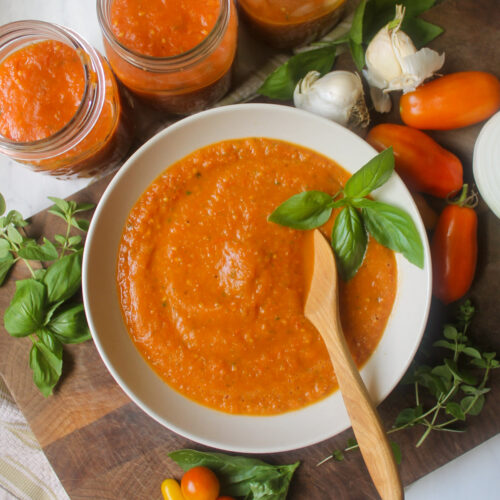
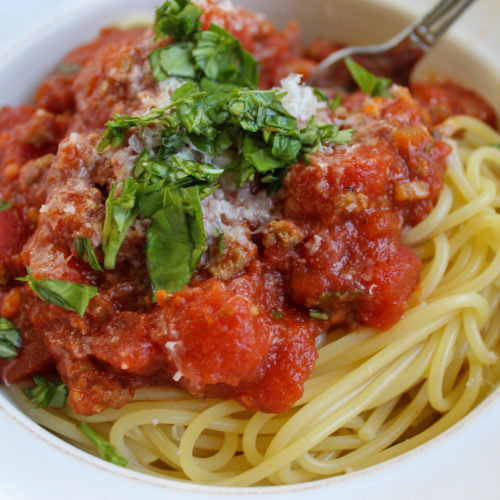
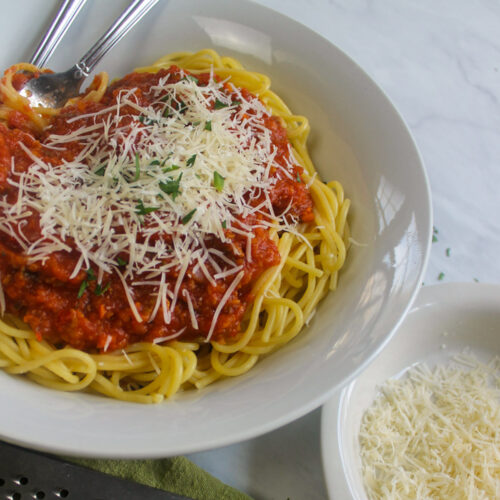
Here are some of my Favorite Marinara Sauce/Pizza Sauce Recipes that are delicious pasta dinners and work great for pizza:
I've also included a very basic pizza sauce in the recipe below to use just for pizza night if you like. It makes about 4 to 5 pint jars worth.
Pizza sauce can be frozen, but only fill the jars ¾'s full and cool overnight in the fridge first so the glass doesn't crack!
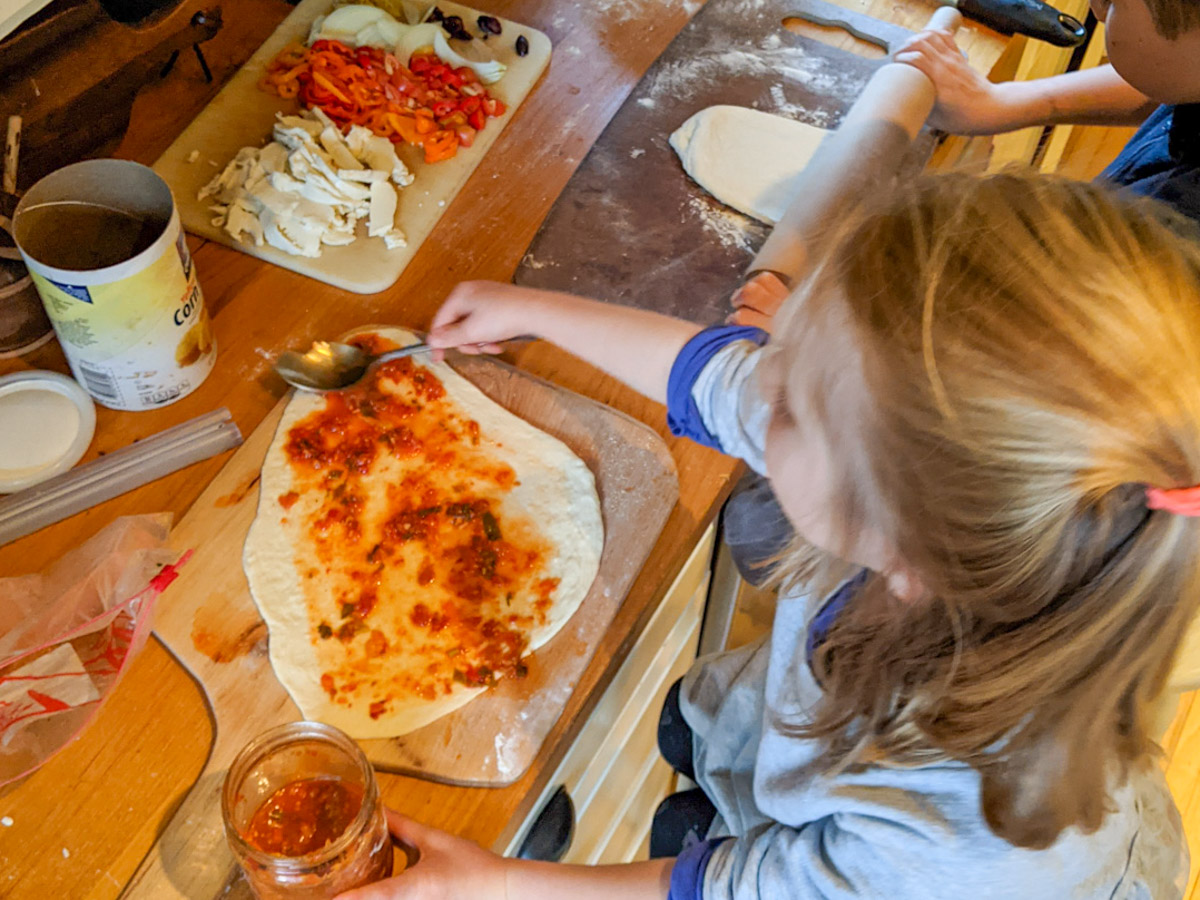
Pizza Sauce with Hidden Veggies
All the sauces above can be left vegetarian if you prefer. Pizza sauce also lends itself well to the idea of hidden veggies.
Whether you want your kids to be eating more vegetables, or you just want to add extra nutrition where you can, a food processor can easily add a lot of vegetables to your tomato sauce.
- Any combination of onion, celery, carrot, bell pepper, zucchini, mushrooms and a few leaves of spinach or kale can be processed until very small.
- Saute them in olive oil before adding canned tomatoes and seasonings and they blend right in to your pizza sauce.
These are just ideas and options, any red marinara, including store-bought jars will work great for pizza!
Pesto or bbq sauce pizzas also make fun variations. Caramelizing an onion in a pan, then adding a half cup of cream to slightly reduce has become our favorite white pizza sauce!
The Cheese
I've found that really any white shreddable cheese will do. I always shred my own, but have used any combination of provolone, mozzarella, white cheddar, or Parmesan.
A ball of fresh mozzarella for pizza is also a great option. Just slice it thin and spread it around. I usually do both shredded cheese and sliced fresh mozzarella.
The Meat Pizza Toppings
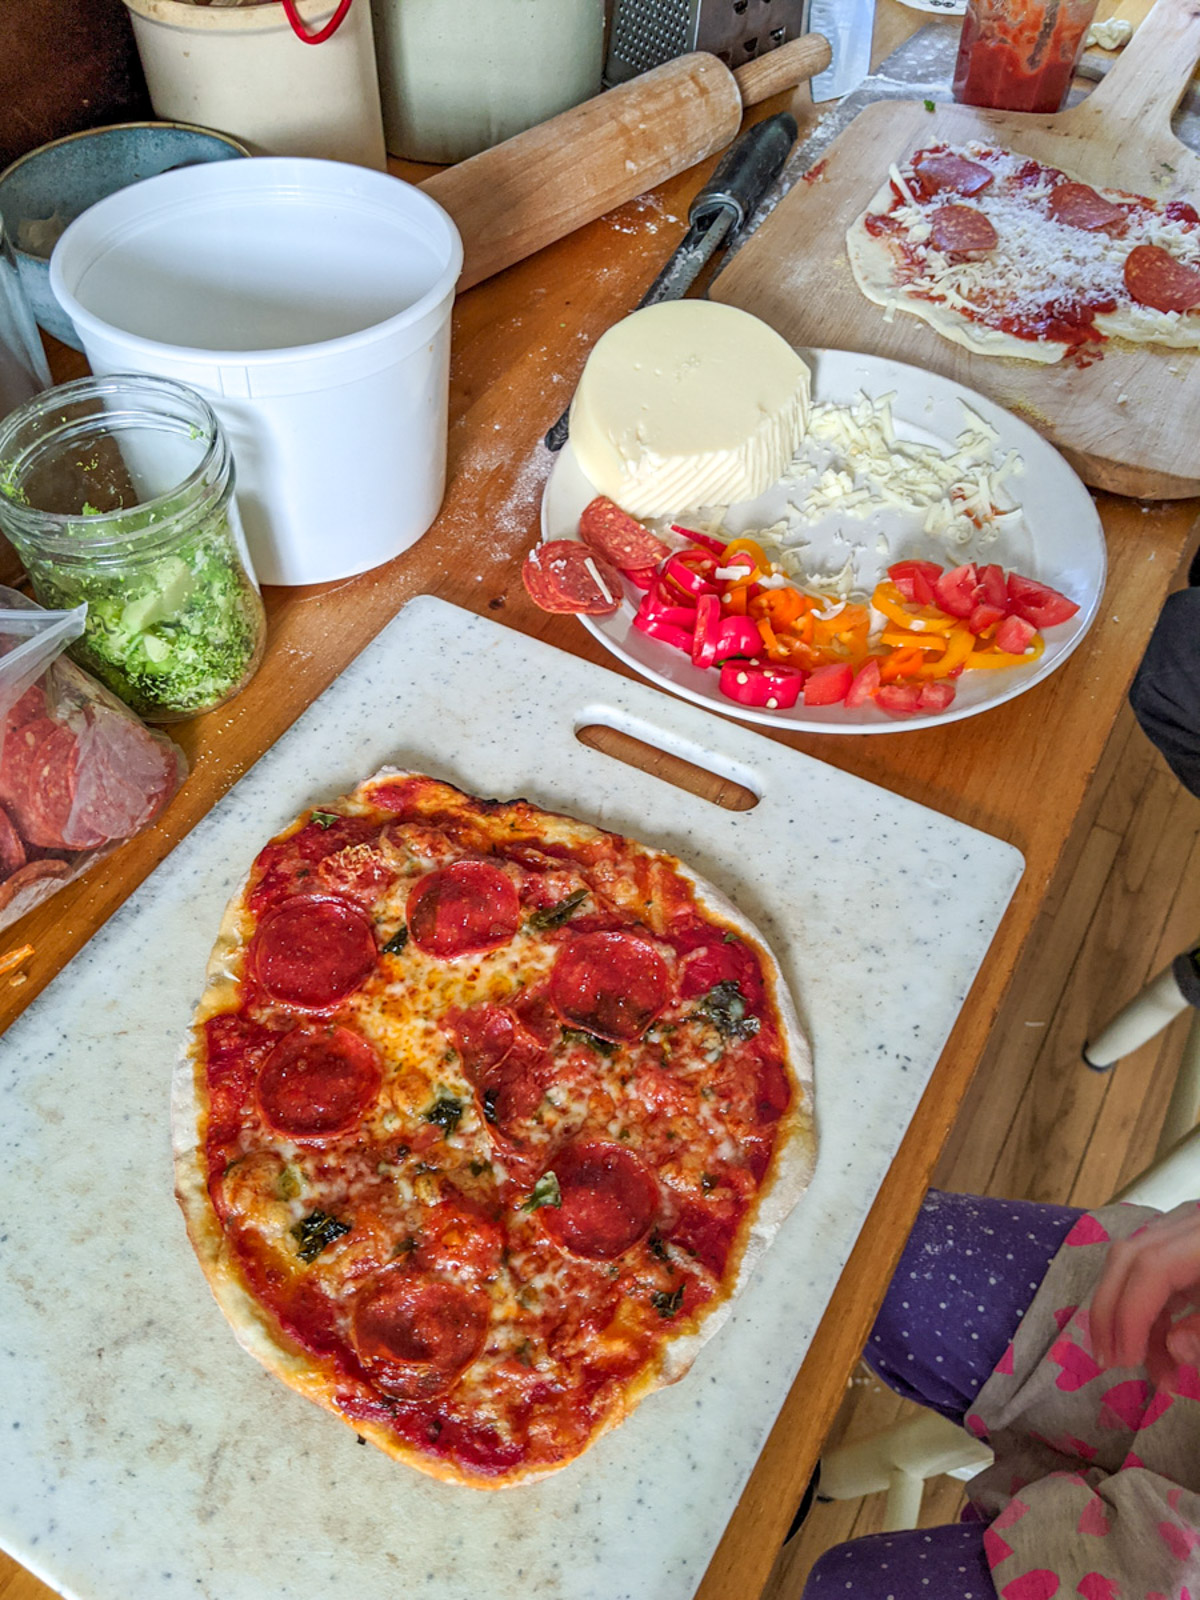
- Pepperoni - My easy trick for always having pepperoni ready to go, is to buy a bag of it from the deli counter and keep it in your freezer. It's better quality than the prepackaged pepperoni, and a 1 or 2 pound bag will last for months. It's an easy ingredient you never have to worry about not having.
- Sausage - I like to buy a pound of bulk Italian sausage, fully brown and crumble it in a pan, and then freeze it. You can do this on pizza night and just freeze what you don't use, or anytime. Freeze it in small containers or jars, or a larger container and then just crumble the amount of frozen sausage you need onto your pizza to bake. It's delicious and easy and will last multiple pizza nights!
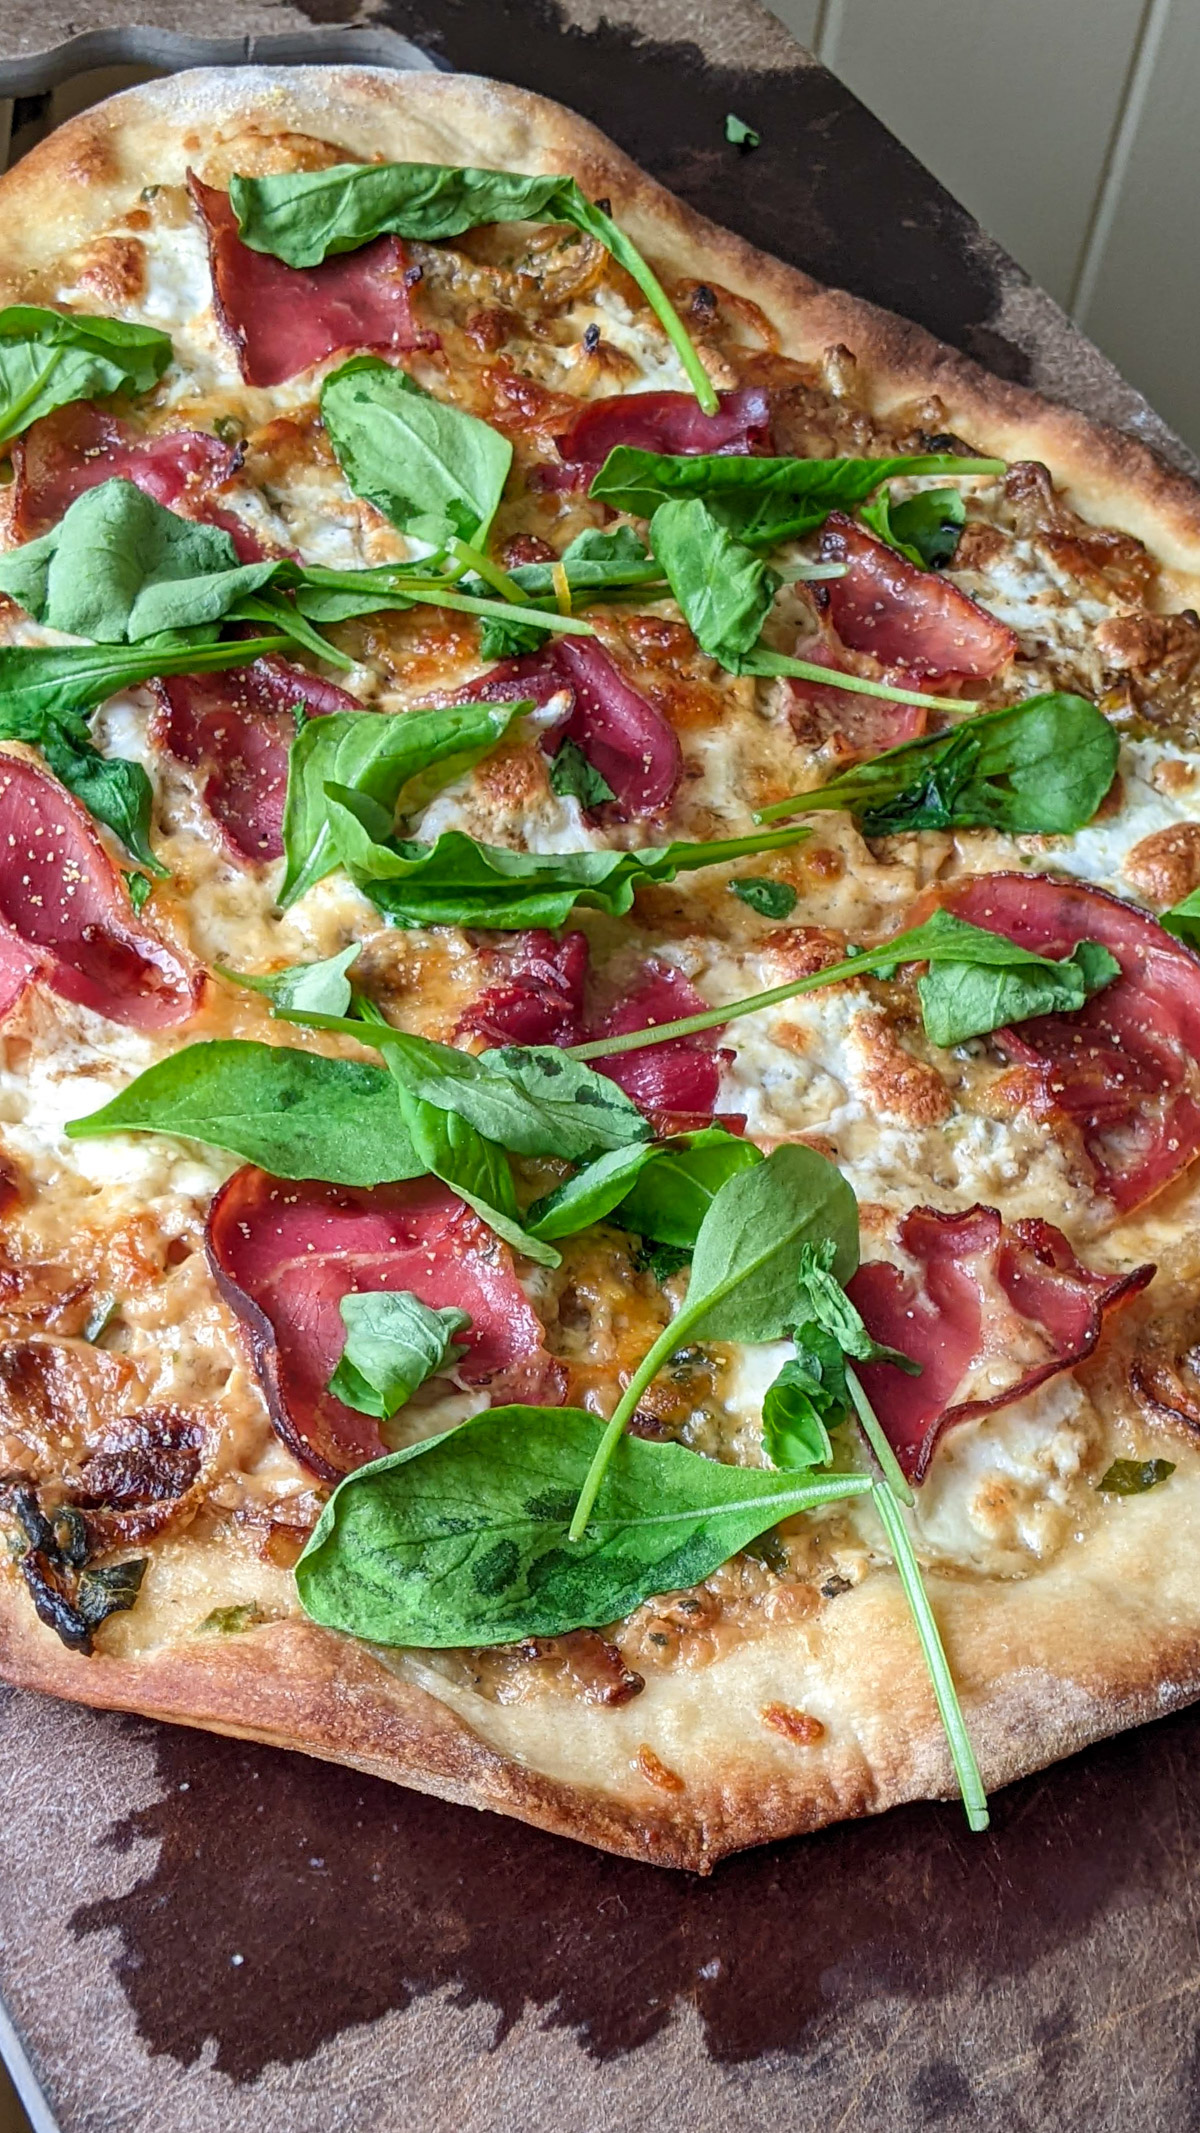
- Other Meat Ideas - If you used the pasta sauce leftovers option, your sauce may have some meat right in it. Thinly sliced prosciutto bakes deliciously crispy on a pizza! Leftover or rotisserie shredded chicken also works great on pesto or bbq pizzas.
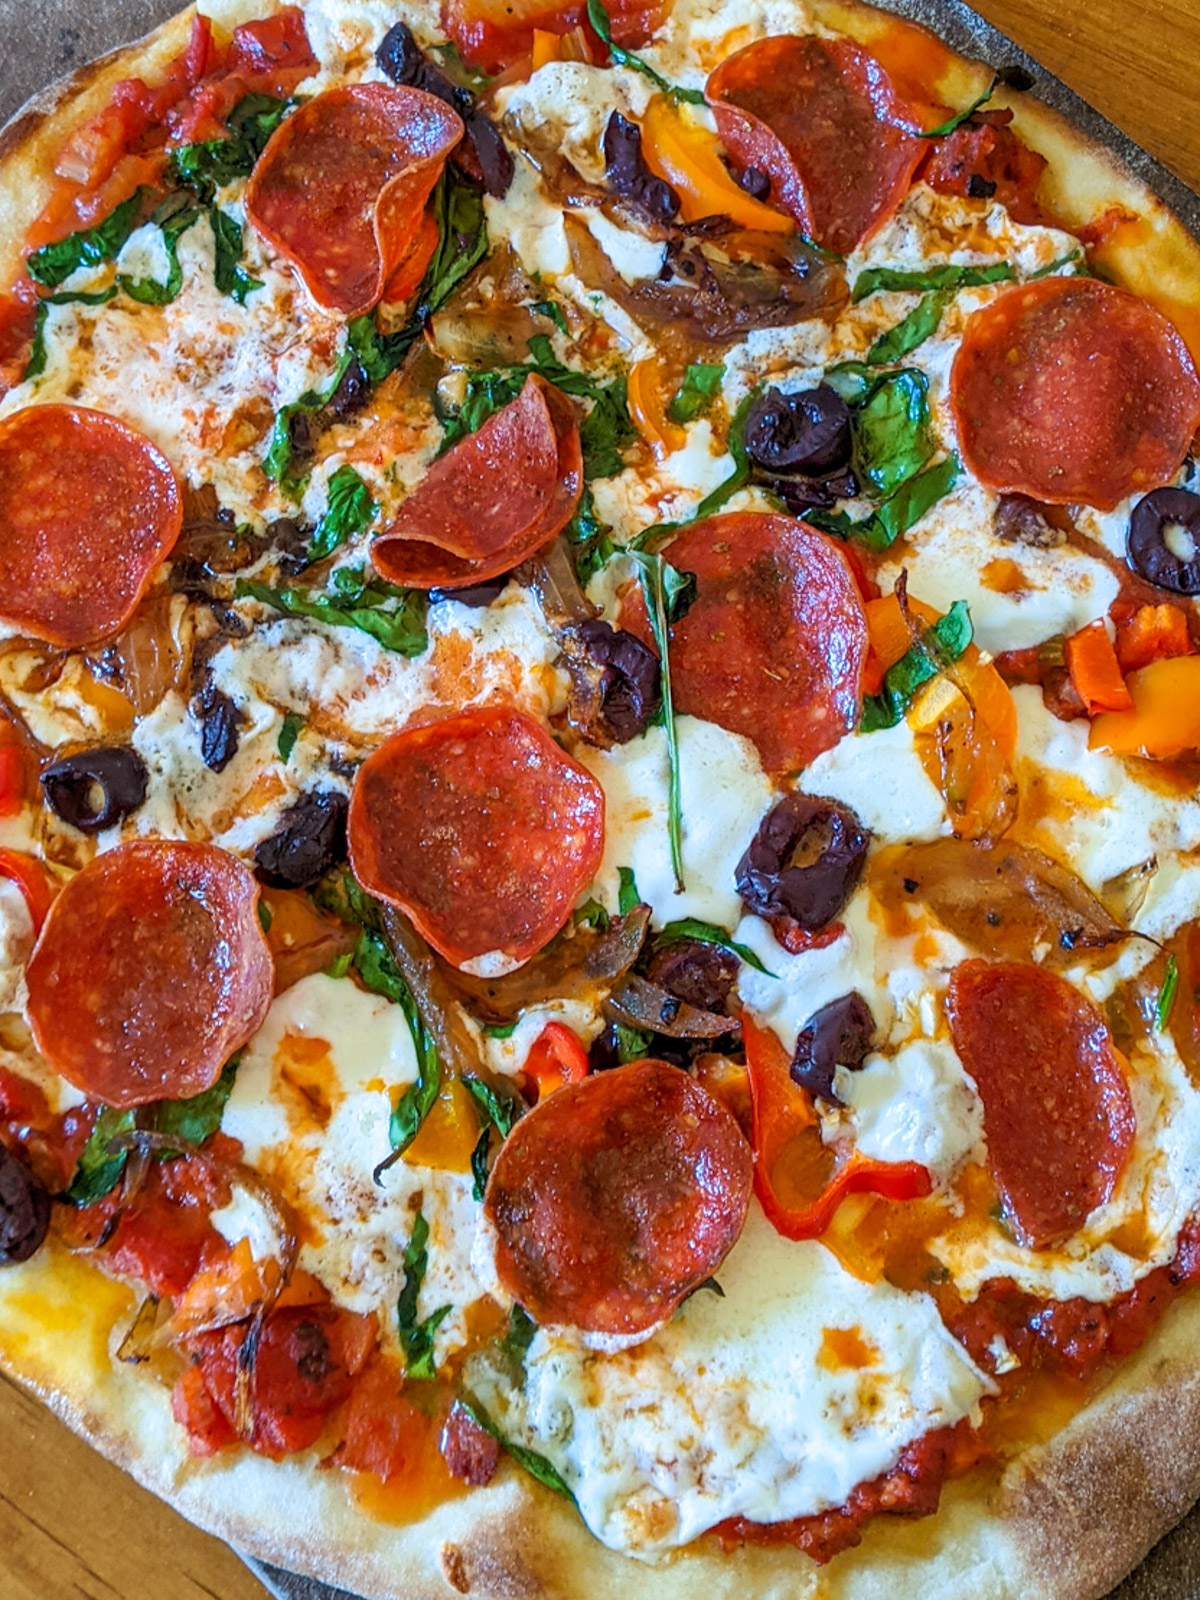
The Veggie Toppings
The veggie toppings are totally your preference. My kids only like pepperoni, which is why I like the hidden veggies in the sauce! Me, I like as many veggies as I can possibly fit!
On pizza night, I start by preparing my veggies and then do it "build your own pizza" style so everyone gets something they like.
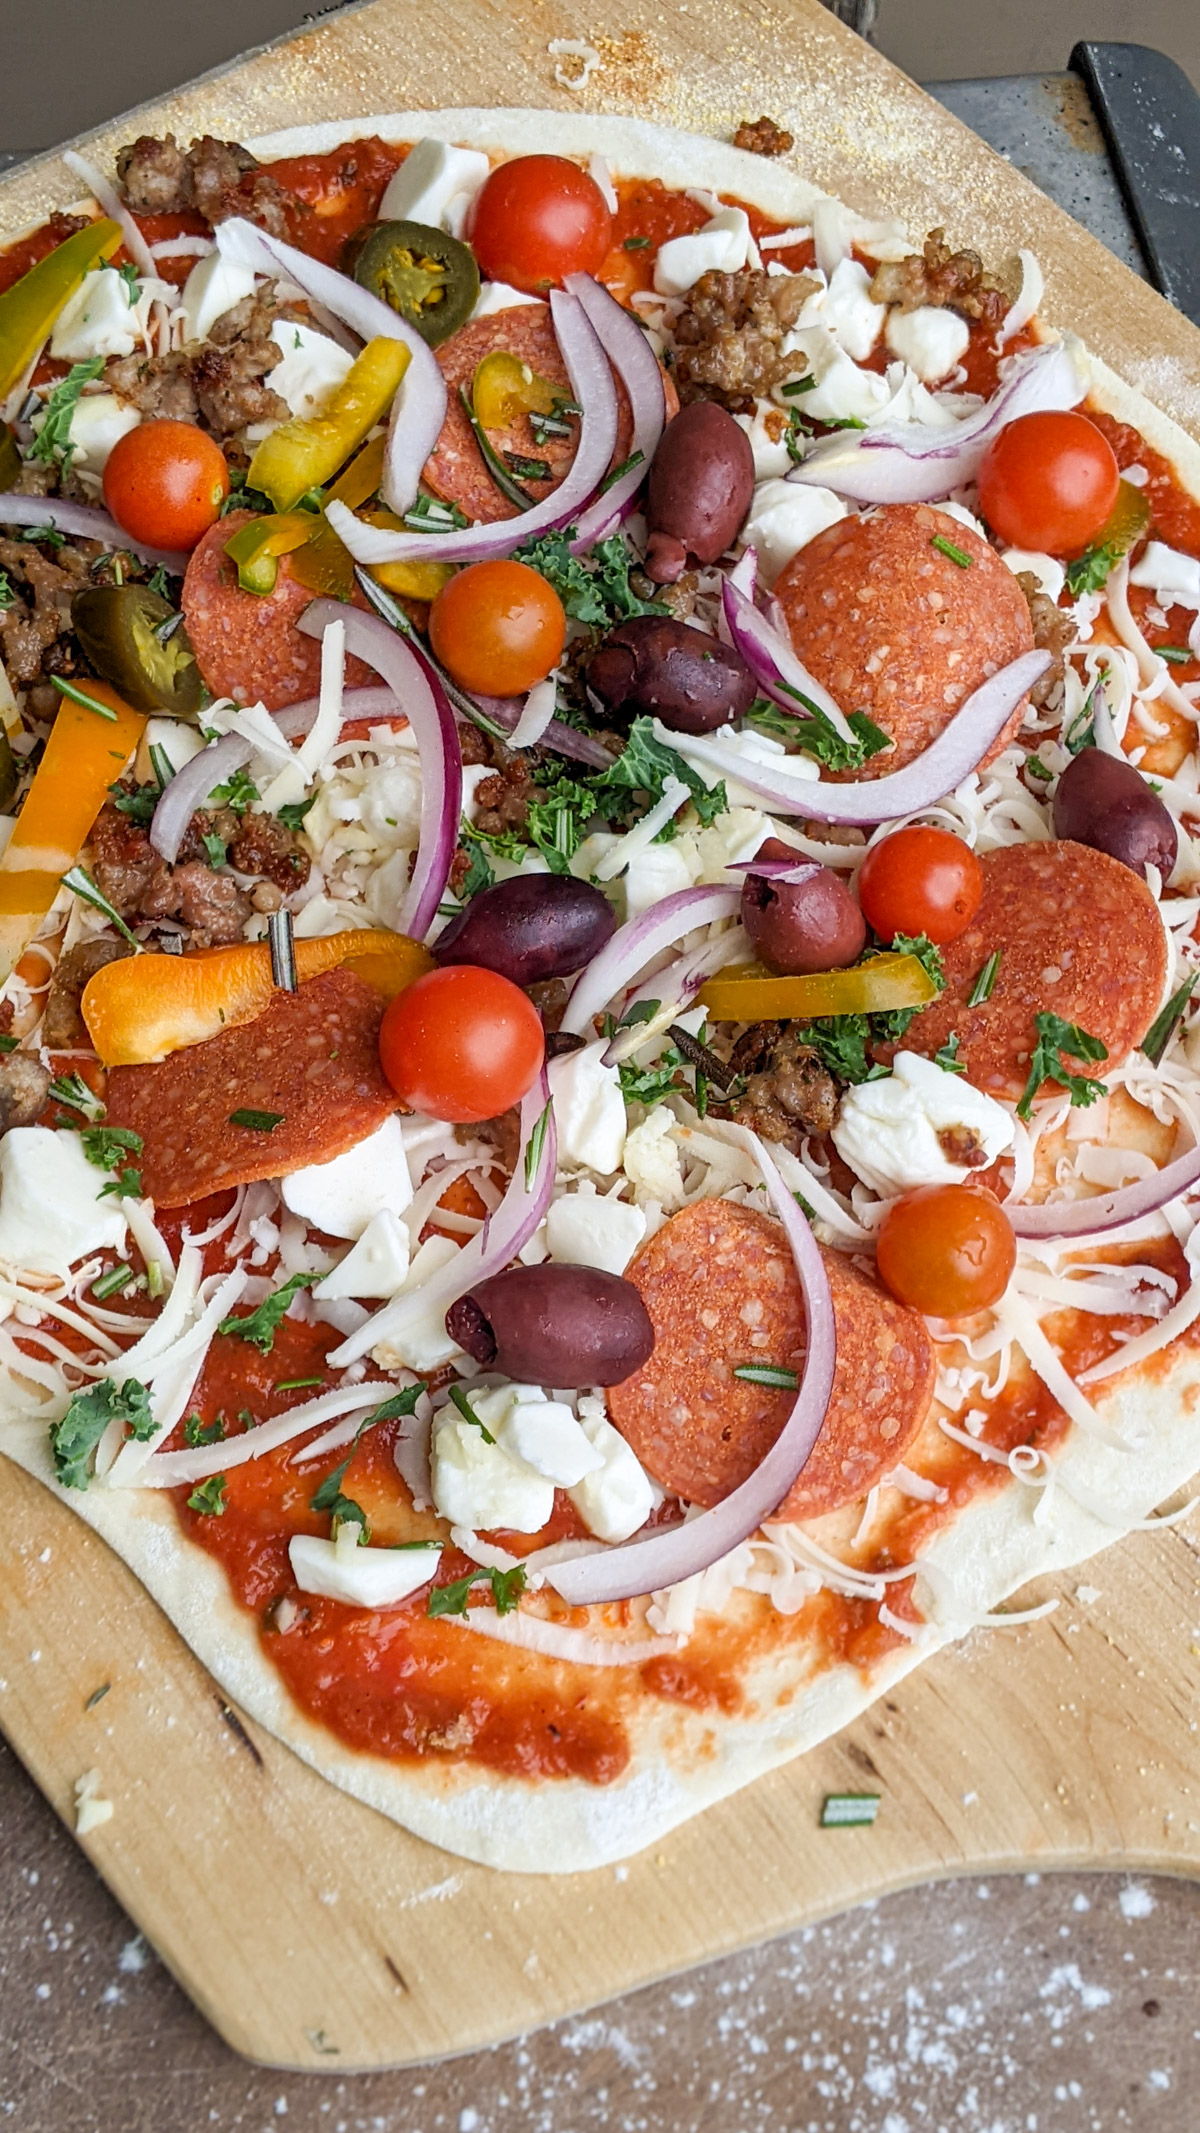
- Bell Peppers - I have a few tricks here to make veggie prep an easy task. Whether it is leftover from my garden, or a surplus purchase at the last farmers market, I like to buy a bunch and Freeze Bell Peppers, sliced in a ziploc. You can add a sliced onion to the mix if you like. That way, my favorite topping, bell pepper, is always ready to go. I've found out a bag of frozen sliced peppers and onions is extremely handy for chicken fajitas, omelets and soup nights too.
- Veggie Ideas - You can add whatever fresh veggies you like, peppers, onions, sliced tomato or cherry tomato, mushroom, zucchini, and a few cloves of minced garlic (seriously good!).
- Herbs - Chopped fresh spinach, kale, or any herbs like parsley, basil, oregano or rosemary are great! I freeze a lot of mixed herbs from my garden which are great to sprinkle on pizza. Just wash, chop and freeze in a ziploc.
- Pantry Toppings - Don't forget your pantry and door of the fridge when looking for Italian pizza toppings! Jars of kalamata olives and artichokes are delicious. I've bought artichokes in a can which was larger than I needed, so I froze the extras in small jars for the next couple pizza nights.
Each pizza can be different, and different every week. Try copying your favorite restaurant pizzas or let each family member top their own!
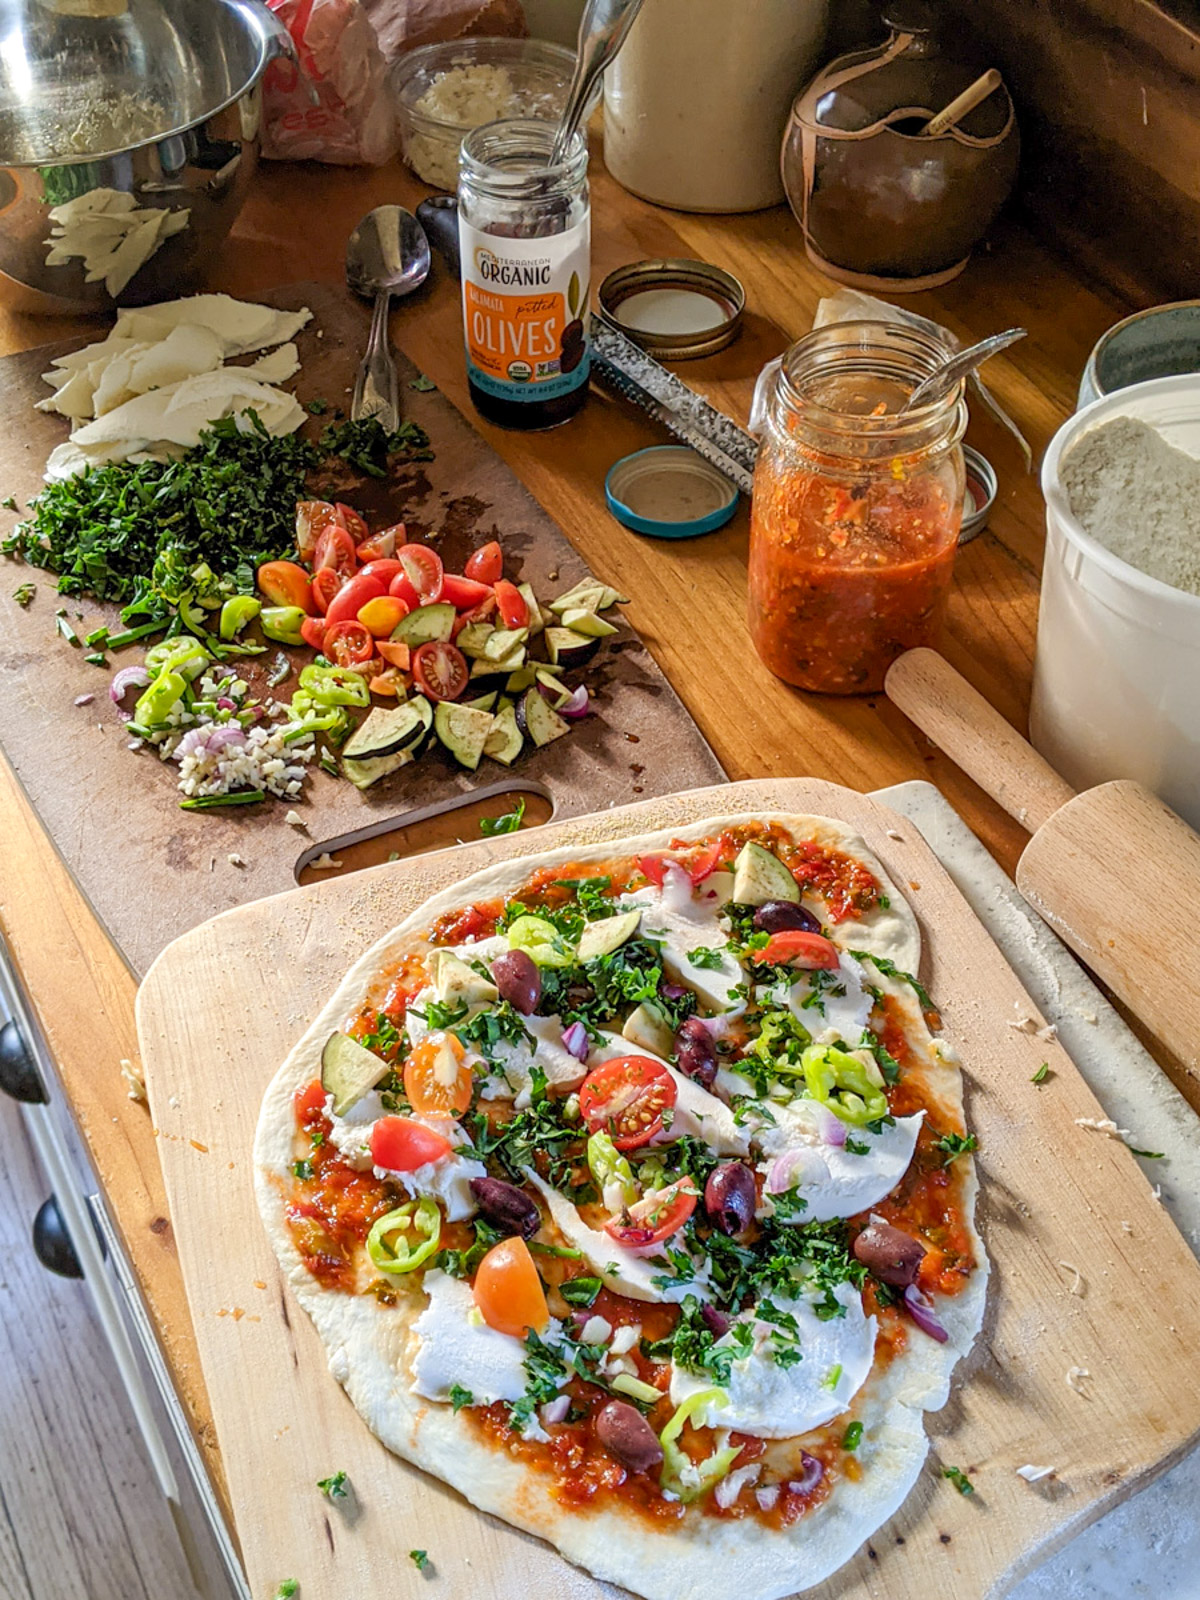
Get creative with your toppings! I love adding what's growing in the garden and pizza toppings are a great way to clear out the fridge!
In the summer, try a pizza with caramelized onions, cheese, and peach slices! Topped with arugula and fresh basil and drizzled with balsamic glaze. Yum!

The Cooking Process
Your dough is proofed in a bowl on the counter, a jar of sauce is thawed in the fridge, you've shredded your cheese, a bag of pepperoni is in your freezer, and you chopped your veggie toppings. You're ready to put it all together!
You don't need a fancy oven or any fancy equipment, you just need to get set up.
- I've found the best at home oven temperature for pizza to be 450° convection bake.
- Place a large baking sheet pan on the bottom rack of the oven while it's preheating to act as a pizza stone if you don't have one (I don't have a pizza stone and a baking sheet works really well!).
- You want your pizza baking temp and the sheet pan to be super hot.
Convection means the oven fan is blowing the hot air around, which gives you a crispier crust. If your oven doesn't have a convection setting just do regular bake.
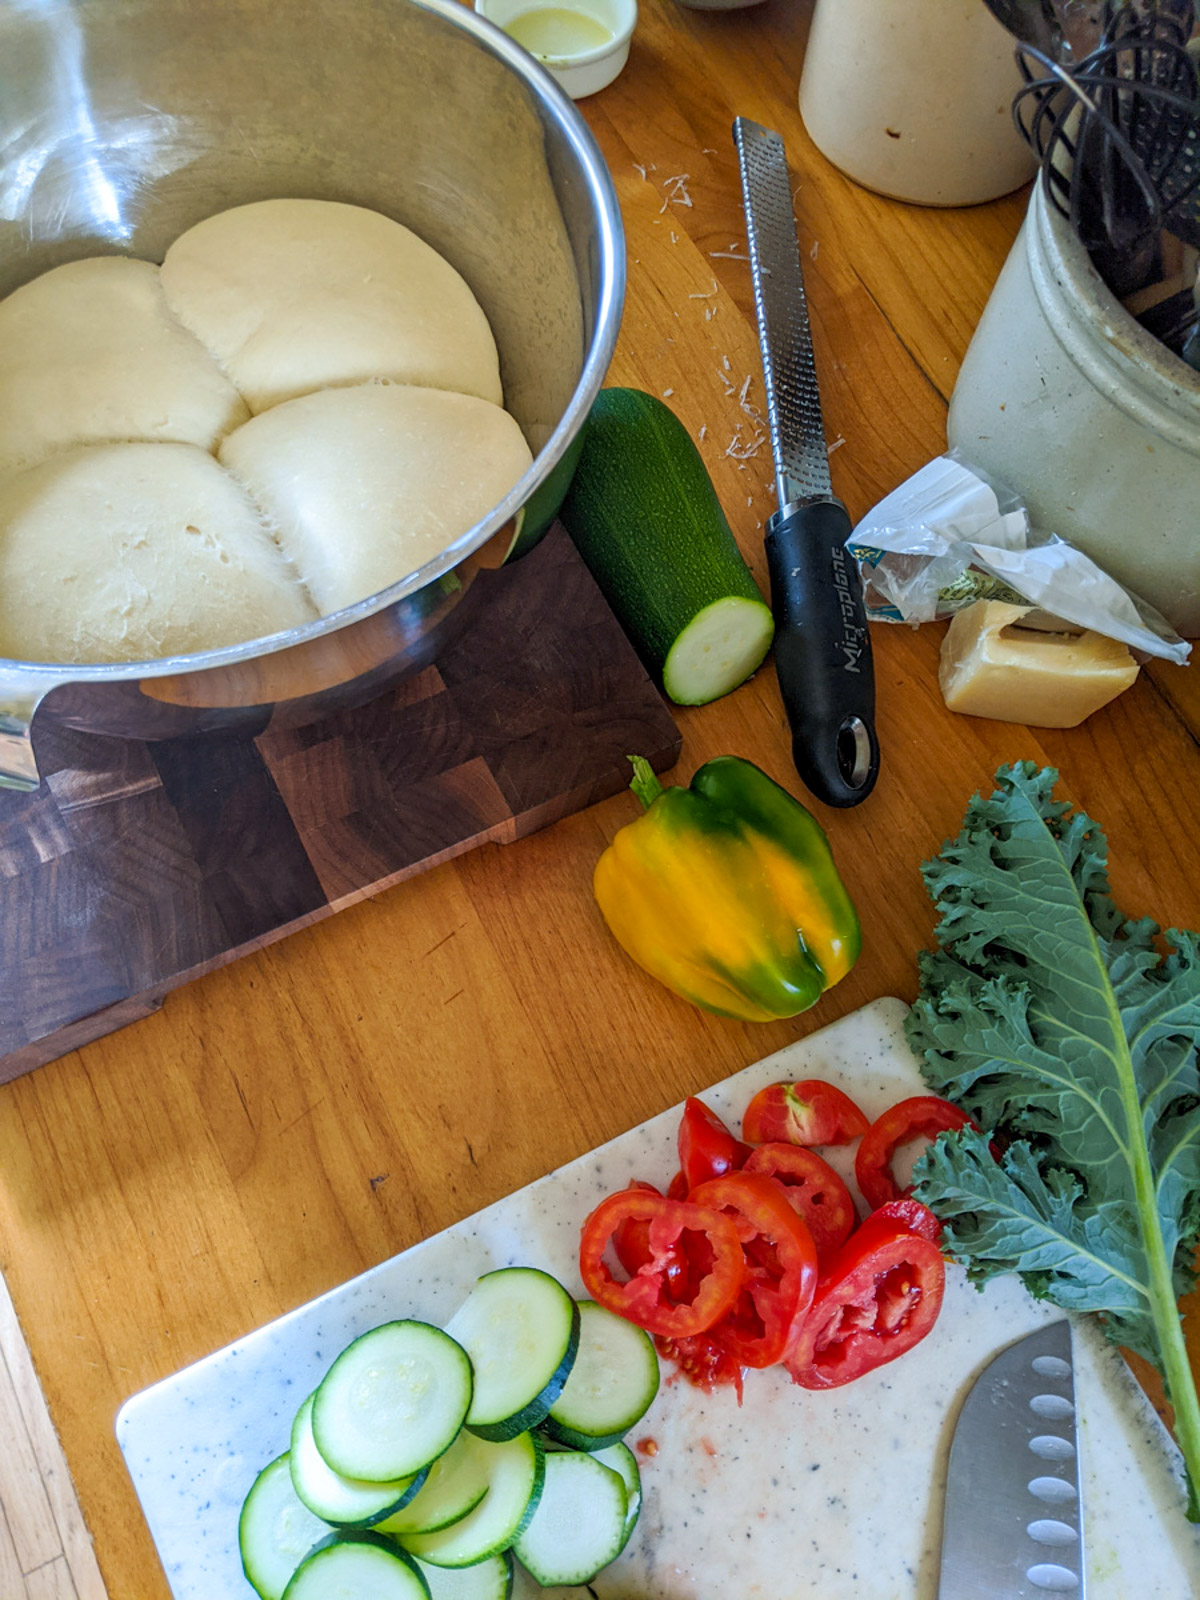
You'll need a few cutting boards, one to prepare your toppings, one to roll your pizza dough, one or two to slice and serve your finished pizza, and possibly one to transfer pizza to the oven. A pizza peel works great (the big wooden paddle used to take pizza in and out of the oven), but that extra cutting board will do if you don't have one.
- Cornmeal - Spread the peel or cutting board with a generous amount of cornmeal. This is a must, absolutely important, don't skip it! Start with about 1 teaspoon, but add more in between pizzas. Think of it like sand on a dance floor, keep your pizza moving freely! Without cornmeal your pizza will stick to the peel when you are trying to transfer it to the oven and you will have a mess!
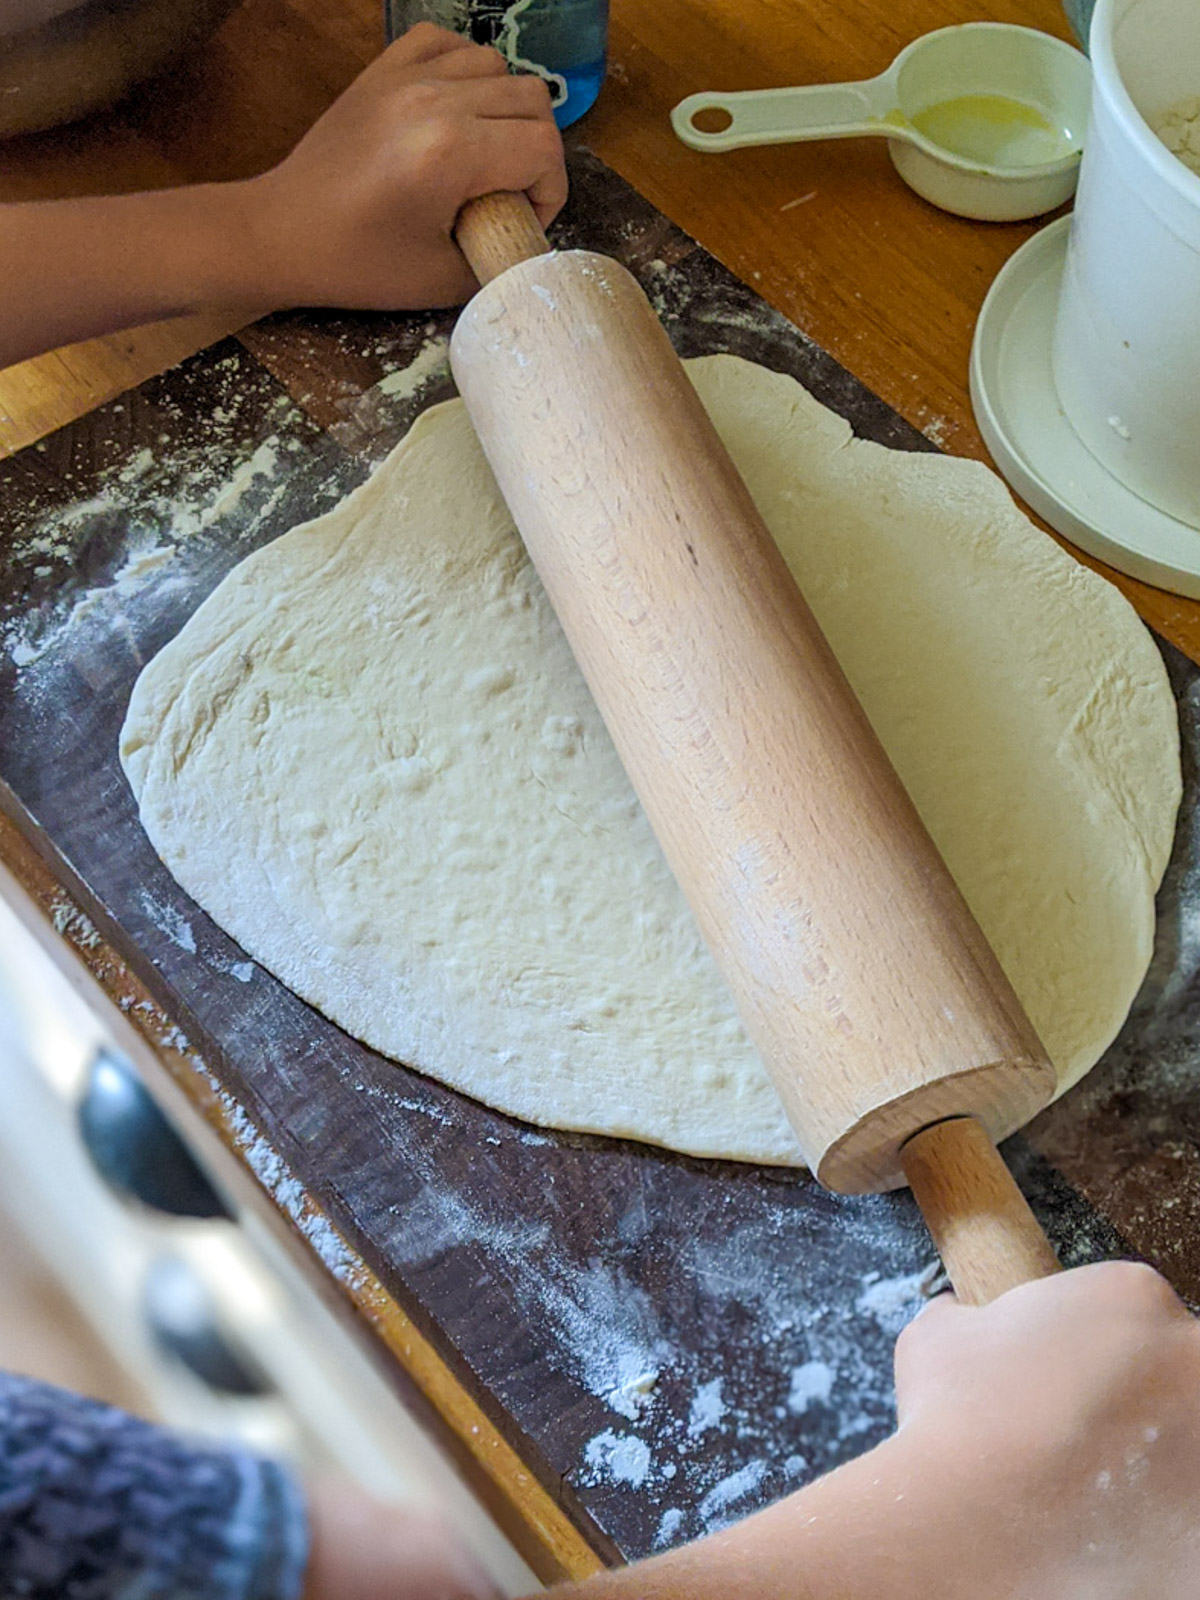
- On a floured cutting board, roll your first pizza dough ball with a rolling pin. No, you don't need to fling the dough in the air like they do in a pizzeria! The rolling pin gives you a nice even thin dough.
Get it as thin as you can, if you want to pick it up and stretch and turn it with the back of your hands, go ahead and give it a try. Just don't get a thin spot or a hole! The goal is a thin circle, the size of the pizza peel.
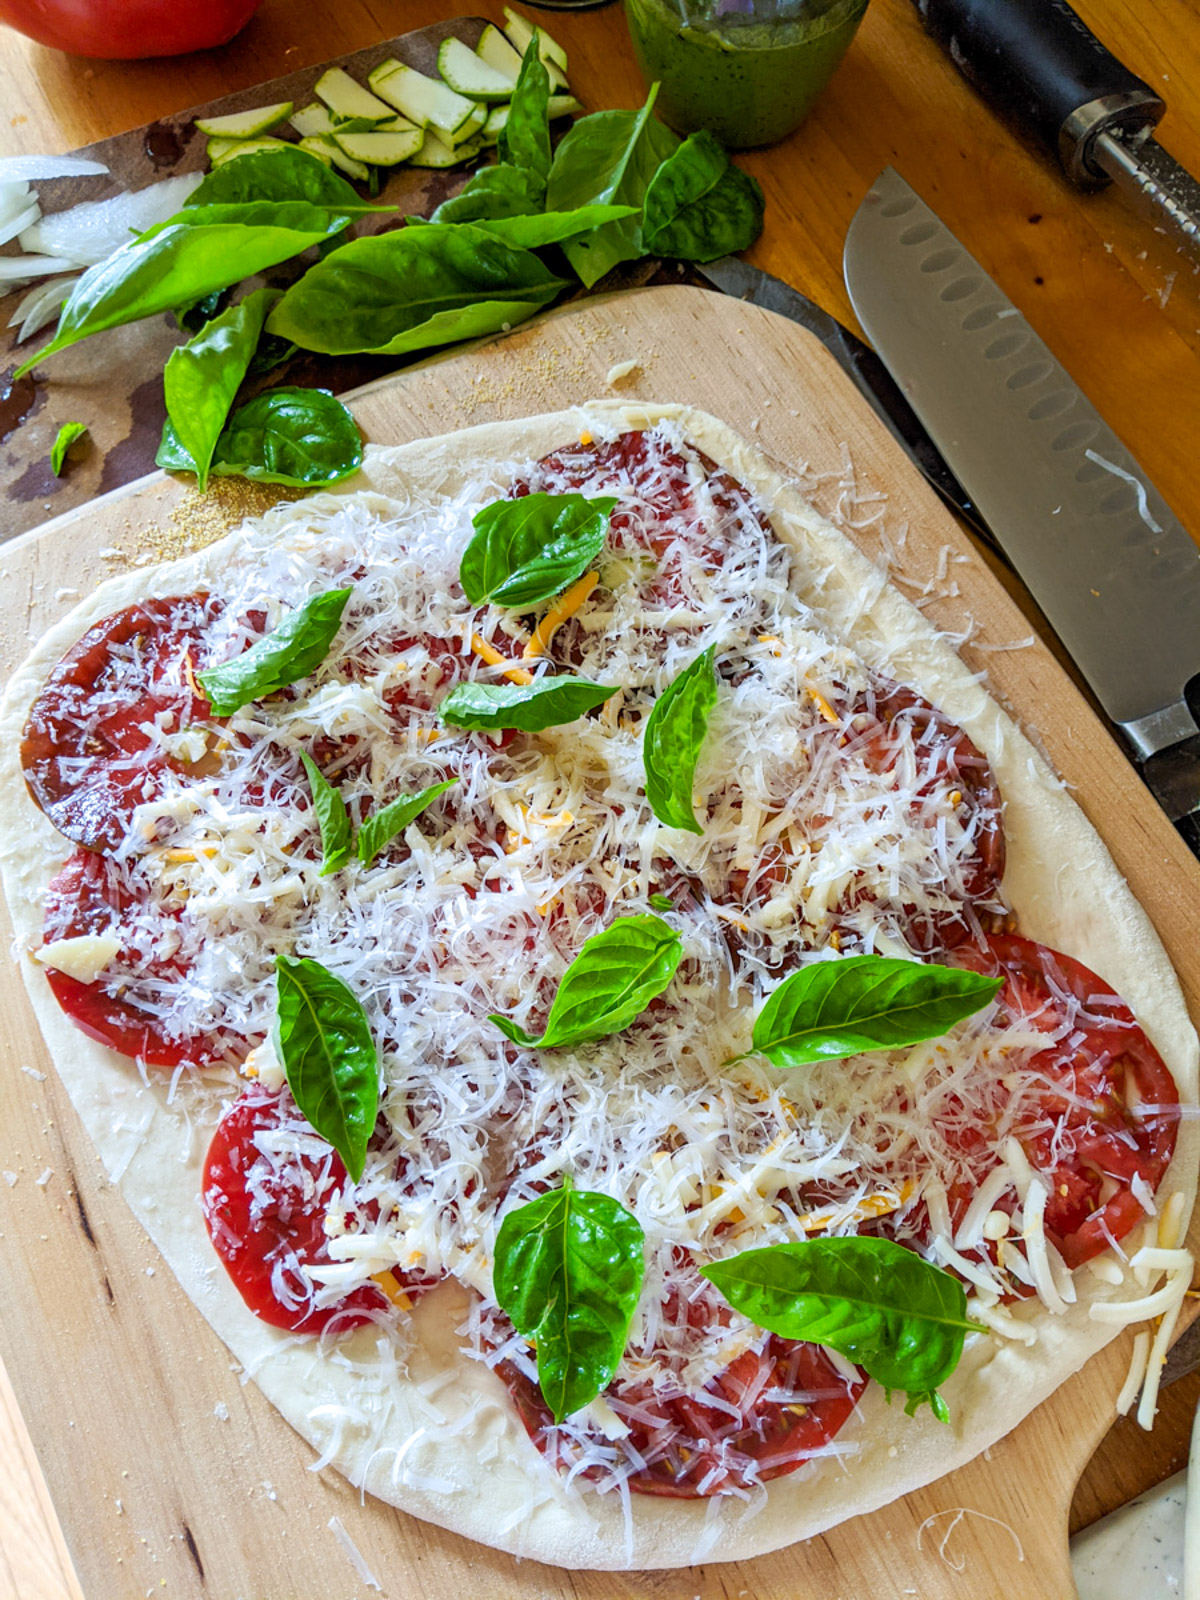
- Place the rolled dough on the cornmeal covered pizza peel or cutting board, and add your sauce, cheese and toppings. Now the next step is where you need to make sure things go right. First, can you lightly shake the peel or board back and forth to see if the cornmeal is moving the pizza around?
- If it seems stuck in any spot, try to lift that part with a spatula and toss in a bit more cornmeal. Then you are going to pull the pan out slightly with a hot pad and shove the pizza onto the hot pan. Be careful, it's hot!
Sometimes I think it's easier to take the pan out of the oven with hot pads and set it on your stove top to transfer the pizza to it. Use a spatula to help if it seems to be sticking. If it stuck a bit, use more cornmeal for the next pizza.

- Put it in the oven and get started on your second pizza.
- When you have your second pizza ready to go into the oven, your first pizza probably won't be quite done, but the crust will be firm enough to transfer to the top oven rack.
- With two sturdy metal spatulas, carefully pick the whole pizza up and put it directly on the top oven rack. This will finish cooking, giving you a nice crispy crust. Now your pan is free to slide in your second pizza.
And if the top pizza drips, it will fall onto the pizza/pan underneath instead of burning onto the floor of the oven (I set off the smoke alarm quite a few times before figuring this out!).
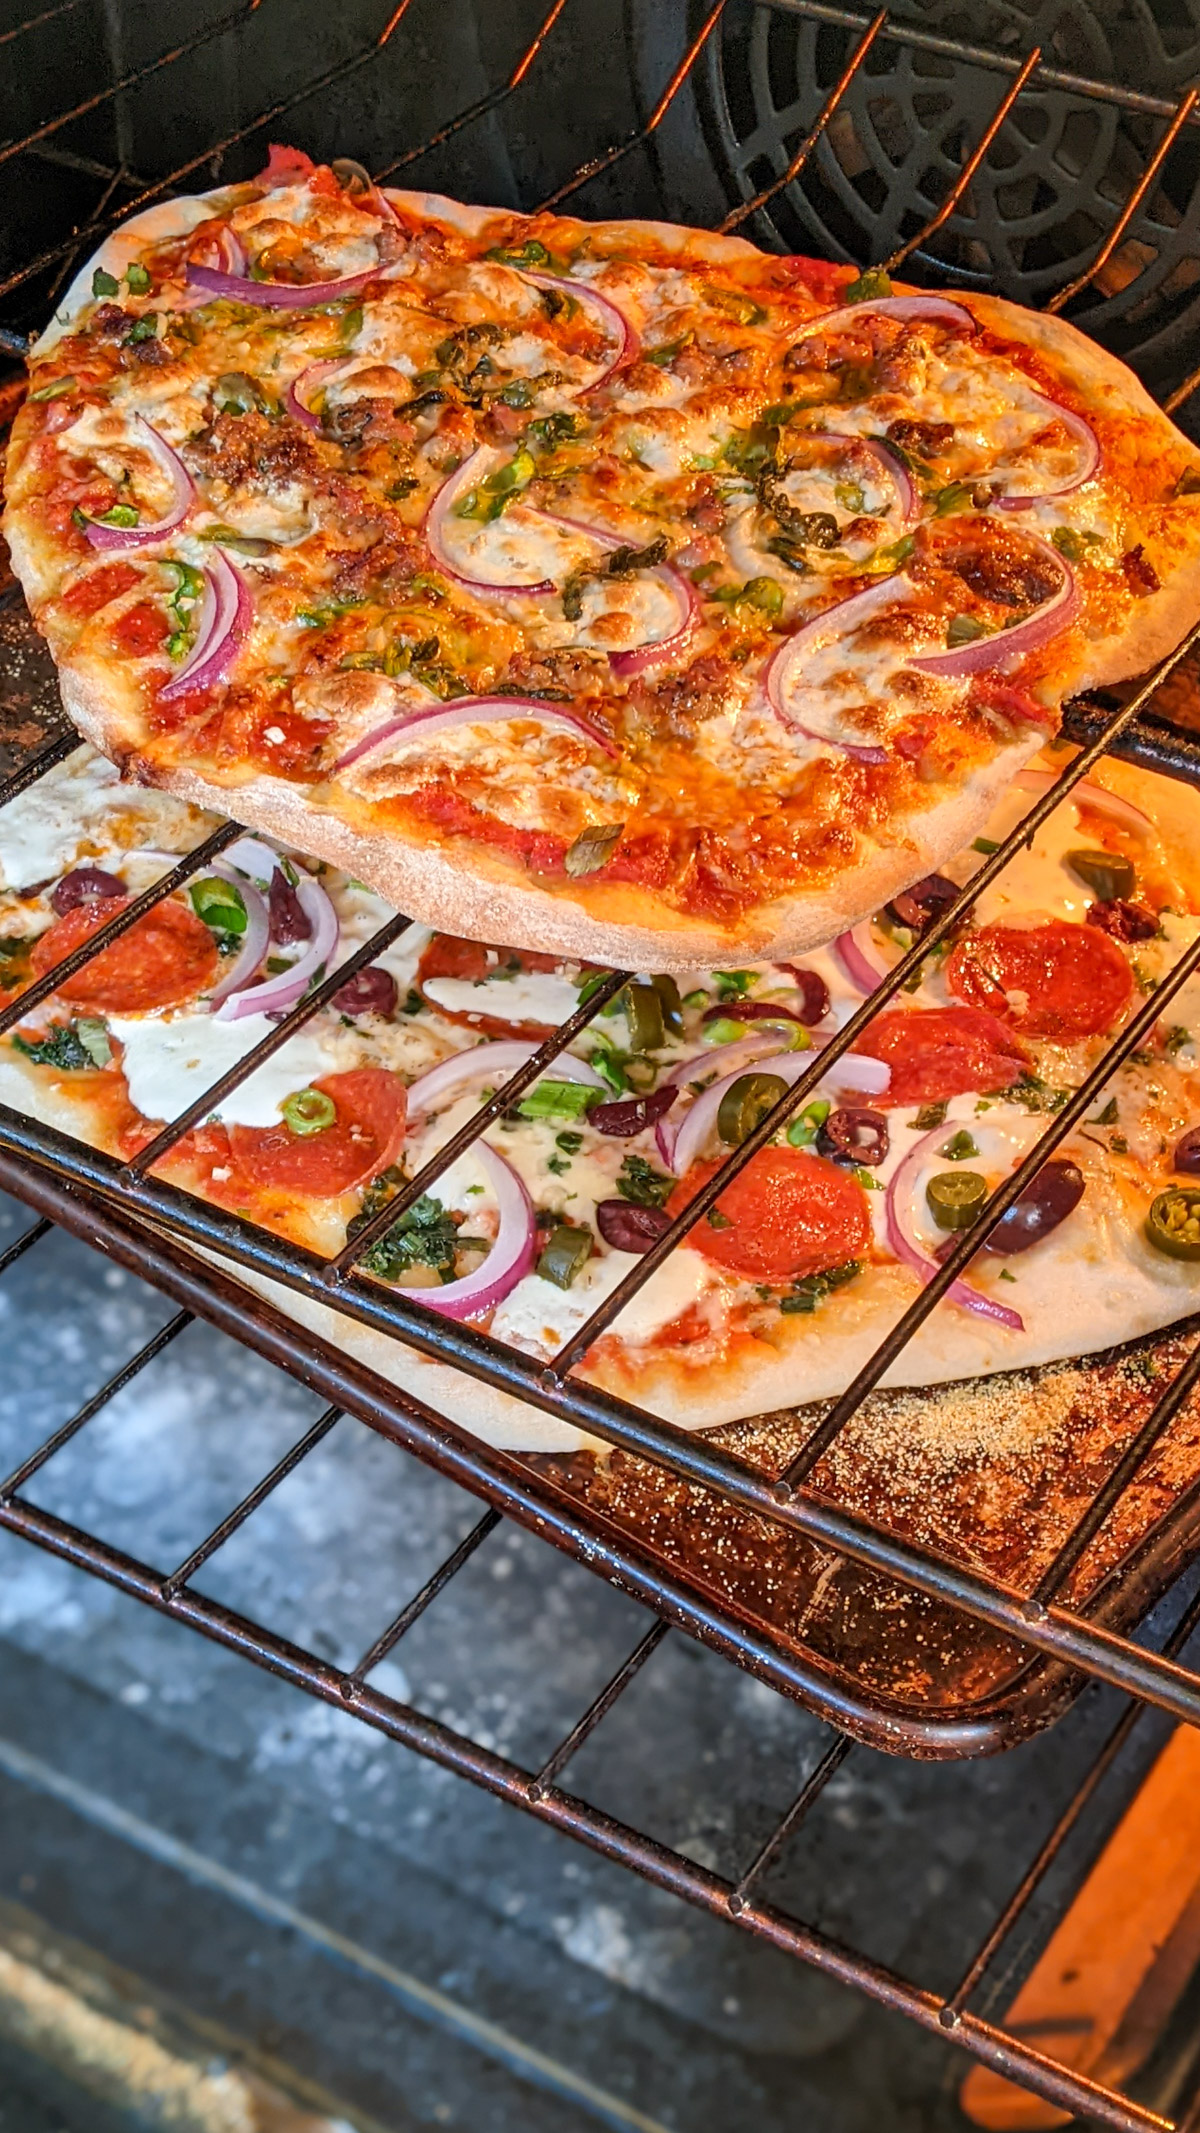
- While those two are cooking, make your third pizza.
- By the time you are ready to add pizza number three to the oven, pizza number one is probably done. Remember your oven is really hot, so check on it and don't let it burn.
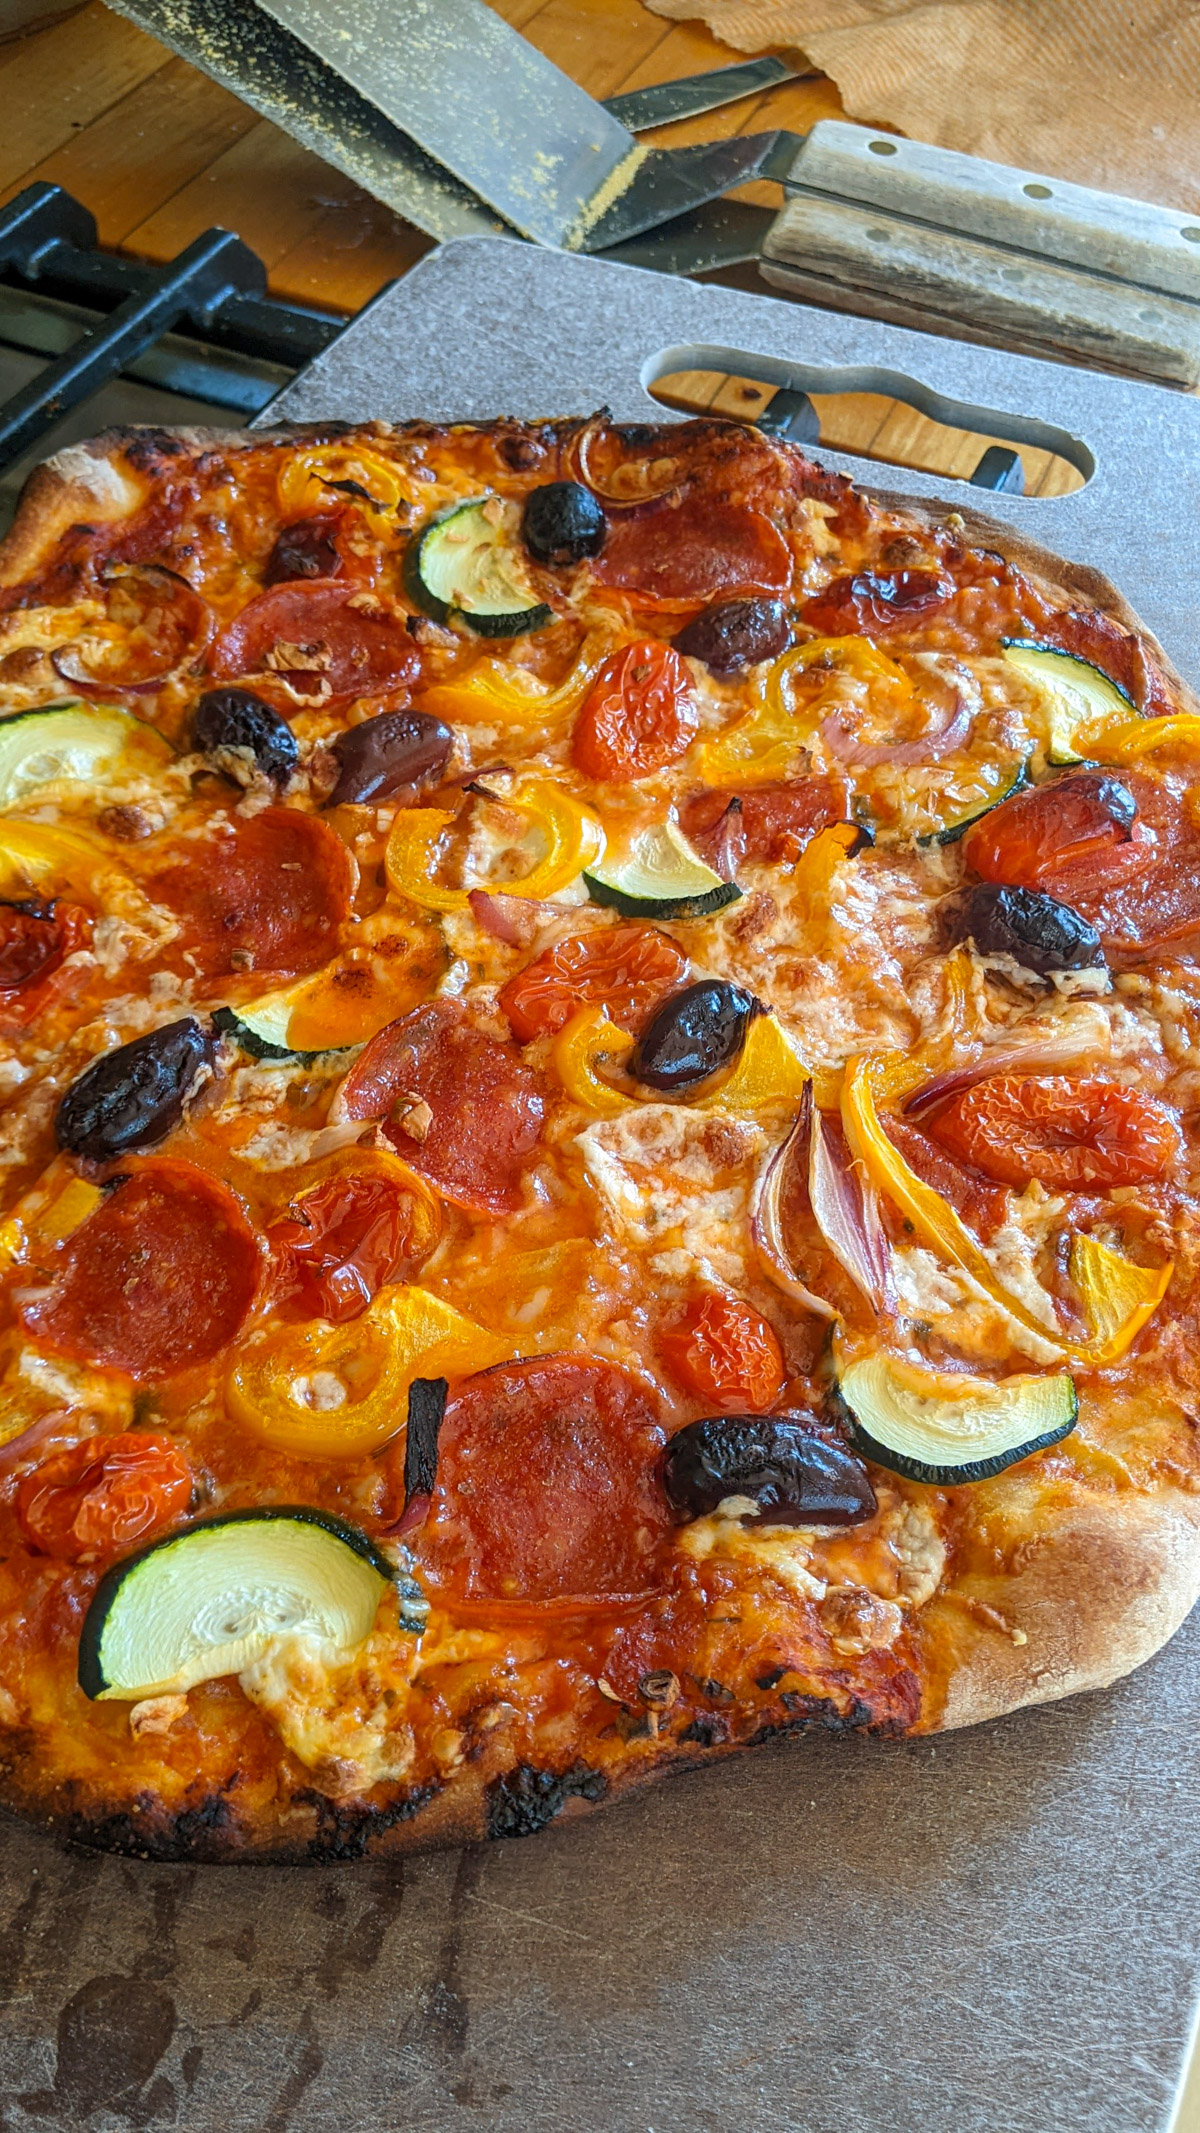
- Take it out, slice and serve on a cutting board. I usually do the kids plain pepperoni first since they are the most impatient when hungry!
- Now transfer pizza number two to the top oven rack and pizza number three to the sheet pan.
- Make your final pizza and transfer them all through the oven using this same method.
We always start eating in front of the movie as the first pizzas come out of the oven.
What to Serve with Pizza
I love that pizza is a complete meal on its own, be we often add a salad or an appetizer, especially if it's a pizza party! These are some of our favorite additions:
- Italian Mixed Greens Salad with Crispy Prosciutto
- Green Bean Salad with Cherry Tomatoes
- Bruschetta with Cherry Tomatoes
- Melon Prosciutto Salad with Arugula
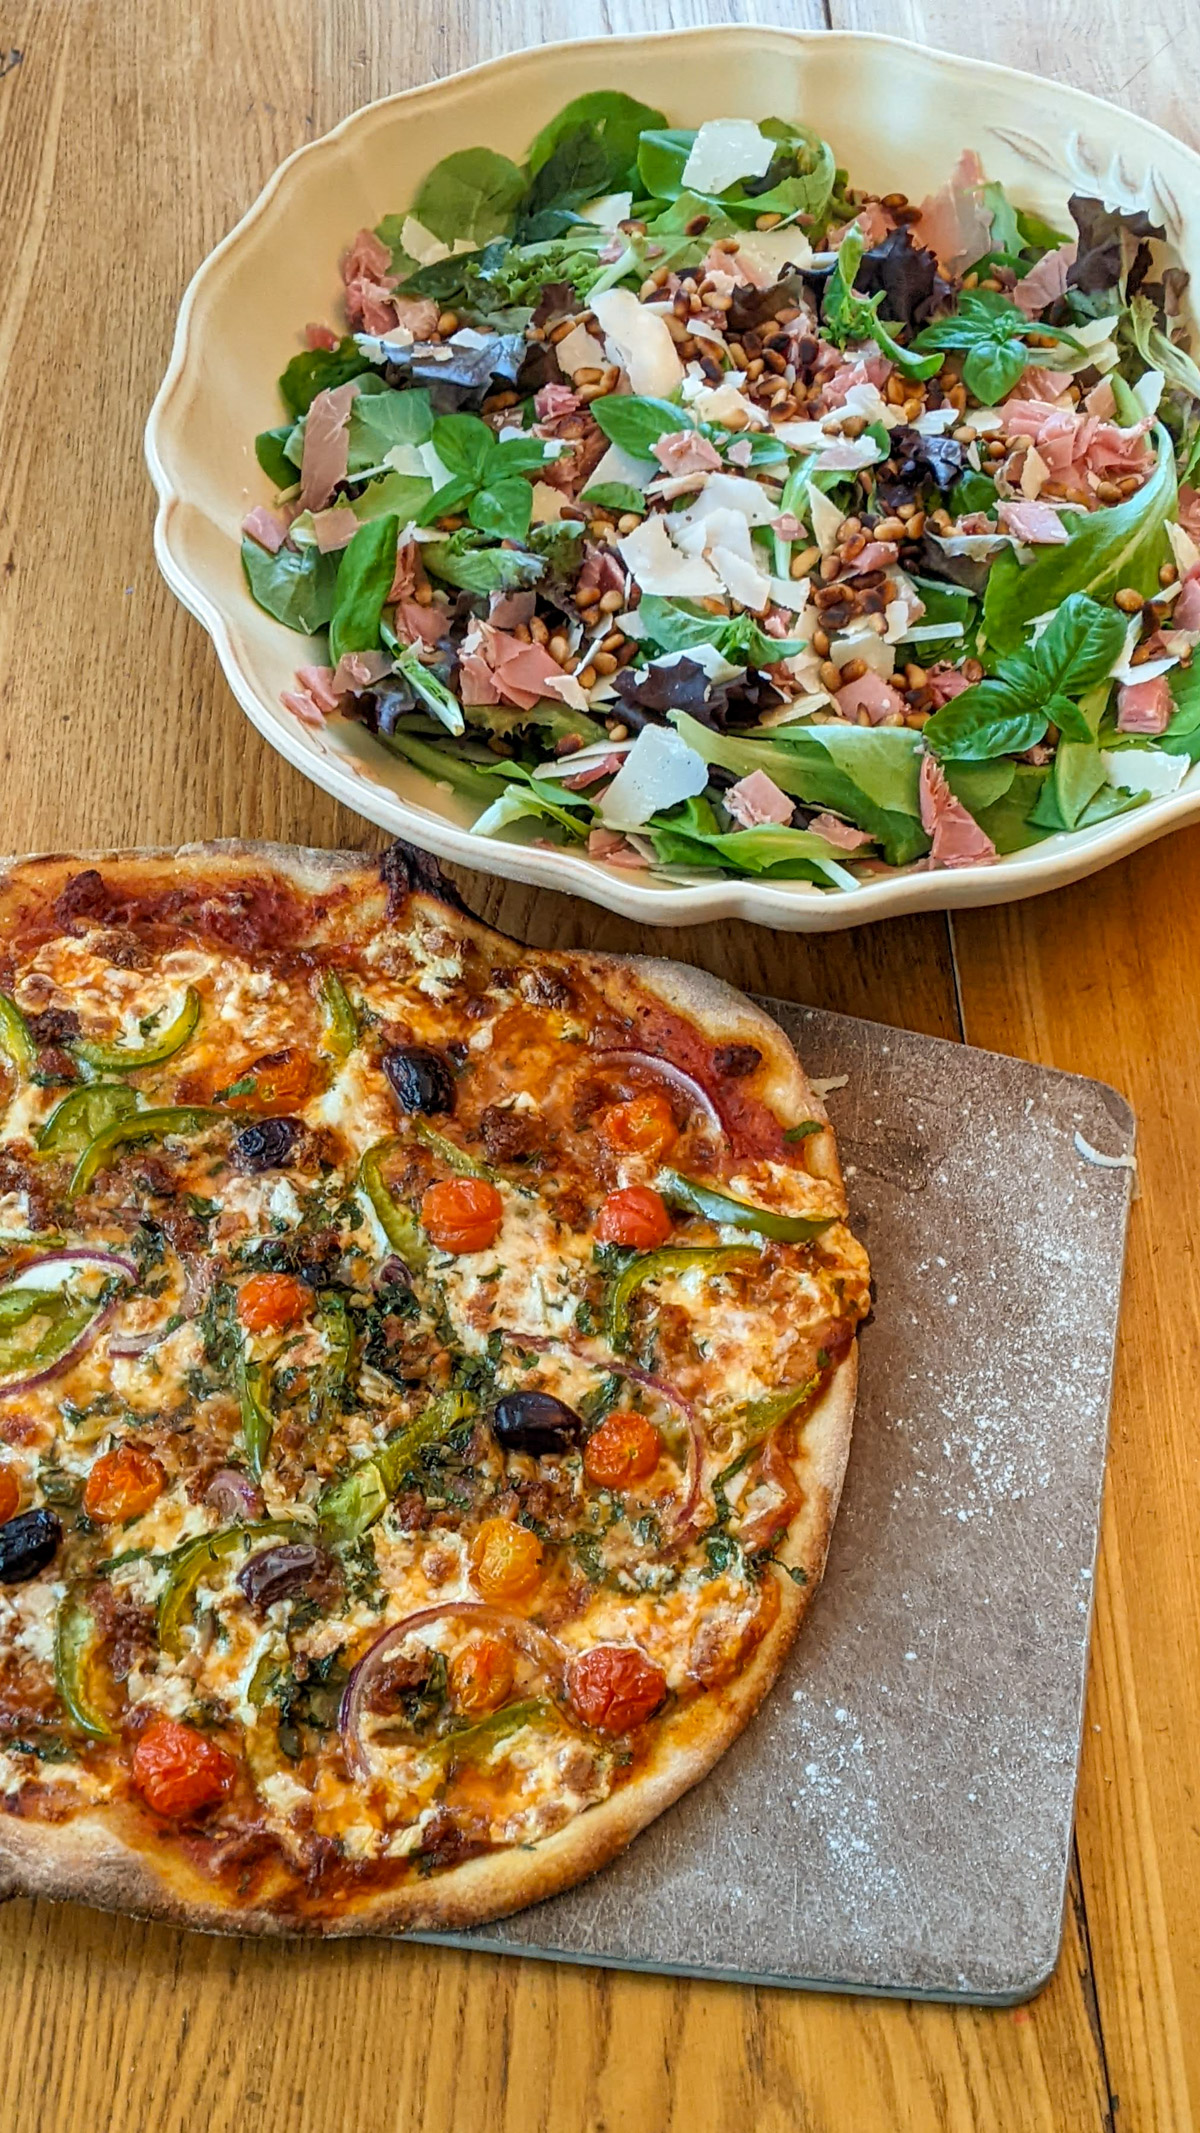
- Prosciutto Parmesan Salad with Basil Dressing (pictured below)
- Extra pizza toppings can be tossed in with a basic salad!
- Arugula with dressing is even kind of fun to put right on top of the pizza!
Final Pizza Thoughts
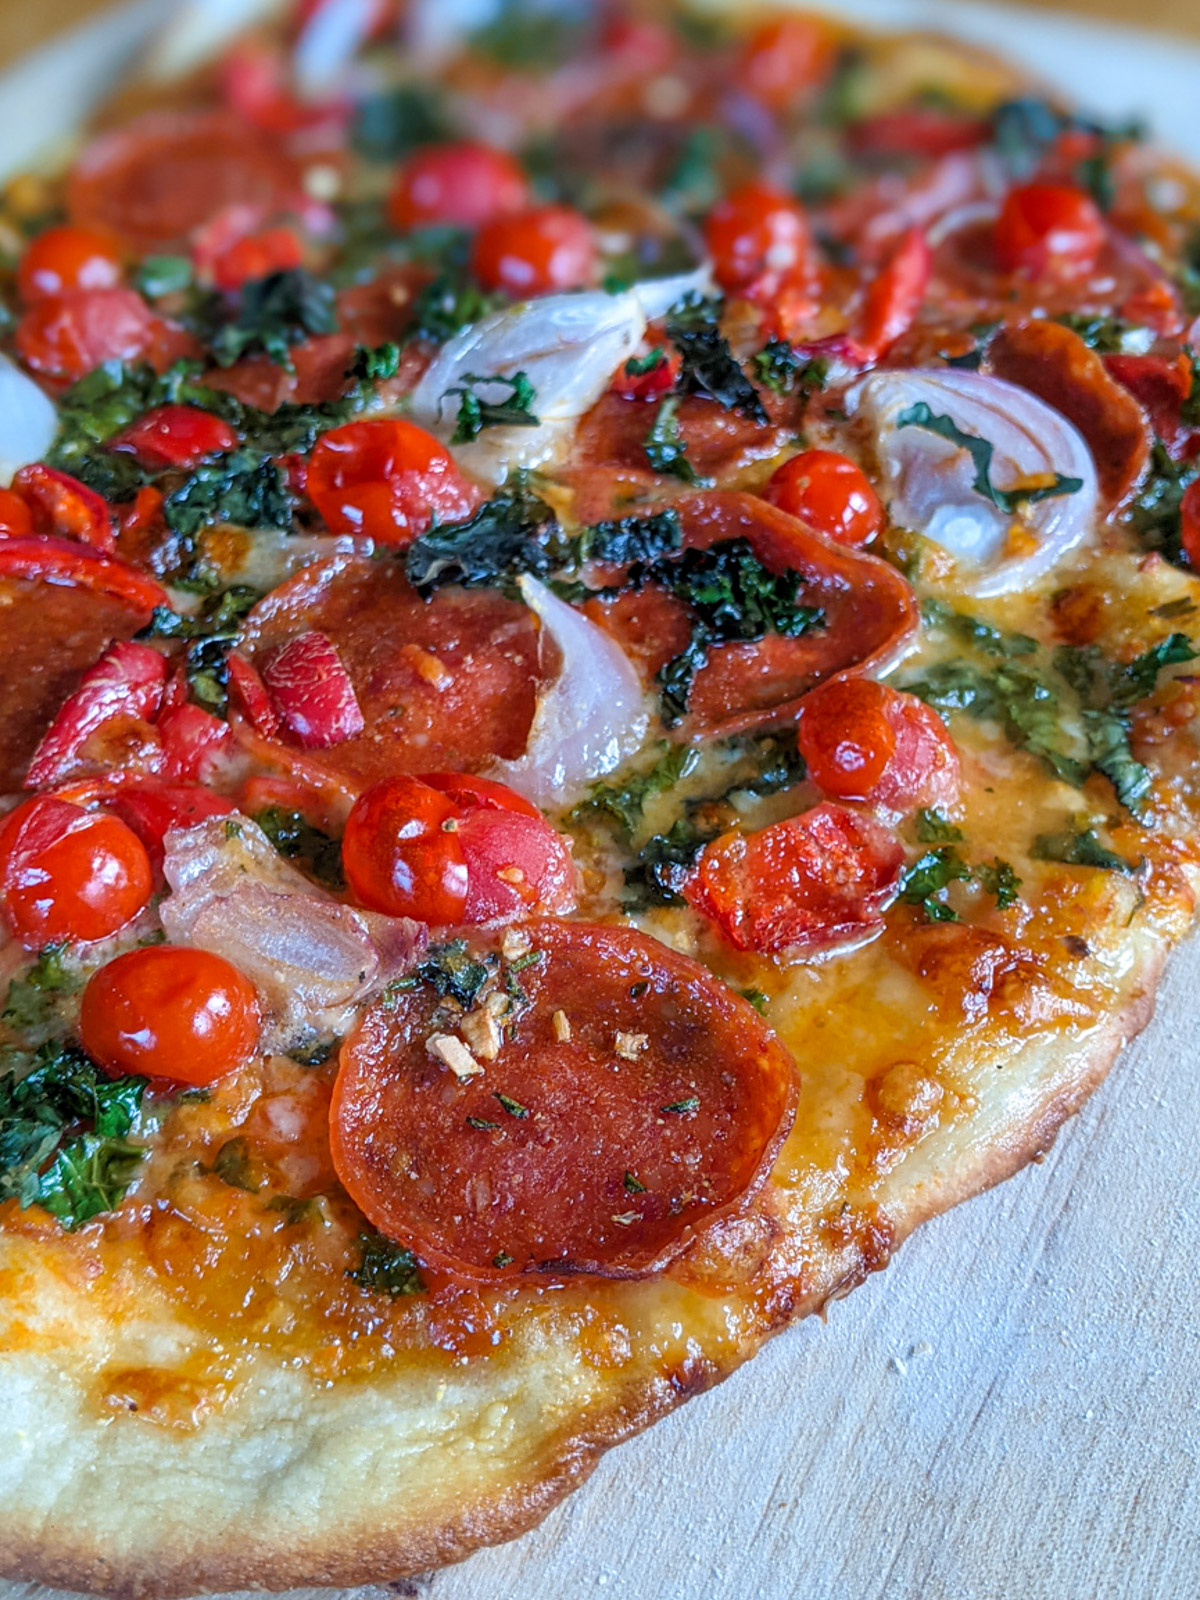
Homemade Pizza Night in our house is our Friday night tradition. It's family night, it's movie night, it's our favorite night.
I used to feel that making pizza from scratch was a daunting difficult task. It takes a little practice, but with my system of time saving, you really can make delicious amazing pizza from your own oven every week!
Have you Made Homemade Pizza?
I would love to hear about it if you're making pizza at home! Leave a star rating or a comment below and tell me how it turned out or ask any questions!
Follow Sungrown Kitchen on Pinterest, Instagram, and Facebook to see our weekly pizza pics! Subscribe Here for new recipes delivered straight to your inbox!

Homemade Pizza
Hit the stars to rate this recipe!
Print Pin RateIngredients
For the Crust (Makes 8 Pizzas, Freeze Extras)
- 5⅓ cups flour
- 1 teaspoon kosher salt
- 2 cups lukewarm water (microwave for 1 minute)
- 1 teaspoon active dry yeast
- 1 teaspoon honey or sugar
- 1 Tablespoon olive oil
For the Sauce (Makes 5 pint jars, Freeze Extras)
- 1 Tablespoon olive oil
- 1 small onion, diced (optional - add extra hidden veggies like bell pepper, zucchini, carrot, mushroom, celery, and a few leaves of spinach or kale, ground in a food processor)
- 3 cloves garlic minced
- ½ teaspoon kosher salt
- 8 grinds fresh black pepper
- 2 teaspoons Italian seasoning
- 1 small can tomato paste 6 ounce can
- 2 large cans crushed tomato 28 ounce cans
For the Toppings
- 1 Tablespoon cornmeal IMPORTANT! DO NOT SKIP (start with 1 teaspoon and add more between each pizza)
- white cheese Any combination of shredded provolone, mozzarella, white cheddar, or Parmesan
- fresh mozzarella 1 ball for 4 pizzas, in addition to shredded cheese
- Optional Toppings - bell pepper, onion, tomato, mushroom, zucchini, minced garlic, olives, artichokes, fresh or frozen herbs or greens like spinach, kale, parsley, basil, oregano or rosemary
- Pepperoni, cooked sausage or prosciutto
- Variations - Pesto or Bbq sauce with leftover or rotisserie chicken
Instructions
For the Crust
- This recipe makes 8 pizzas, which is 2 pizza nights, 4 pizzas each night for my family of 4. Freeze the extra balls of dough immediately after making. Make the dough the morning of, or 1 to 2 days before pizza night. Add flour and salt to the bowl of a stand mixer. In a glass measuring cup, warm 2 cups of water in the microwave for 1 minute. Add the yeast, honey and olive oil to the water and mix with a fork, let sit 5 minutes. Add the liquid into the flour and mix on low speed with the dough hook to form a rugged ball.
- Knead the dough for 5 minutes using the dough hook on medium-low speed, or by hand on a floured cutting board if you don't have a mixer. If making by hand, lift and turn with your left hand and push down with the heel of your right hand, over and over for 5 minutes. Add flour if the dough is too sticky. A few times, pull and stretch the dough, wrap it around itself, and then tuck it back into a ball.
- Once you have kneaded the dough, remove it from the mixer, and tuck it into a ball by tucking the ends under itself to look like a mushroom top. Cut the dough in half with a knife, then in quarters, then in 8 equal pieces.
- Take each piece and form again into the little mushroom ball. Oil a large bowl, and a container with a lid for the freezer and set 4 dough balls in each. Choose containers that are larger than the dough is now, it will expand to be bigger in size. Adjust these amounts for your family size. These are thin and not very large pizzas, a hungry adult would eat 1 pizza or more and a hungry kid maybe a half. Freeze whatever amount you don't plan to use. For a family of 4, this is 2 nights worth of pizza dough.
- Cover the bowl with plastic wrap, or reuse an old bread bag to be eco-friendly. Leave it on the counter if pizza night is tonight, or set it in your fridge overnight and pull out the morning of pizza night. Frozen dough can be thawed in the fridge overnight. On the morning of pizza night, take the dough out of the fridge and let it sit on the counter all day.
For the Sauce
- I don't recommend making homemade sauce on pizza night, see the above sauce section for easy pasta sauce/pizza sauce recipes and variations.
- To make this homemade sauce recipe, in a large saucepan over medium heat, add oil, onion and any extra hidden veggies from the food processor. Saute until starting to brown and soften.
- Add garlic, salt, pepper, and seasoning.
- Add canned tomato. Reduce heat to low and simmer at least 1 hour. Freeze extra sauce in pint size jars (1 jar, about 2 cups, is the right amount of sauce for 4 pizzas). Only fill jars ¾'s full so they don't crack when freezing, cool in the refrigerator before freezing.
Making the Pizza
- Place a large baking sheet or pizza stone on the bottom rack of your oven and preheat to 450° convection bake.
- On a cutting board, prepare and slice all toppings, including veggies, cheese and pepperoni.
- Prepare a pizza peel or another cutting board with a generous sprinkling of cornmeal (start with 1 teaspoon and add more between pizzas).
- On another floured cutting board, roll out the first ball of dough with a rolling pin (don't worry that they have expanded and grown together, just pull or cut back apart). Add flour as needed. Get it as thin as you can, about the size of the pizza peel. You can pick it up and lightly stretch it over the backs of your hands, but try not to get a hole in the dough.
- Transfer dough to the cornmeal covered peel. Top with sauce, cheese and toppings.
- Making sure the pizza slides around on the cornmeal, transfer the pizza to the hot pan in the oven. You can take the pan out and set it on the stovetop if that is easier. If any part sticks, carefully release it with a spatula and add more cormeal.
- When pizza #1 is in the oven, make pizza #2. When pizza #2 is ready to go into the oven, pizza #1 probably won't be quite done, but the crust will be firm enough to transfer to the top oven rack. With two sturdy metal spatulas, carefully pick the whole pizza up and put it directly on the oven rack above. You can also do this with an additional cutting board or pizza peel. This pizza will finish cooking, giving you a nice crispy crust. Now your pan is free to slide in pizza #2.
- While those two are cooking, make pizza #3. By the time you are ready to add #3, pizza #1 is probably done. Remember your oven is really hot, so check on it and don't let it burn. Take it out, slice and serve on a cutting board. Now transfer pizza #2 to the top oven rack and pizza #3 to the sheet pan. Make pizza #4 and transfer them all through the oven using this same method.
- You did it! And it all gets easier with practice! Enjoy!
Notes
- Amounts - This recipe makes enough dough for 8 pizzas which is 2 pizza nights for our family of 4. The sauce makes enough for 5 pint jars, which is 5 pizza nights for us. Extra dough and sauce can be frozen. I slice 1 ball of fresh mozzarella for 1 pizza night (4 pizzas), plus extra shredded cheese.
- You can make bulk amounts of pizza dough and freeze for several pizza nights. Only do 1 recipe in the mixer at a time or it won't fit. So just make the recipe, then make it again, and again, as many times as you want! I usually make the recipe 4 times, for 8 pizza nights! Make sure you have enough containers and freezer space.
- Pepperoni and Sausage - buy a 1 or 2 pound bag of pepperoni from the deli counter and store in the freezer, add to pizza, no need to thaw. Cook a pound of bulk Italian sausage and freeze to use for several pizza nights.
- If your oven does not have a convection bake setting, just use regular bake.
- Any parts of pizza night can be completely made from scratch, or take a little help from the store by buying refrigerated pizza dough or a jar of sauce.
- Nutrition info is for 1 pizza including the crust, sauce and cheese. Does not include toppings.



Meryl says
We make this pizza every week! I make 3 batches of dough at a time and freeze 6 pizza nights worth. It's delicious!
Dee says
Easy to follow. Turned out great!
Jessie says
AMAZING!!
Dora Moore says
Thank you such a thorough recipe. I can’t wait to give this a try in making pizzas for my grandkids. So many great ideas.
Simply says
What if someone doesn't have a convection oven 🙁
How should one cook this amazing recipe?
Meryl Downing says
That is fine if your oven doesn't have a convection setting. You can just use regular bake, the hot temperature 450, is what will give you great pizza!
pizza completa animada says
Me encanto mucho tu página Muchas gracias, Un saludo
Meryl Downing says
Gracias and thank you!
Jennifer says
Wow, thanks for such a comprehensive recipe! I will use your tips on stretching and handling the dough.
I make homemade pizzas often, and I have just a few suggestions. I make my dough using a can of beer instead of water. I also make it in my bread machine’s dough cycle, so I can start only a couple hours before I need to bake the pizzas.
Also, we grill our pizzas on our gas grill (outside) and they taste amazing! The crust gets crispy and chewy and there even a few charred spots, just like a pizzeria.
I hope my tips inspire you as your recipe inspires me!
Meryl Downing says
Thanks Jennifer! Those are great tips! I have done pizza on the gas grill, it is delicious! Can also burn quickly so you've gotta watch it!