Homemade Applesauce, one of my favorite reasons to love fall! This is freezer applesauce made easy, no peeling required, no sugar, no canning rules or equipment! Just a pot of cinnamon scented apples simmering on the stove and lots of yummy jars to stock the freezer!
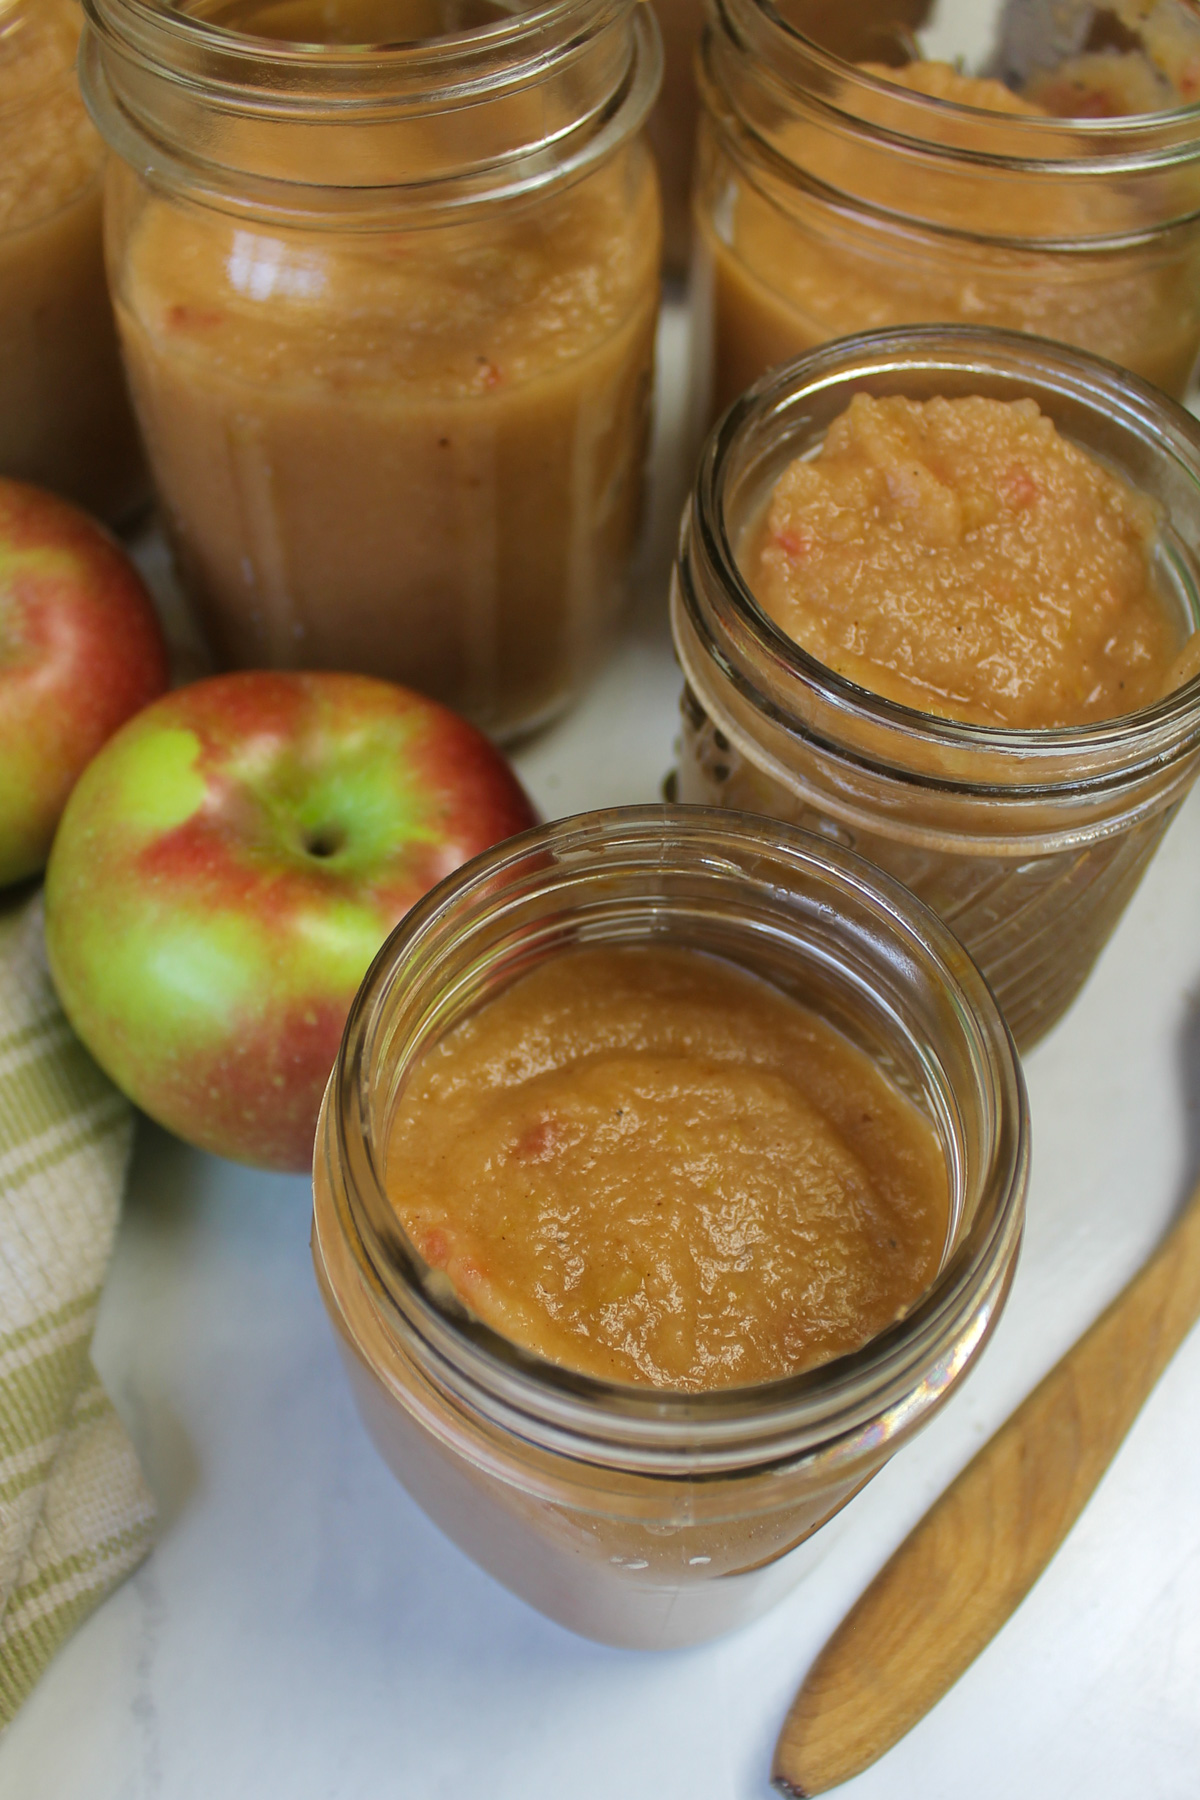
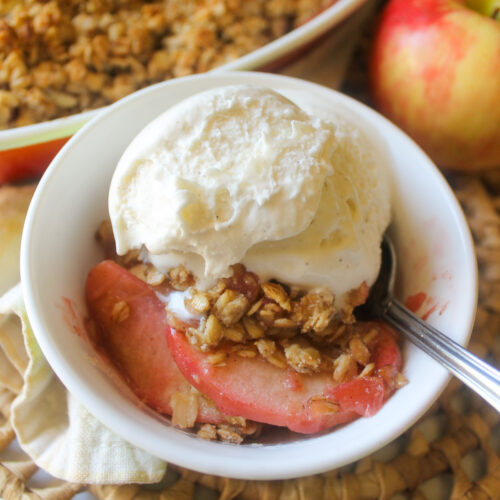
Maybe you have an apple tree, or know someone who does! Knock on a neighbors door and ask them to pick a few or be lucky enough to find a few trees in a nature park like we did! When the apples are free, we make a lot of applesauce! We always make an Apple Cherry Crisp too!
Homemade freezer applesauce is a staple ingredient, loved by kids, great in baking, and a healthy breakfast or snack!
Use this small-batch applesauce to top Crockpot Steel Cut Oatmeal or mix it into Morning Glory Muffins or Apple Banana Bread Muffins!
Thaw a jar of freezer applesauce overnight in the fridge, my kids love it with Homemade Almond Vanilla Granola and berries for breakfast!
Jump to:
Ingredients
The ingredient list is short and sweet, but not too sweet! The natural sugar in apples is almost enough! I use just a drizzle of honey and no added sugar.
And because this applesauce will be frozen, there are of course, no preservatives!
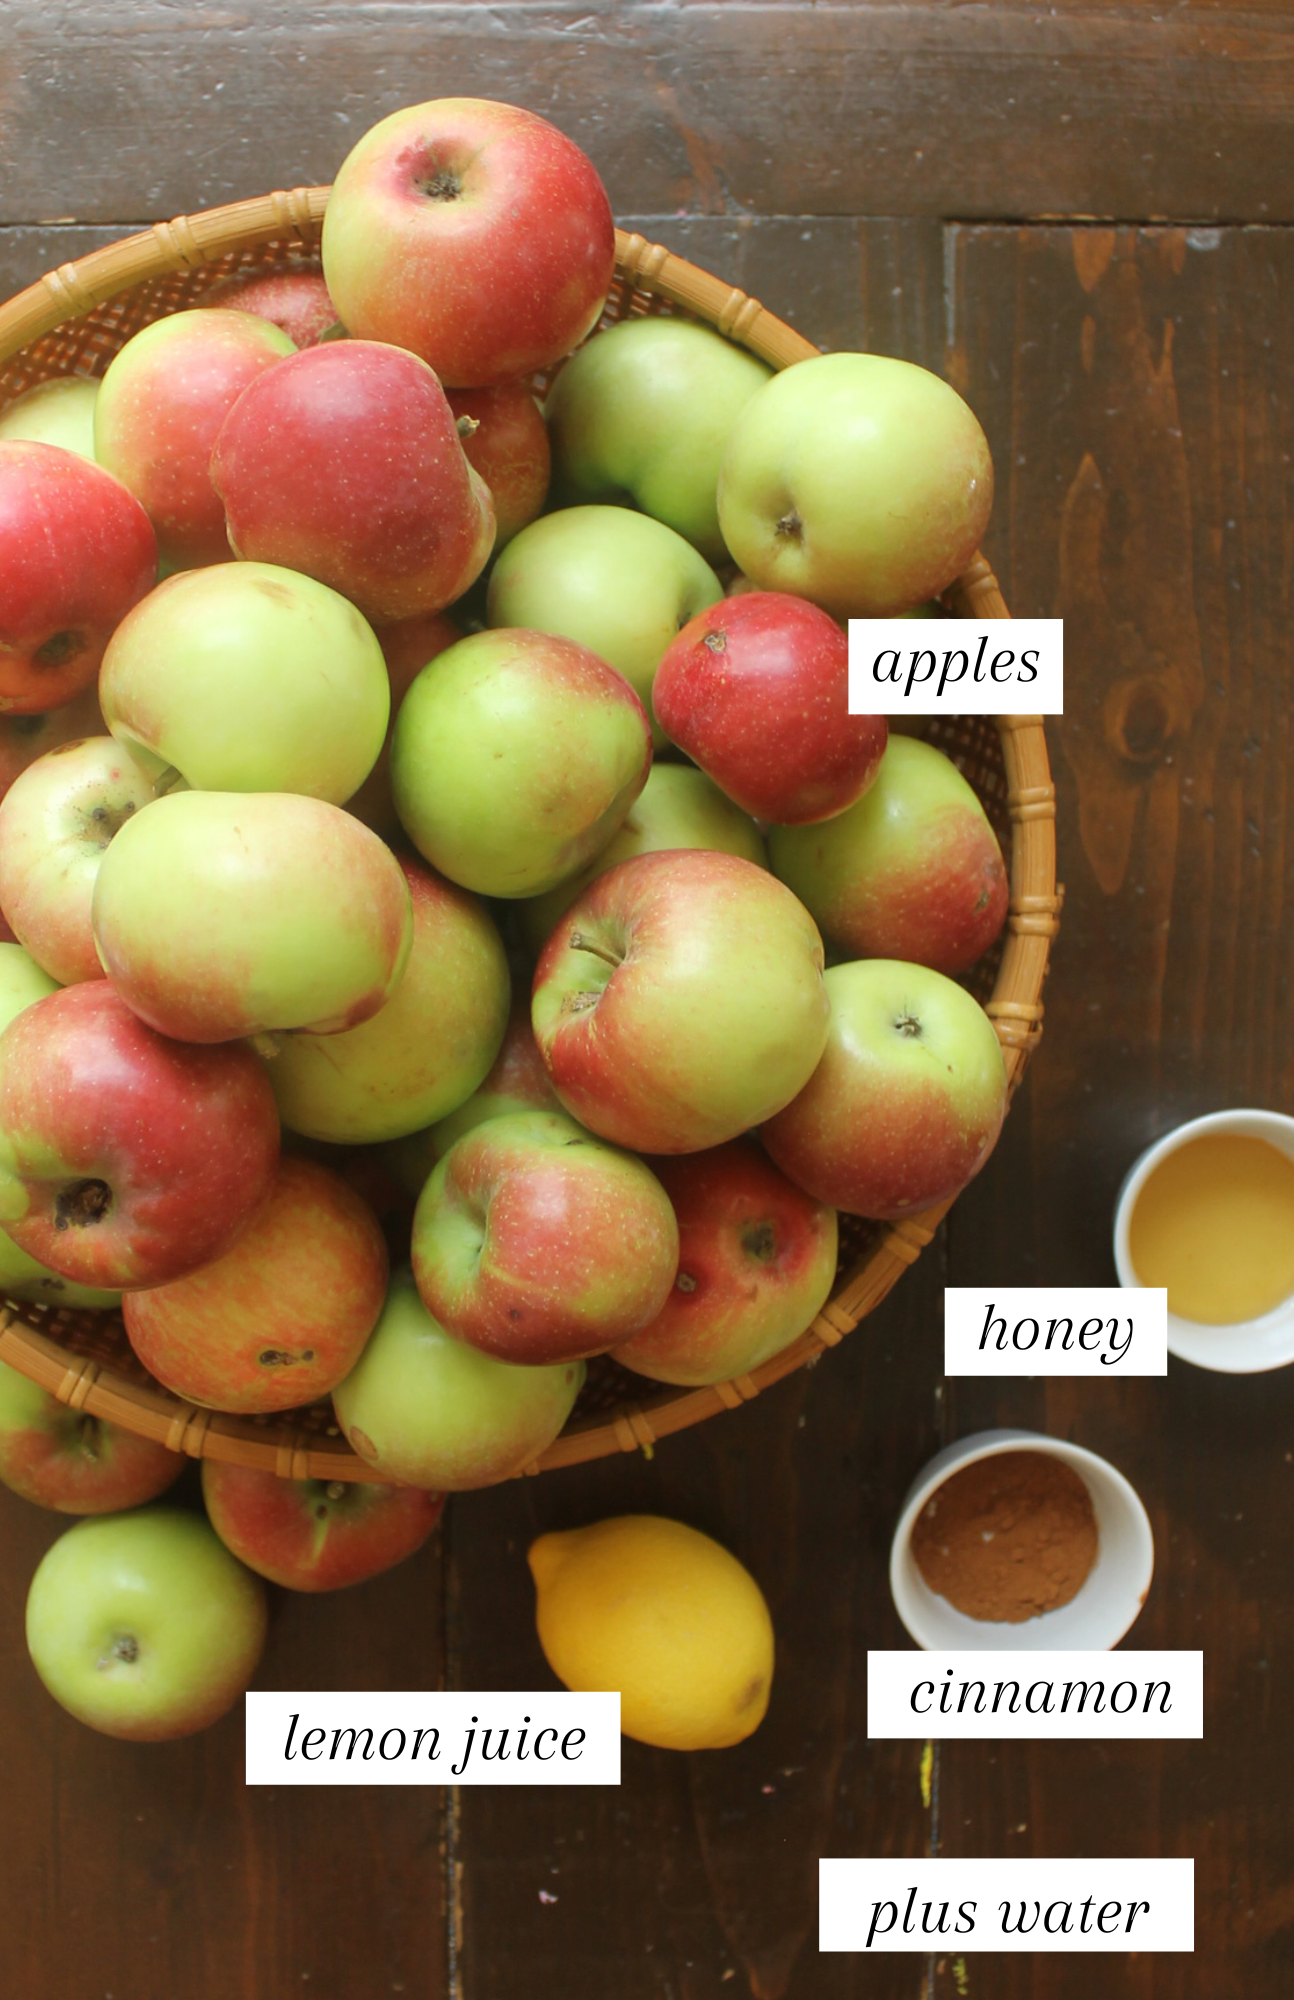
- Apples - Applesauce is meant to preserve an abundance of apples! Find your apple people! One apple tree can supply enough apples for tons of people and loads of applesauce! And the owners are probably willing to share! If it's apple season, try my Apple Cinnamon Raisin Scones and this Kale Apple Slaw Salad!
- Lemon - Use half of a fresh lemon, this will keep your apples from browning while you chop and the tartness balances some of the sweetness in the apples.
- Cinnamon - Cinnamon and apples just go beautifully together, but I only add a little. I want the apples to be the flavor that really shines, with a hint of cinnamon in the background. Cinnamon is optional, you can leave it out if you like.
- Honey - Sugar-free applesauce really is perfectly sweet from the apples alone! I just add a drizzle of local honey to compliment that sweetness. You can omit it if you want a completely unsweetened applesauce.
- Water - Don't underestimate the importance of water in this freezer applesauce recipe! First, add it to the simmering apples. This helps them incorporate as they cook down and keeps them from burning to the bottom. Then, add it as needed when pureeing the apples. Different types of apples may need different amounts of water, so I don't like to tell you an exact amount. You know what applesauce looks like! Keep adding water while the food processor is running until you get the right consistency!
See recipe card for quantities.
Instructions
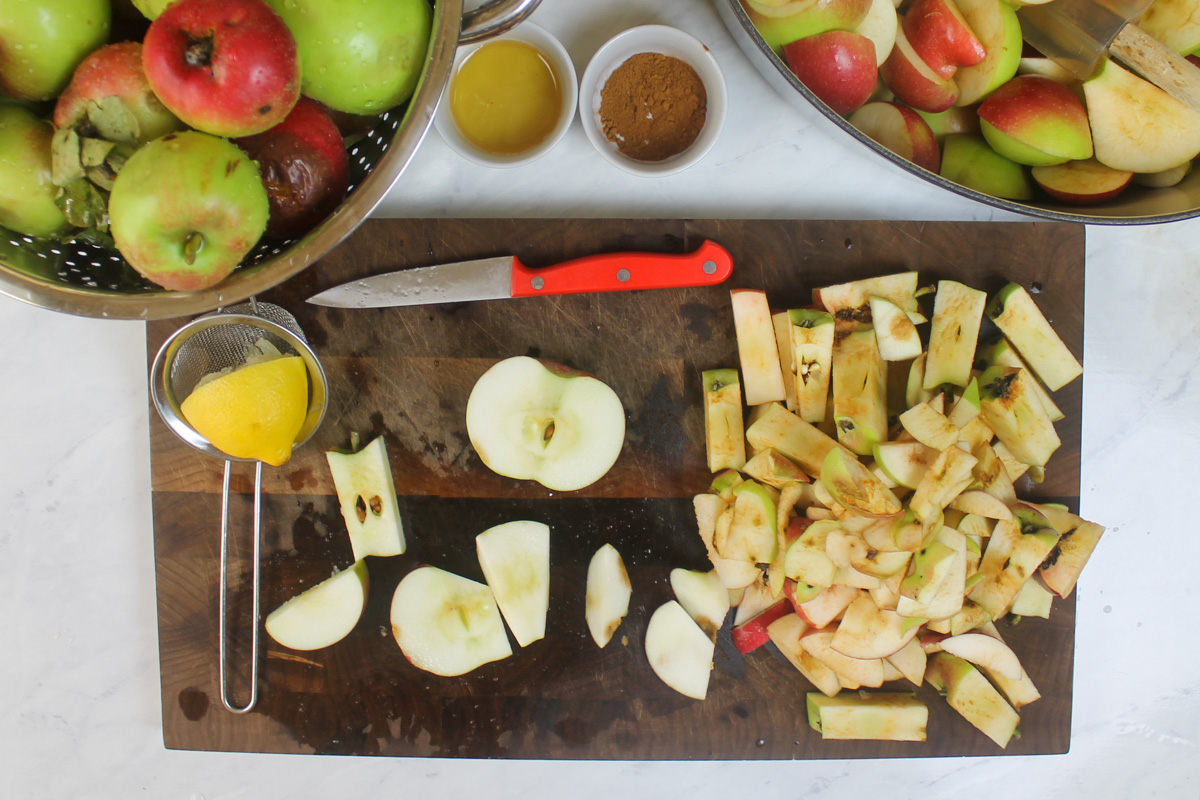
Step 1 - Wash the apples and get a large pot ready. Use whatever knife feels best to you, and start cutting apples. You don't need to peel them or chop them up small.
I like to cut along the core, not through the core. Basically make 4 cuts around the core, leaving the core in the middle. You will also want to cut away any bad spots you see, anything you wouldn't eat on a raw apple, cut it off!
Add the apples to the pot and give them a squeeze of lemon juice as you go. This will keep the apples from browning while you chop.
Enlist helpers! Kids may love this job and it's best to get your apples chopped quickly so they don't brown.
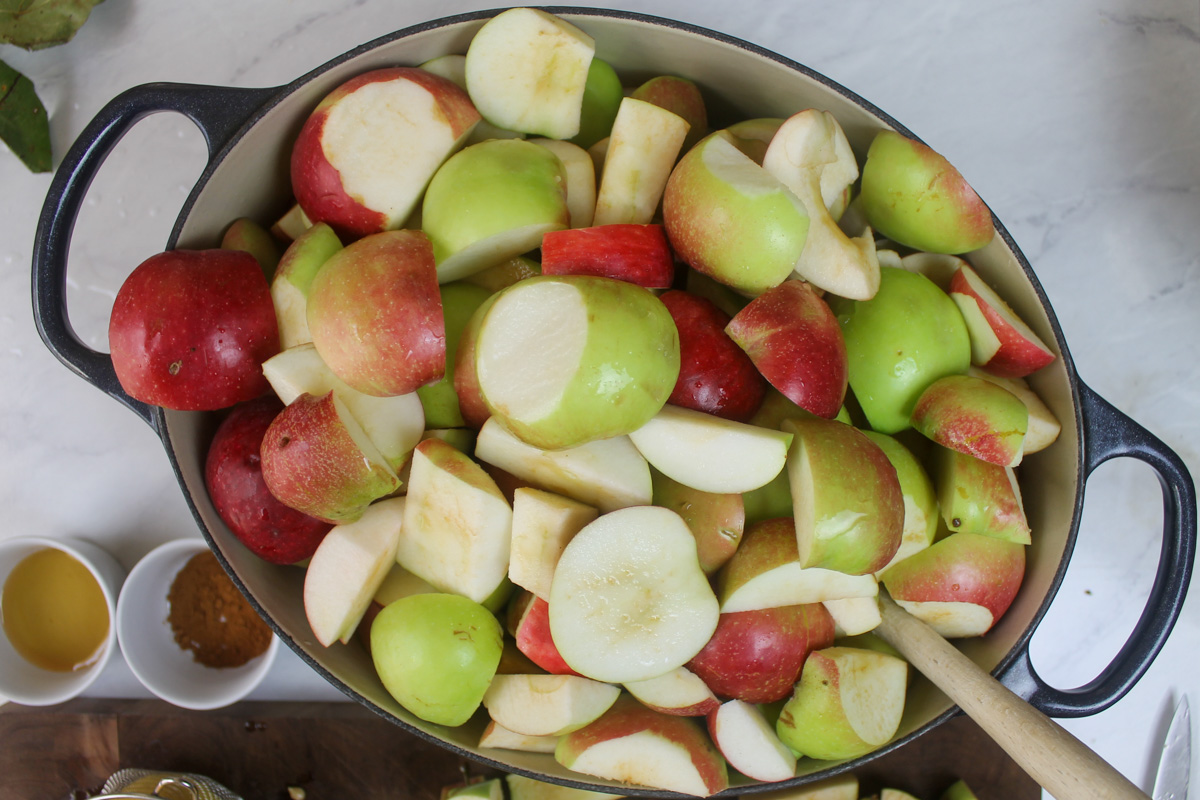
Step 2 - Add the cinnamon, honey, and 2 cups of water to the apples and put the cover on. Simmer them on low to medium low heat for about 30 to 40 minutes.
Stop to stir them every 10 minutes or so, and add more water if the bottom is burning. Keep them covered, this will help the apples on the top get cooked along with those on the bottom.
If your pot is as full as mine, it's a little tricky to stir, but try to mix them up so they cook evenly.
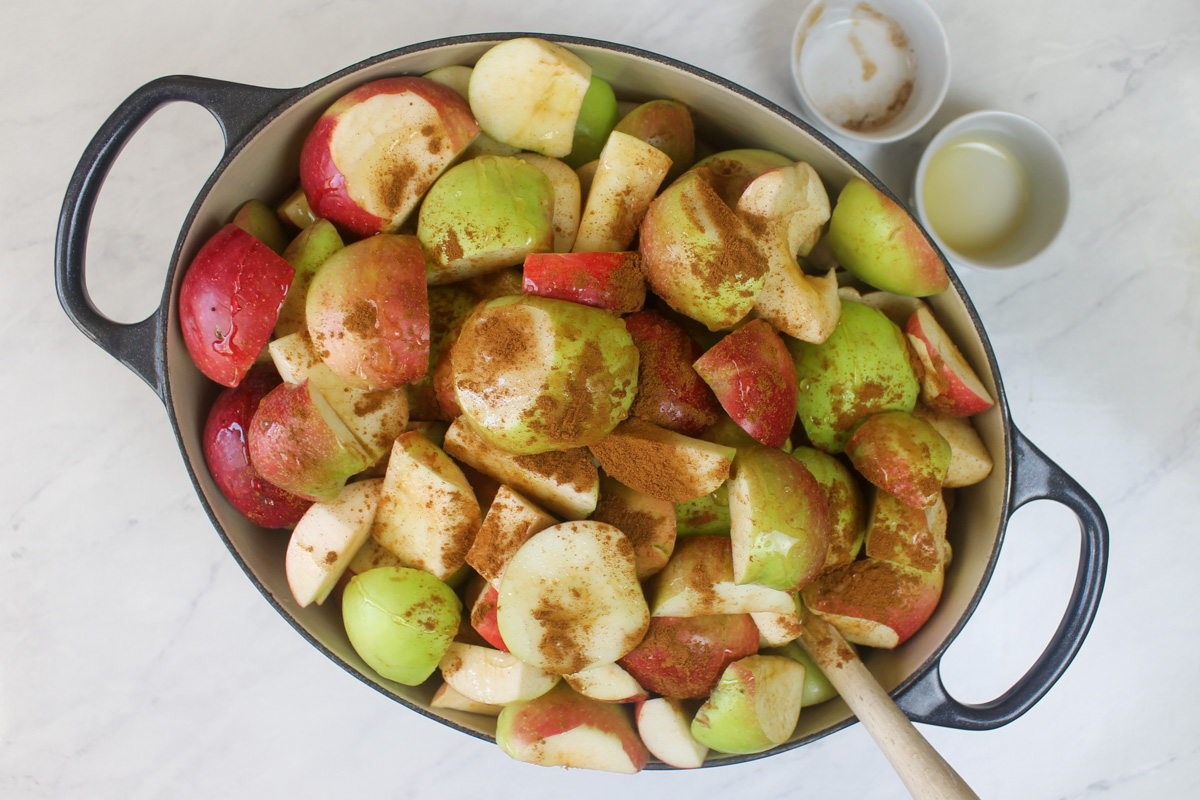
Step 3 - When they look done, soft, getting mushy, they're done!
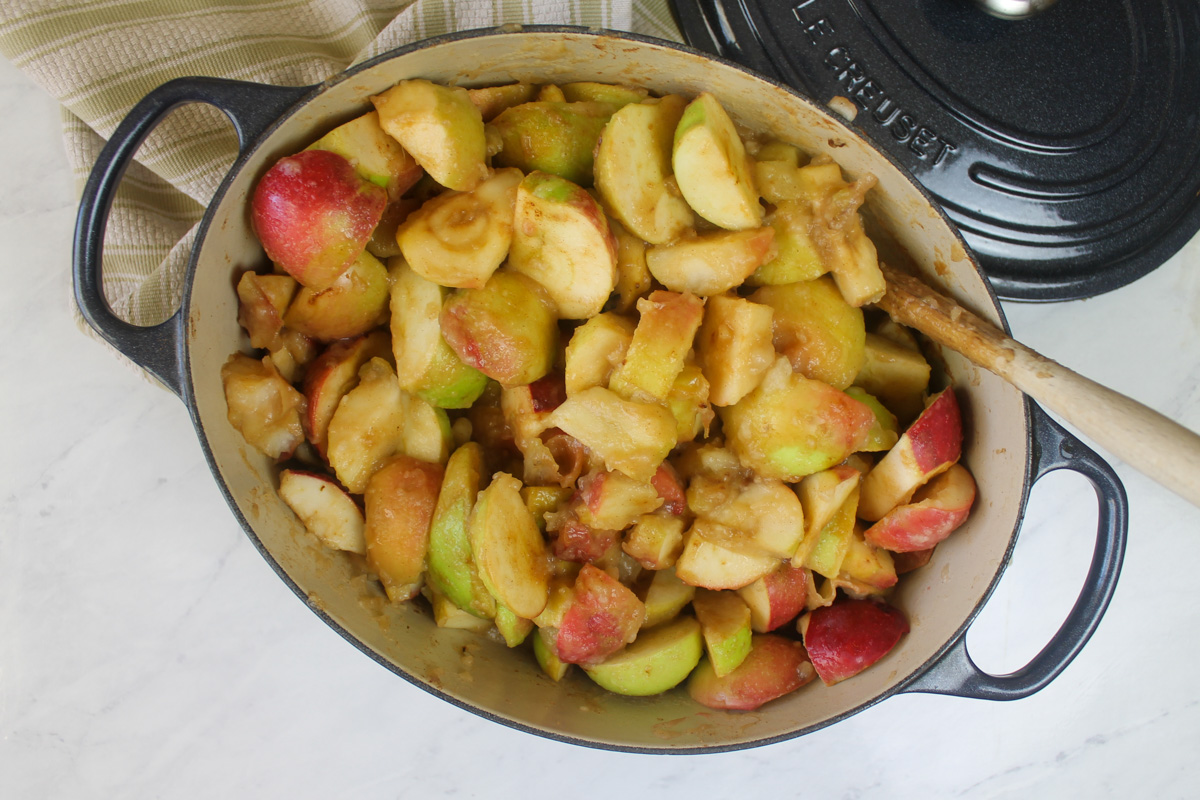
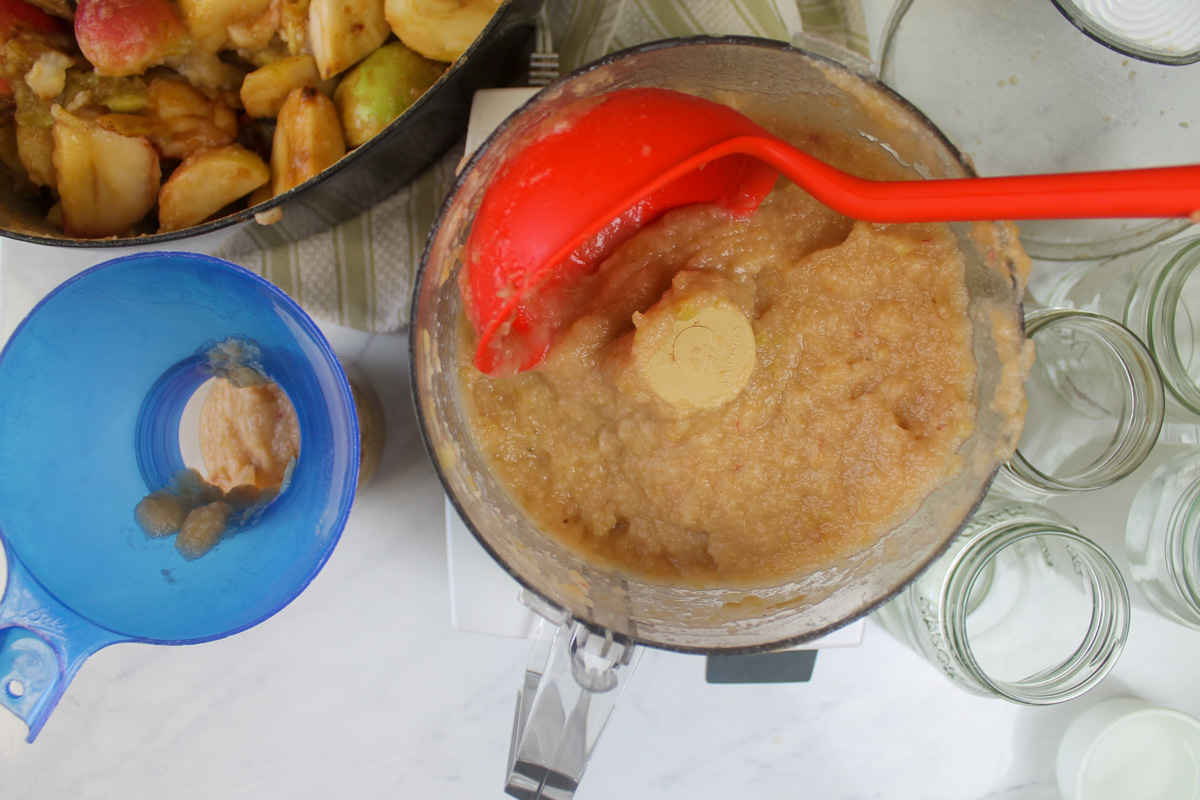
Step 4 - Transfer the apples in batches to a food processor and puree until smooth. This can take awhile, and you may need to add water through the feed tube while they are pureeing.
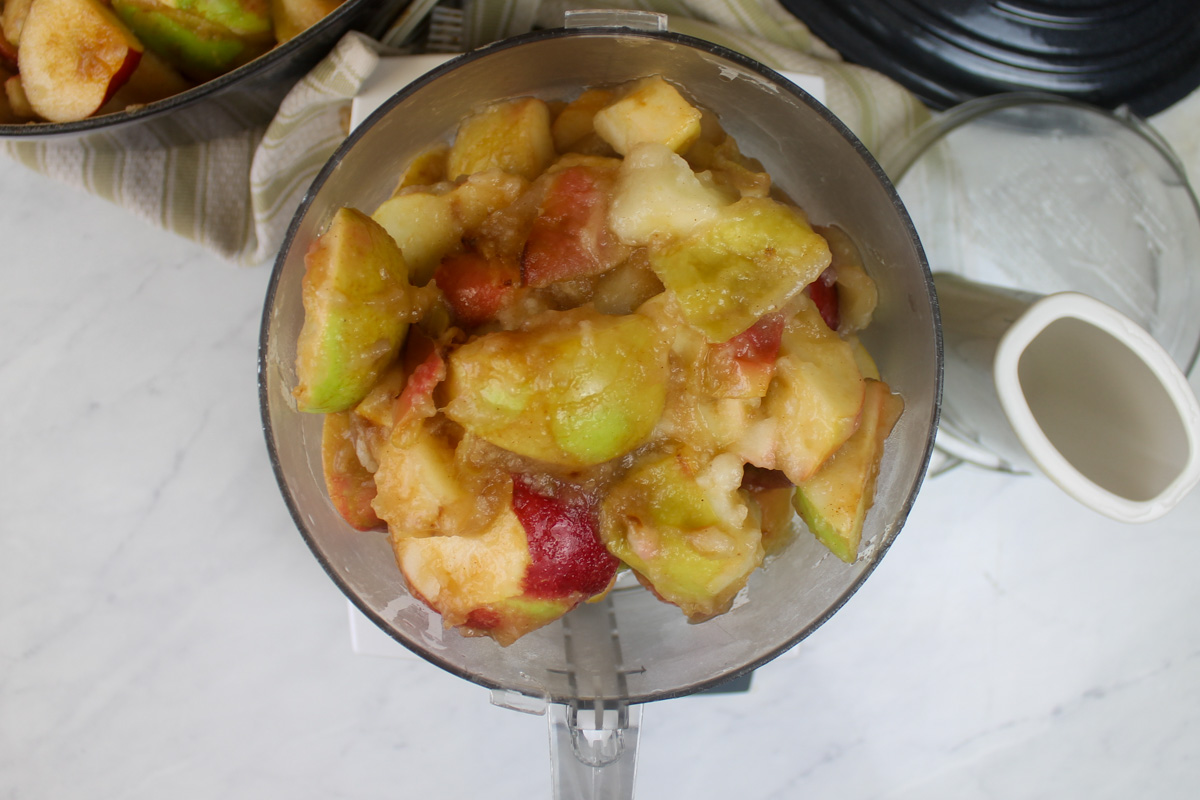
Step 5 - Again, you want it to be the consistency of applesauce, so add as much water as you need! Stop to stir and scrape down the sides with a rubber spatula.
Processing until smooth can take awhile, so add water if it isn't blending easily and let it puree until smooth.
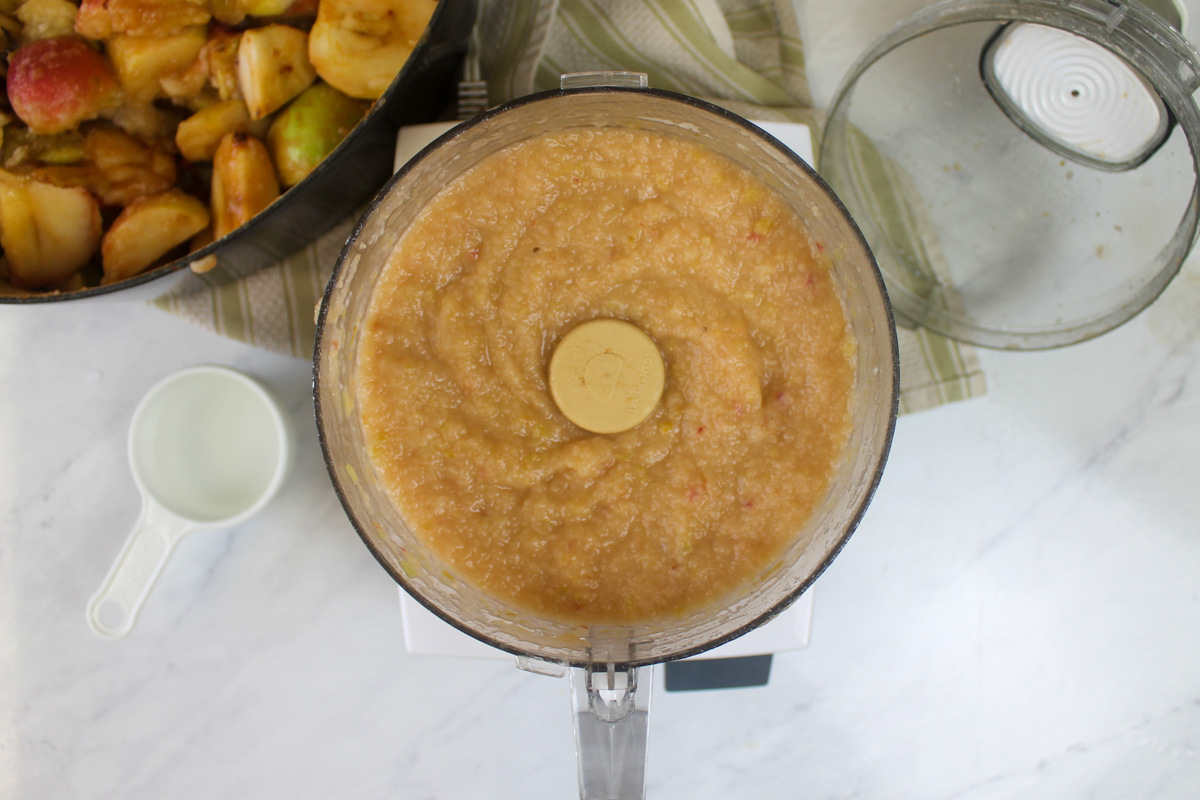
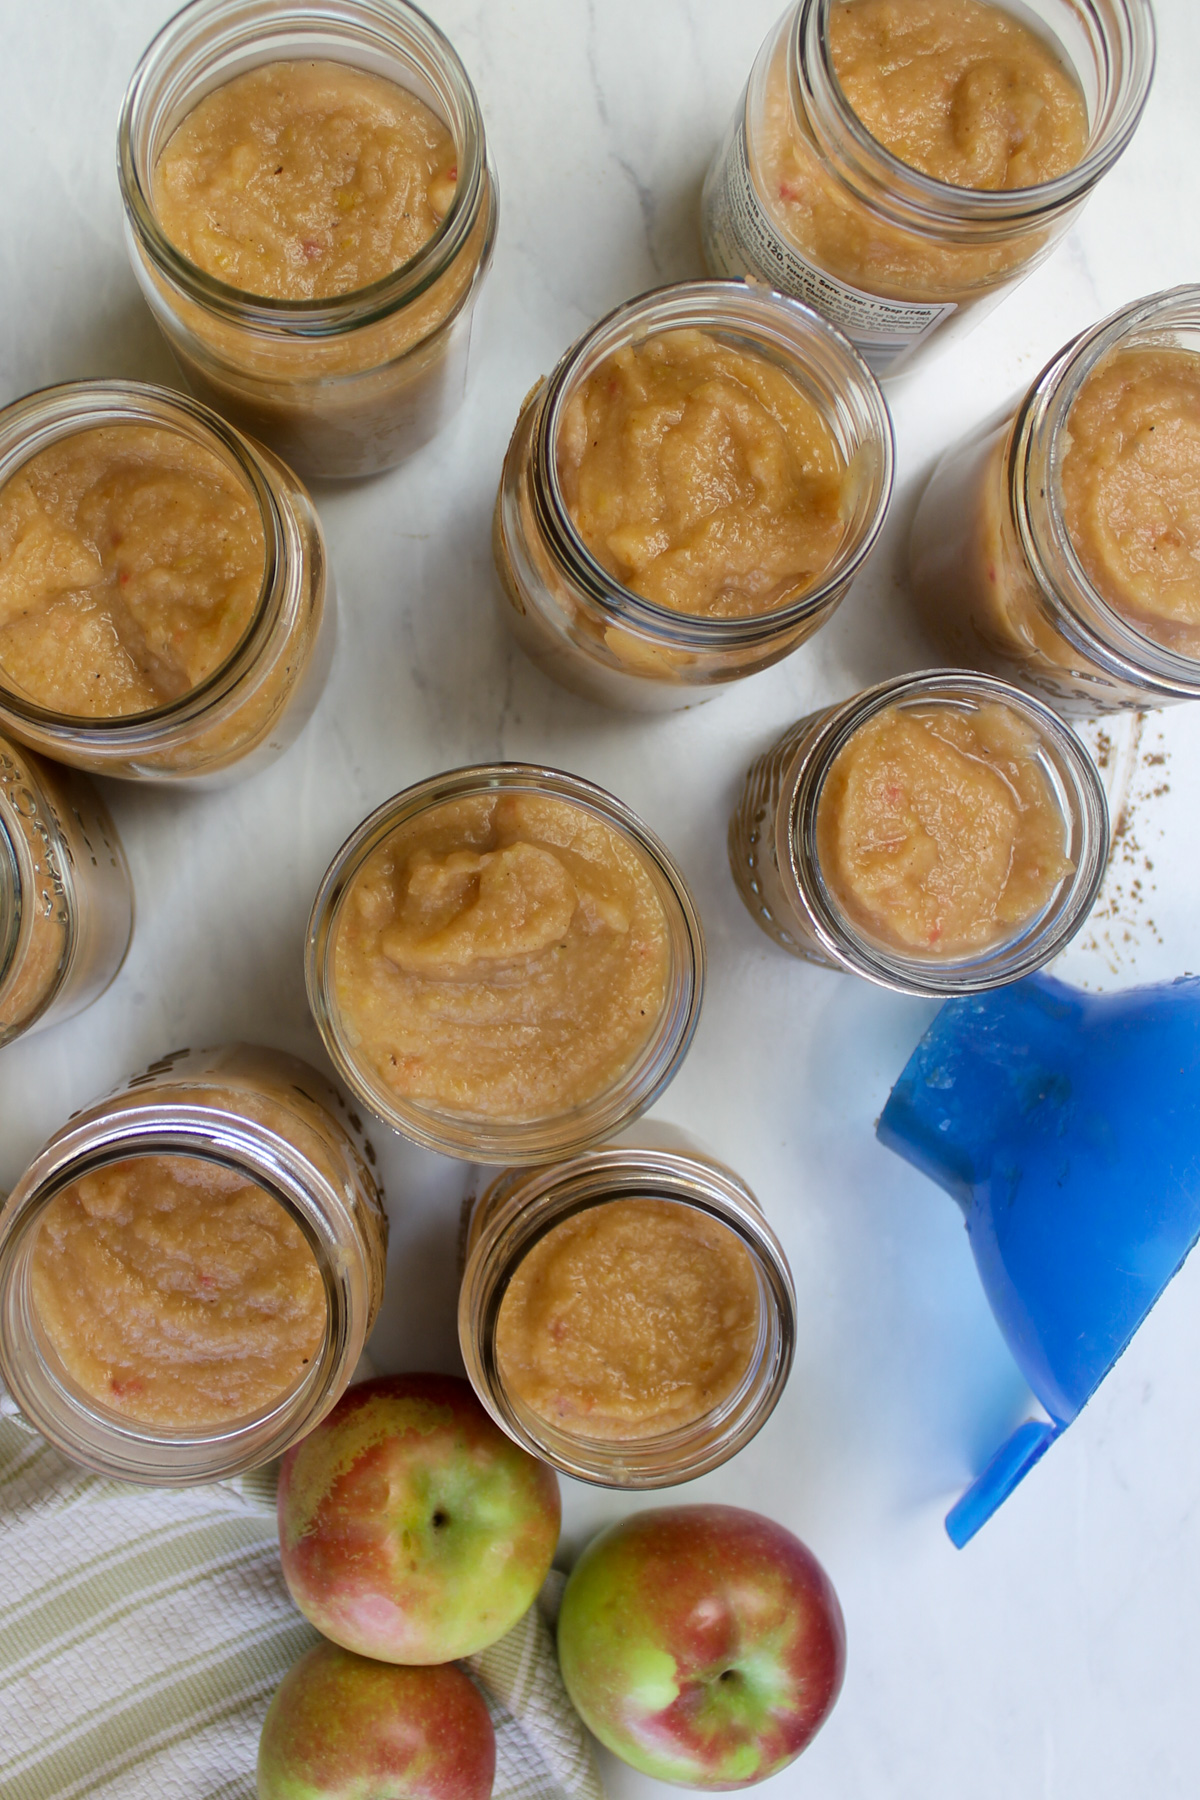
Step 6 - As each batch finishes, transfer the applesauce to glass jars. A wide mouth canning funnel is a cheap tool that works great for this!
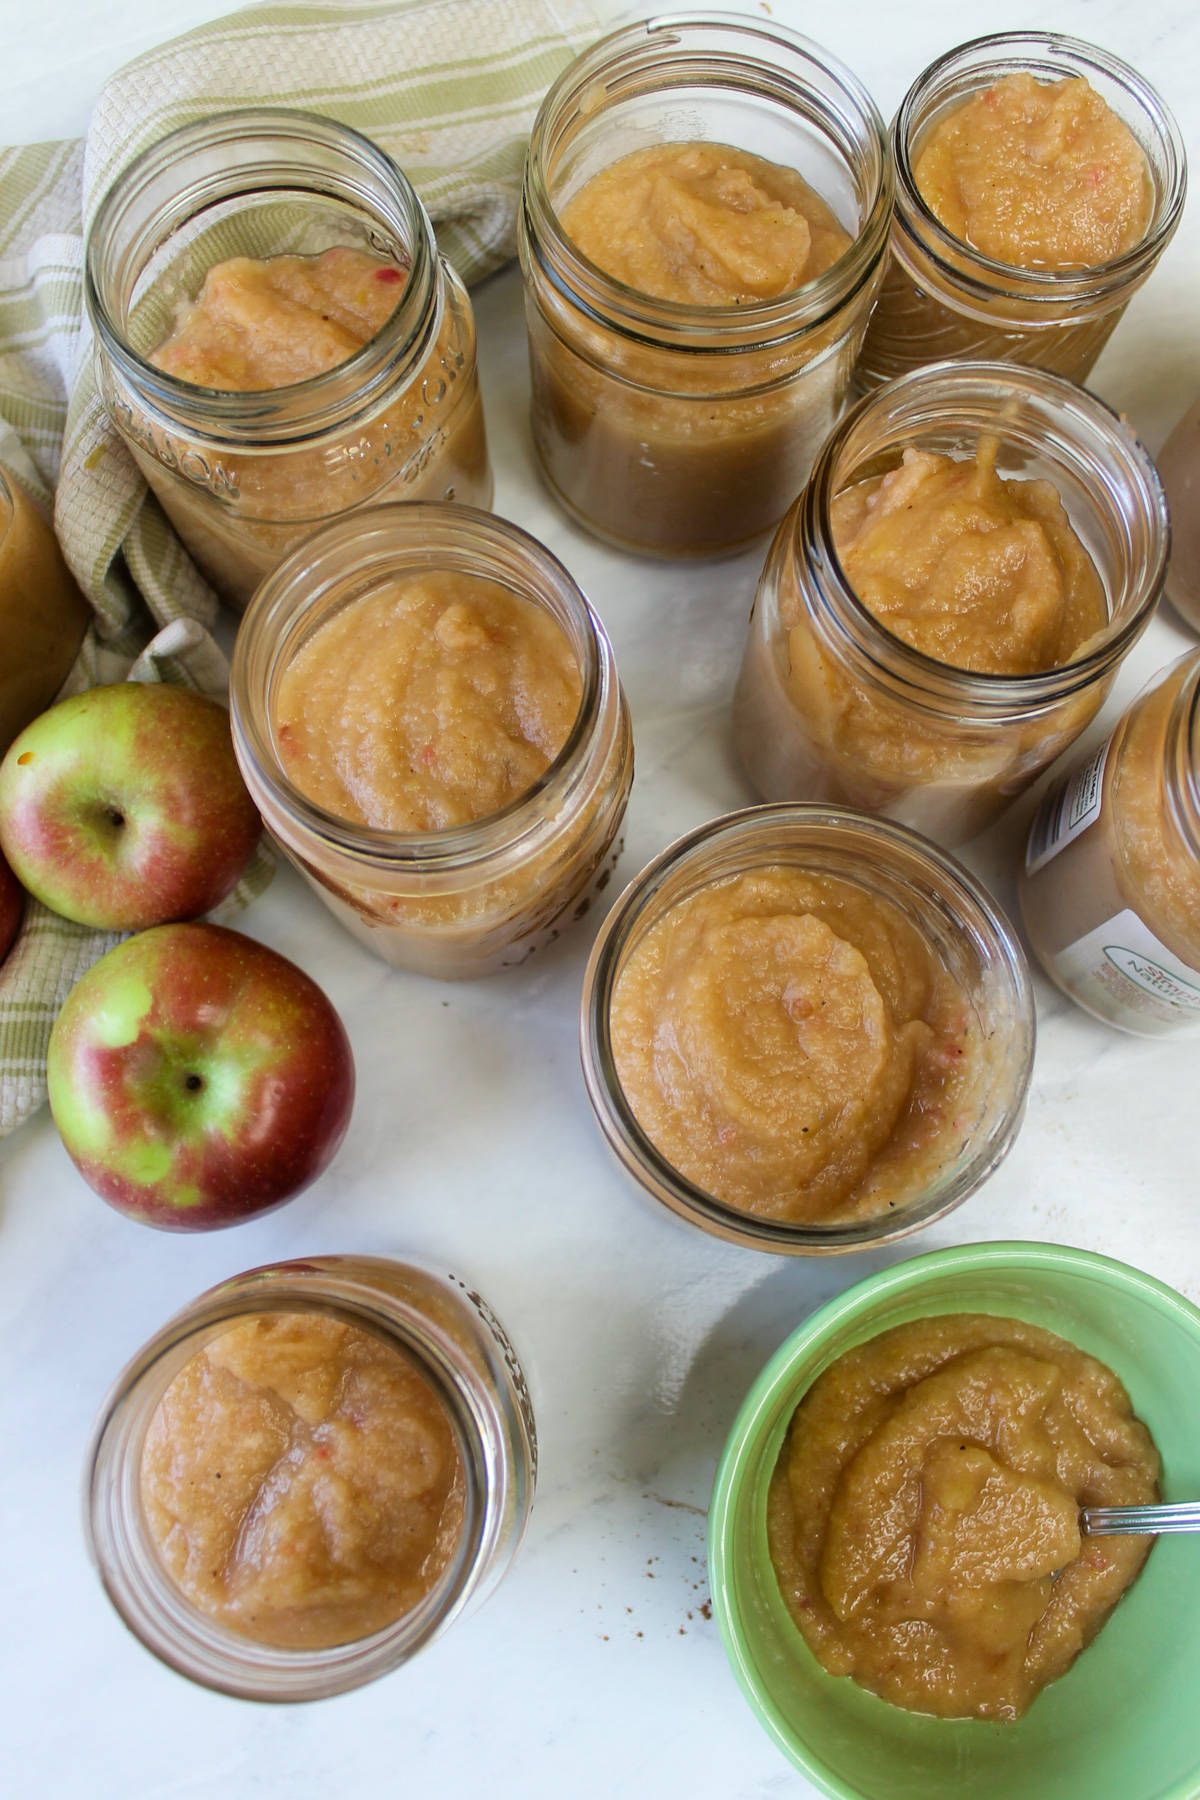
Important: Only fill the jars ¾'s of the way full to allow them room to expand while freezing. Refrigerate the jars overnight before transferring to the freezer.
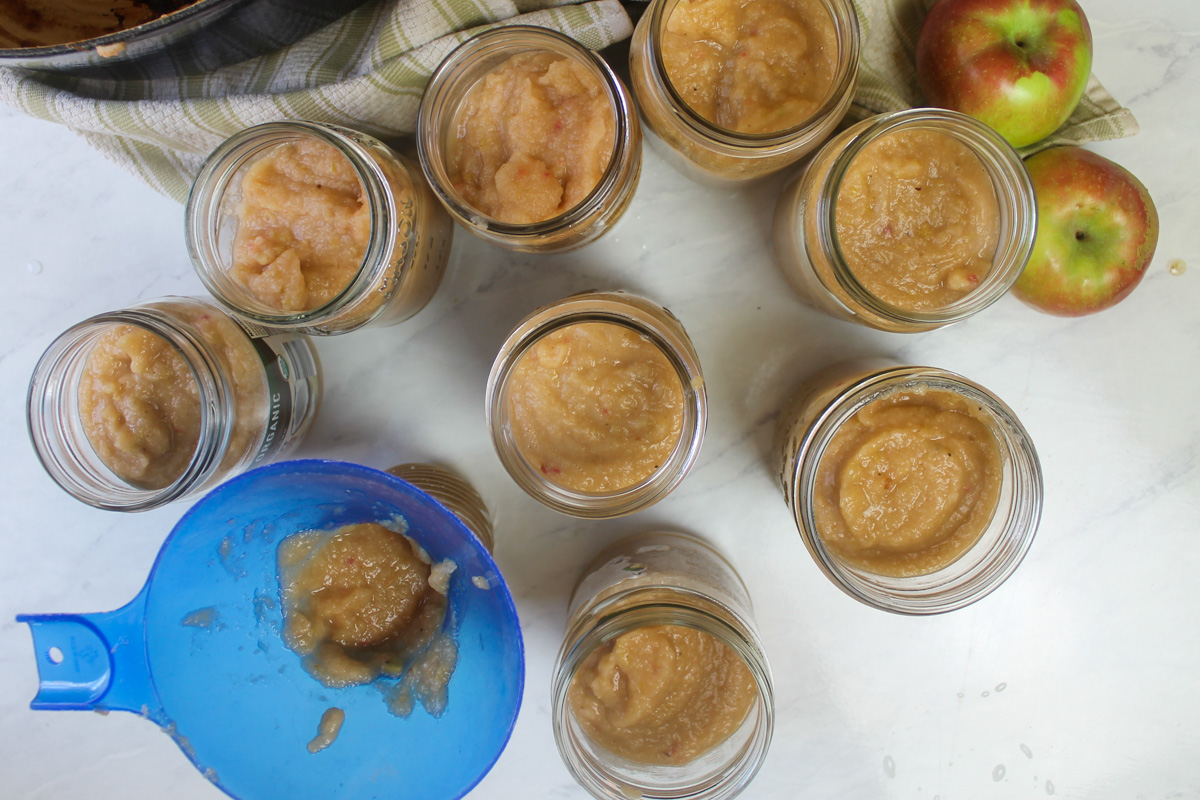
Tip: Water is your friend! Use as much or as little as you need to get the applesauce the right consistency. You can keep pureeing to get it super smooth, or leave it a bit rustic and chunky.
Equipment
I love using my food processor for this homemade no-peel applesauce for the freezer because it gives you a nice smooth consistency and is super easy! You can also use a blender or a food mill.
Storage
- Applesauce can be eaten immediately while still warm, this is amazingly delicious and highly recommended!
- It can be refrigerated for up to 1 week or frozen for 6 months to a year. Thaw overnight in the fridge to use and always keep refrigerated after that.
How to Freeze Applesauce in Glass Jars
If you've got the freezer space and just would rather avoid the canning process, freezing in glass jars is great to stock food away for the winter. Pint jars are the perfect serving size and so handy to pull out for the week.
Using a few different sized jars is also nice so you can thaw out just the amount you need. Plus the are plastic free, and don't need to be expensive or fancy. You can save and wash jars from the things you buy, like peanut butter, jam, or coconut oil! Glass jars are great for reusing!
When freezing in glass jars, you need to take a few precautions so you don't end up with cracked jars.
- Only fill the jars ¾'s full so the applesauce has room to expand as it freezes. If you don't give it room, the jar will crack.
- Glass doesn't like sudden temperature changes. So don't load hot jars directly into the freezer. Instead, cool them completely in the fridge first, then transfer your jars to the freezer.
If you love freezing in glass jars, stock up with these other favorite freezer recipes! And if your freezer is full of jars like mine, make sure to label them with a piece of masking tape and a marker!
Expert Tips
- The apples don't need to be peeled or chopped up small. Just slice them off the core, roughly in quarters, and remove any bad spots. It will all get pureed so no need for perfect chopping!
- Keep an eye on the simmering pot and adjust the temperature up or down. You don't want to burn the bottom, although if you do a bit, it's totally ok!
- Add water! Add water to the simmering apples to get them to break down easier and not burn on the bottom. AND add water when pureeing the apples to get them blended up easily to the right consistency.
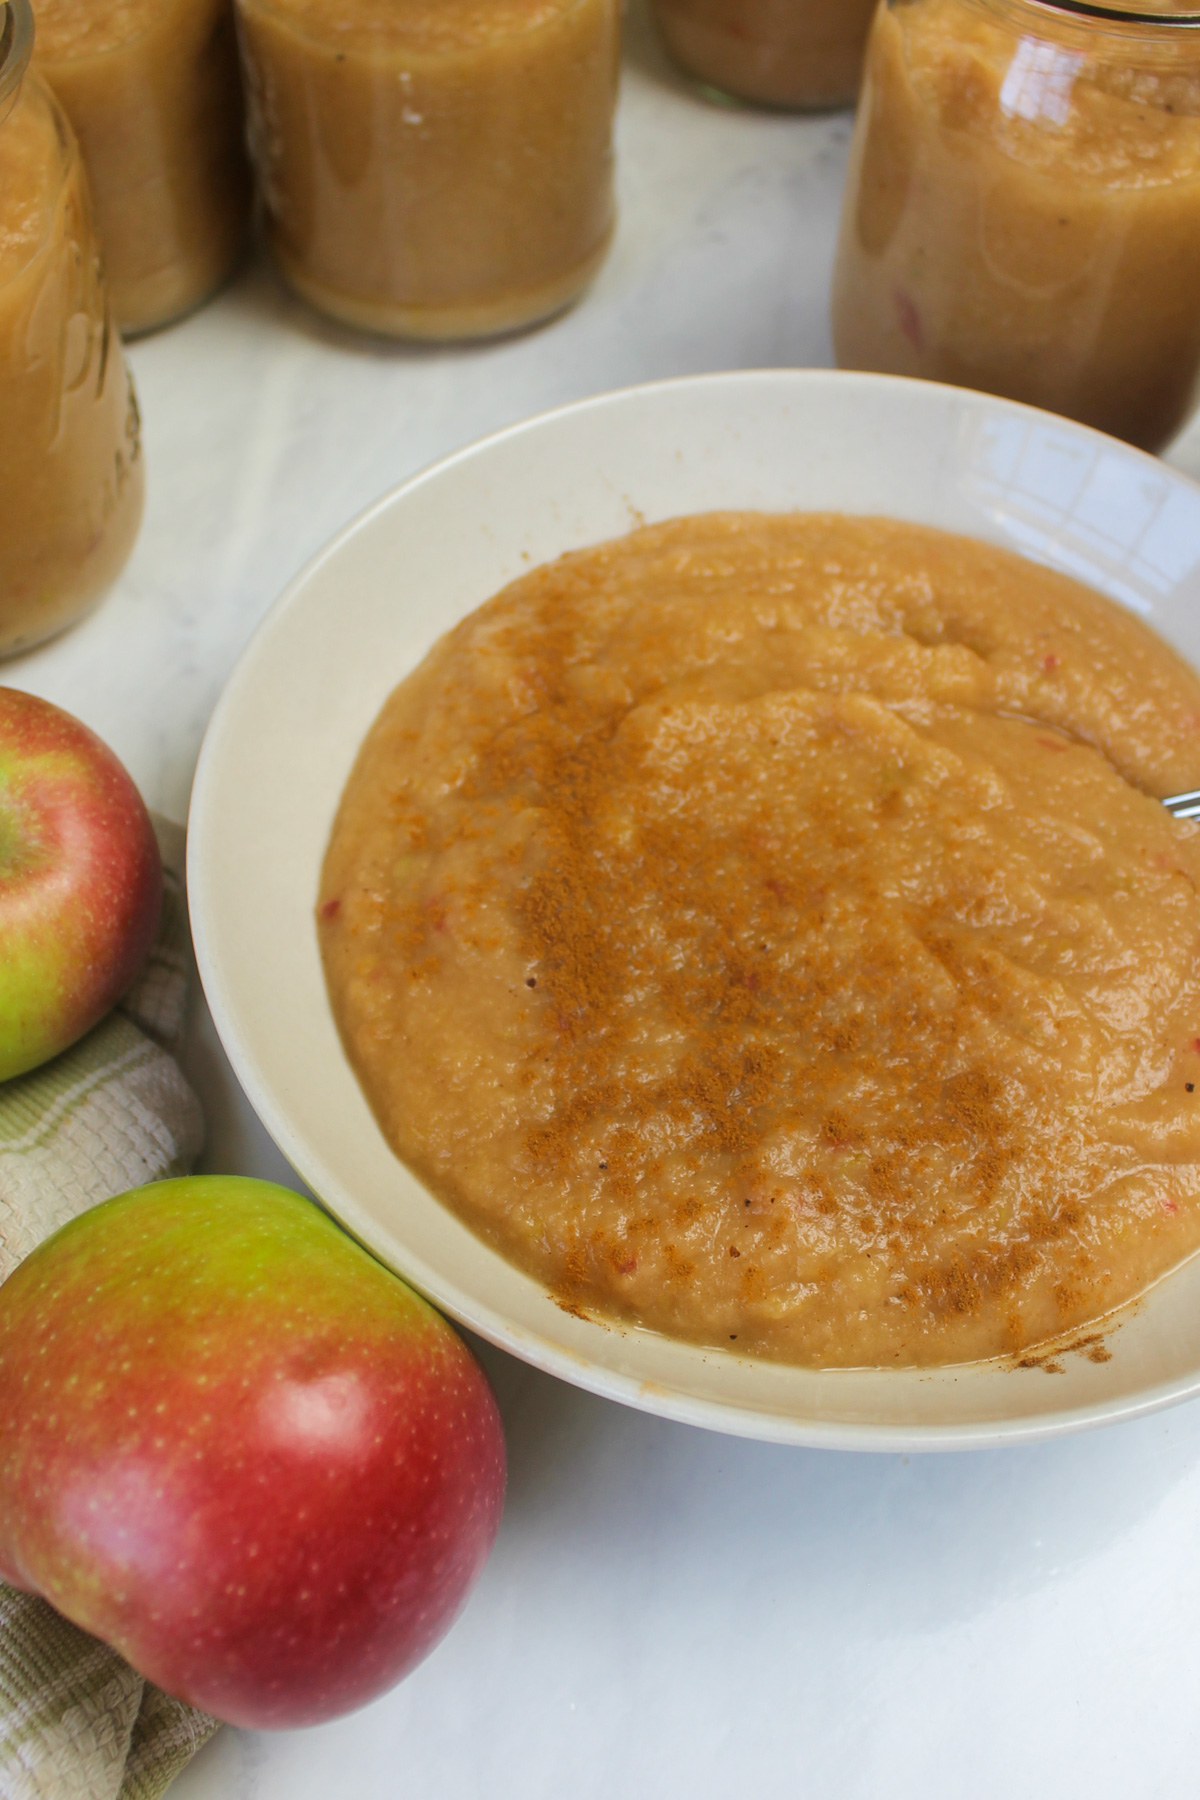
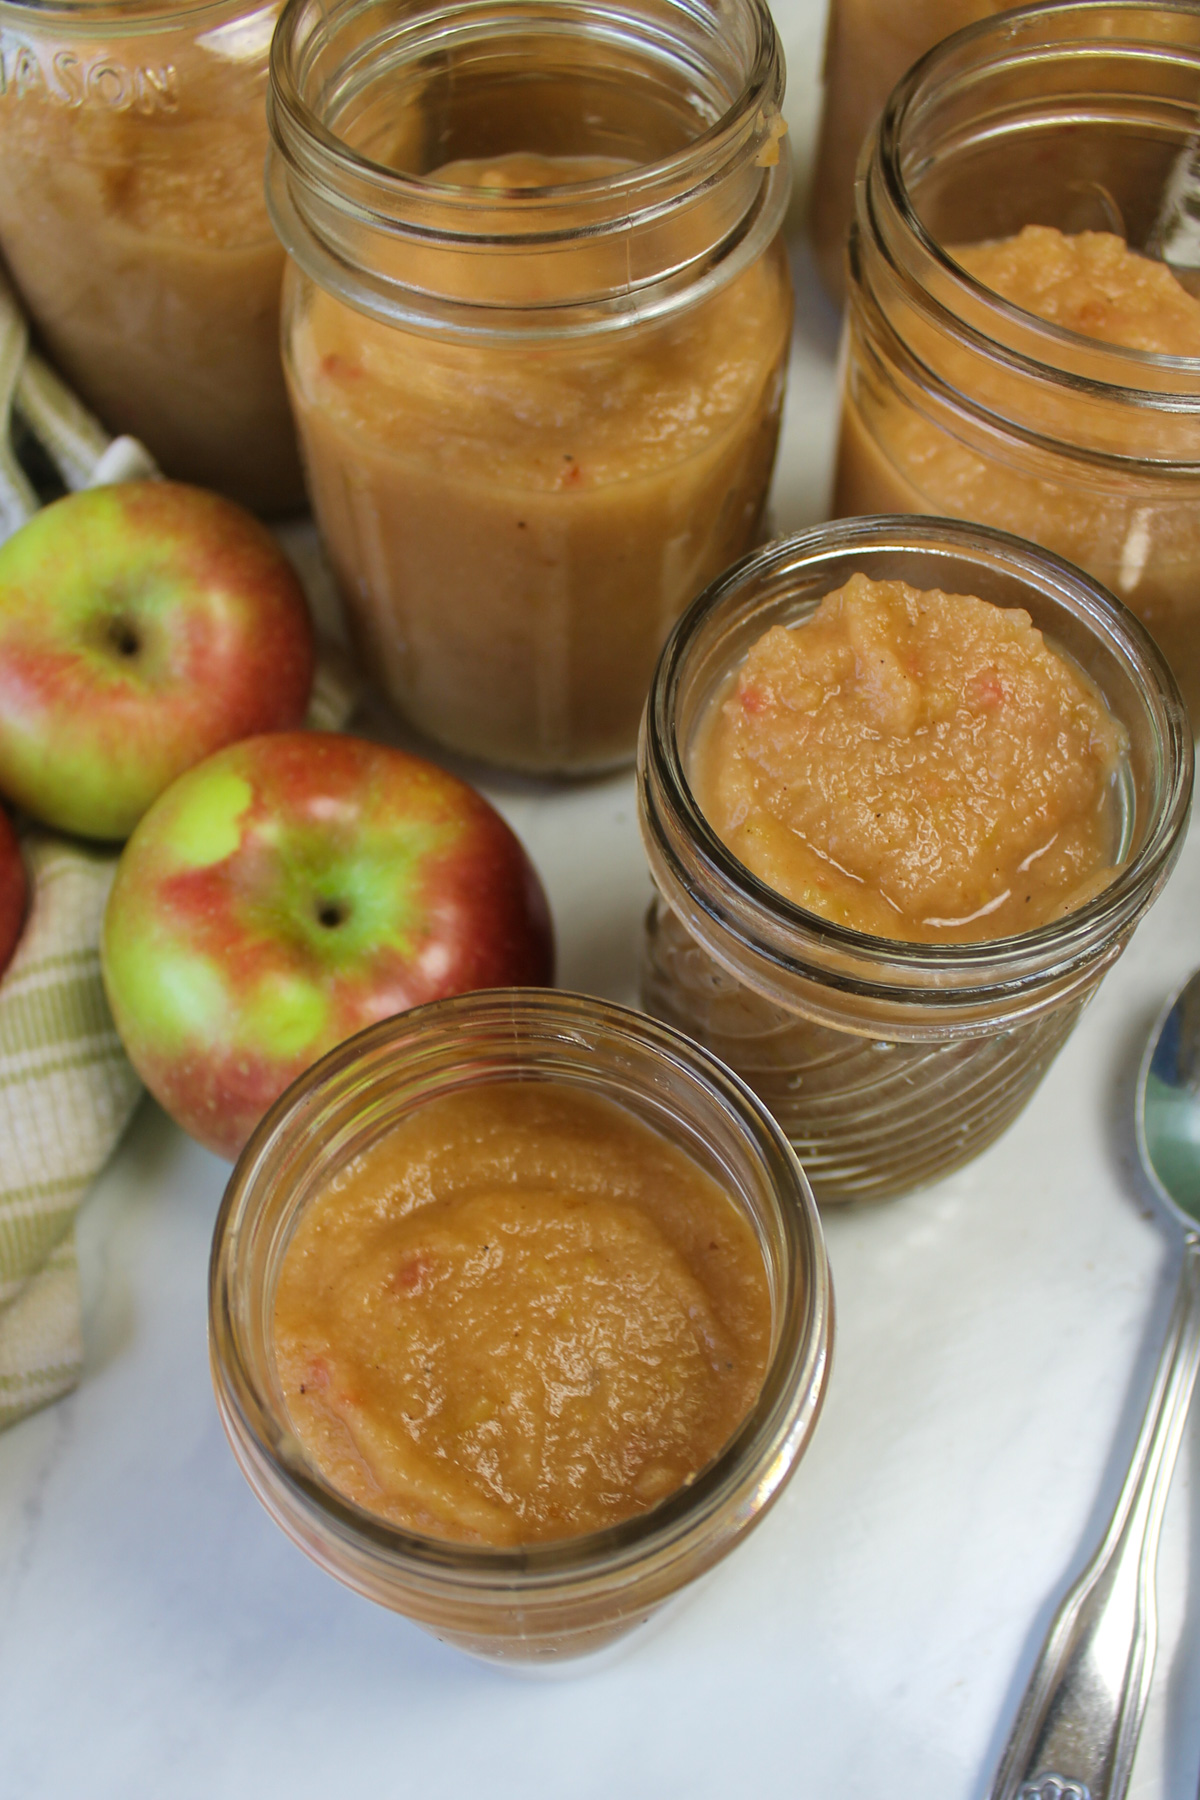
- The color of your applesauce will depend on the variety of apples. Anywhere from tan to bright pink!
How to Serve Homemade Freezer Applesauce
The best part, your freezer is stocked with that lovely sweet applesauce, now what to do with it all! If your kids are like my kids, you just eat it! It's become our go-to healthy snack, but we love to turn it into more than just plain applesauce!
- Build an applesauce yogurt parfait topped with berries and Homemade Almond Vanilla Granola
- Add a scoop to your Oatmeal, we love Homemade Instant Oatmeal and Crockpot Steel Cut Oatmeal
- Make Maple Pecan Applesauce Granola, with applesauce baked right in
- Use it for baking, try these heavenly Black Bean Protein Brownies or Chocolate Pumpkin Muffins
Top Tip
Don't worry about having the exact amount of apples. This recipe is to use what you have! If you only have a half a pot, you can make applesauce! Applesauce is great for using up apples that are less than perfect, but do make sure to remove bad spots or any part you wouldn't eat.
Recipe FAQs
No, you don't! The peel of an apple is nutritious and there is no reason to go through the extra effort of peeling. When cooked and pureed in the food processor, you can't even tell the peel is in there. And, it may give you a beautiful pink color, depending on the apple variety!
Yes! Apples are naturally very sweet, so added sugar really isn't necessary. This recipe uses just a drizzle of honey, but this could also be omitted. With freezer applesauce, you don't need to follow the recipe exactly or worry about the canning rules. So if you want completely unsweetened applesauce, just use lemon juice and a touch of cinnamon.
Your homemade applesauce color can vary greatly depending on the type of apples you use and how ripe they are. Green apples can give you green applesauce! Some varieties turn out a tan color while some end up pink. These are all just fine, the varieties of nature and home cooking are wide! While the color will vary, so will the taste! Again, this is a good thing! If your applesauce turns out on the tart side, you can eat it with a sprinkle of brown sugar and cinnamon or topped with granola!
Fall Recipes You'll Love!
If you made this recipe, I'd love to hear how you liked it! Leave a star rating by clicking the stars in the recipe card, or leave a comment below!
Follow Sungrown Kitchen on Pinterest, Instagram, and Facebook for loads of garden recipes! Be sure to Subscribe Here for new recipes delivered straight to your inbox!
Easy No-Peel Applesauce for the Freezer
Hit the stars to rate this recipe!
Print Pin RateEquipment
- large pot or Dutch oven
- food processor
- jars or storage containers
Ingredients
- 10 pounds apples
- ½ juice of a lemon
- 1 teaspoon cinnamon
- 1 Tablespoon honey
- 2 cups water plus more as needed for blending
Instructions
- Cut apples to remove the core and any bad spots. Apples do not need to be peeled or chopped up. Simply cut them off around the core, roughly in quarters, and add them to the pot. As you go, squeeze the lemon juice over the cut apples in the pot to keep them from browning.
- Add the cinnamon, honey and 1 cup of water.
- Simmer the apples COVERED, on low to medium low heat, about 30 to 40 minutes until they are soft. Stir often to get all the apples down to the heat. If you feel like the bottom is burning, add another cup of water and give it a good stir. If it's not simmering enough, turn up the heat a bit.
- When the apples are cooked through and soft, add them in batches to a food processor. Let the processor run a few minutes, adding water through the feed to get everything smooth and incorporated. You may add about a half cup of water per batch, but just start with a little until you reach the right consistency. Stop to scrape down the sides with a spatula and keep blending.
- As each batch is blended smooth, transfer the applesauce into jars. A jam funnel works great for this. Important: Only fill the jars ¾'s of the way full to allow them room to expand in the freezer. Refrigerate the jars overnight before transferring to the freezer. These precautions will prevent cracked jars!
Notes
- The amount of apples does not need to be exact! Use as many apples as will fit in your pot. Or less, you can really make this recipe with a large or small amount of apples!
- Use you judgement on cooking time. You want soft apples that can get blended up smooth. Keep simmering them until they get there, and add water if the bottom begins to burn. Stir often!
- Applesauce can be eaten warm, refrigerated for up to a week, or frozen in any types of containers for 6 months to a year. If freezing in glass jars, take these precautions so you don't crack the jars:
- Only fill glass jars ¾'s of the way full to allow for expansion in the freezer.
- Cool jars completely in the fridge overnight before transferring to the freezer. And if you do end up cracking a jar in the freezer, throw it away, do not eat!



Leave a Reply