These elegant little scones are sure to become everyone's favorite! Almond Cherry Scones are flakey, buttery, and fluffy on the inside. Full of rich flavor from almond flour, almond extract, sliced almonds and chewy dried cherries, making scones at home is really easier than you think!

- Special Occasions to Everyday - These Almond Cherry Scones are the perfect addition to Mother's Day, Easter or any holiday brunch! But, we love to just make them on Sunday mornings too! They are sweet but not too sweet, full of delicious almond flavor, and drizzled with a super simple glaze!
- Scones are Easy! - Don't wait for your next trip to the bakery, scones are really easy to make at home! The dough can be mixed up in one bowl, no need to pull out the mixer. Then just turn them out onto your baking sheet, shape and cut them and pop them in the oven! Also try my Apple Cinnamon Raisin Scones!
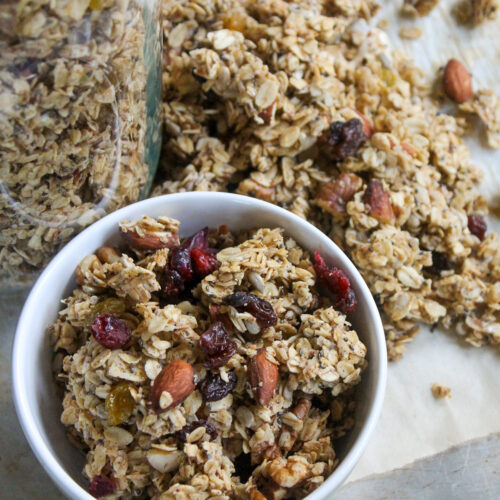
- If you love baking at home, try my Chocolate Pumpkin Muffins, Zucchini Banana Cookies and make your own Homemade Almond Vanilla Granola!
Jump to:
Ingredients
Baking at home means cleaner ingredients, no preservatives, and hearty elements like almond flour, egg, real cream, sliced almonds and dried cherries.
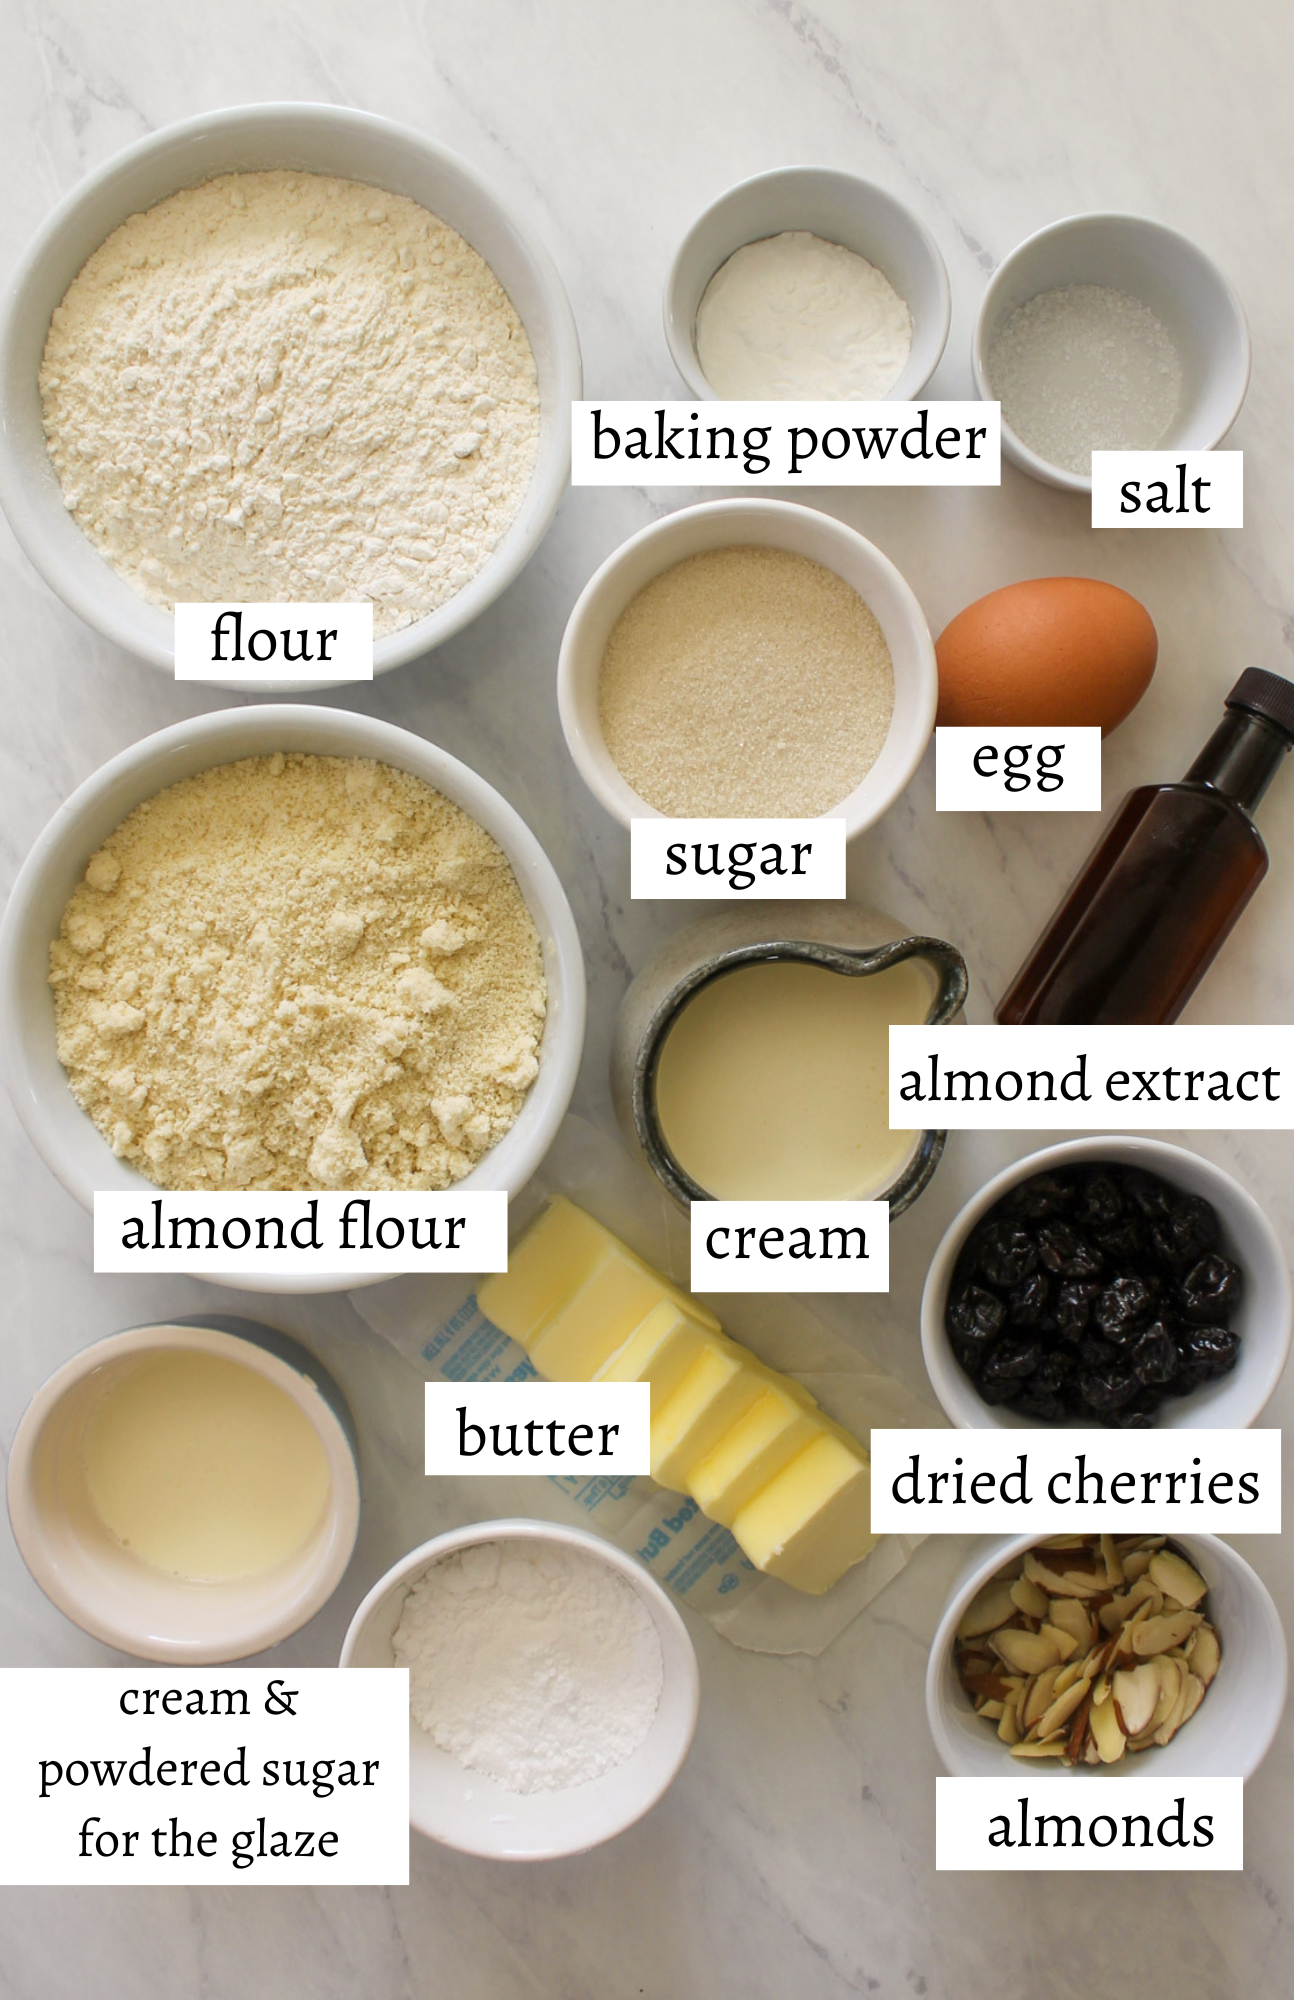
- Flour and Almond Flour - The combination adds nutty almond flavor while boosting the protein.
- Sugar - Scones are sweet but not too sweet with just ⅓ cup of sugar.
- Butter - Make sure your butter is cold, as it melts in the oven it will give your scones that flakey tender texture. You can even chop your butter first and set it in the freezer while you assemble your ingredients.
- Egg - Adds richness and structure to your scones.
- Heavy Cream - The thick liquid binds your scone dough together, adding rich flavor. Buttermilk or half & half could be substituted.
- Almond Extract - That "something special" ingredient that takes these Almond Cherry Scones over the top! It adds so much flavor, but if you don't have it, use vanilla extract.
- Dried Cherries - Adds chewy tart flavor and a pop of color. You could also substitute different dried fruit or even chopped fresh cherries when they are in season.
- Sliced Almonds - These scones have a whole lot of almond flavor going on, and a few sliced almonds in the dough give great crunch and texture while a sprinkle over the top lets people know what flavor to expect.
- The Glaze - This very simple icing is made from powdered sugar and a bit more cream. You can use other liquids such as half & half, milk or even water. Just adjust the amounts so your glaze it just thick enough to drizzle off a spoon.
See recipe card for quantities.
Instructions
Scones are quick and easy to make at home! Just mix up your dough, shape and cut into wedges and bake!
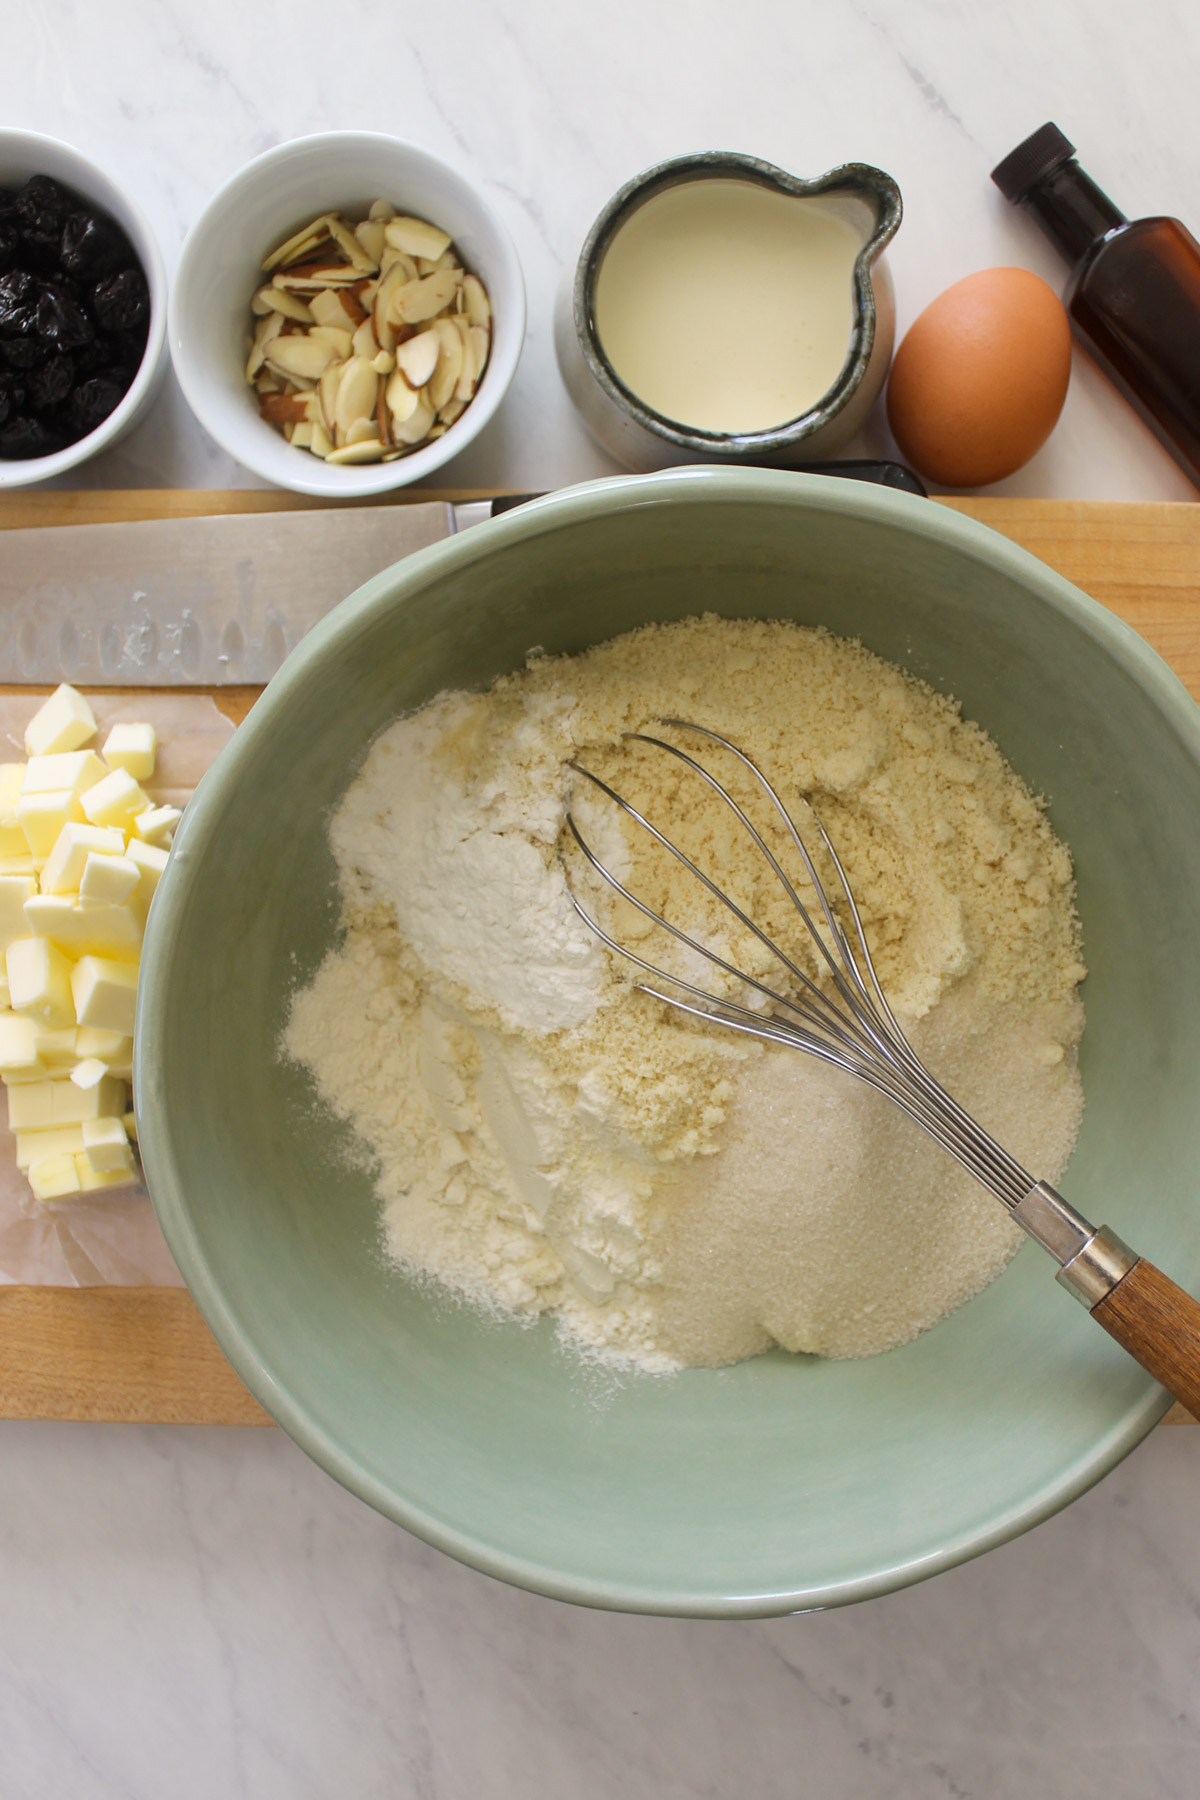
Step 1 - Whisk together the dry ingredients in a bowl.
Keep your cold ingredients in the fridge until the last minute! COLD ingredients are the key to successful scones!
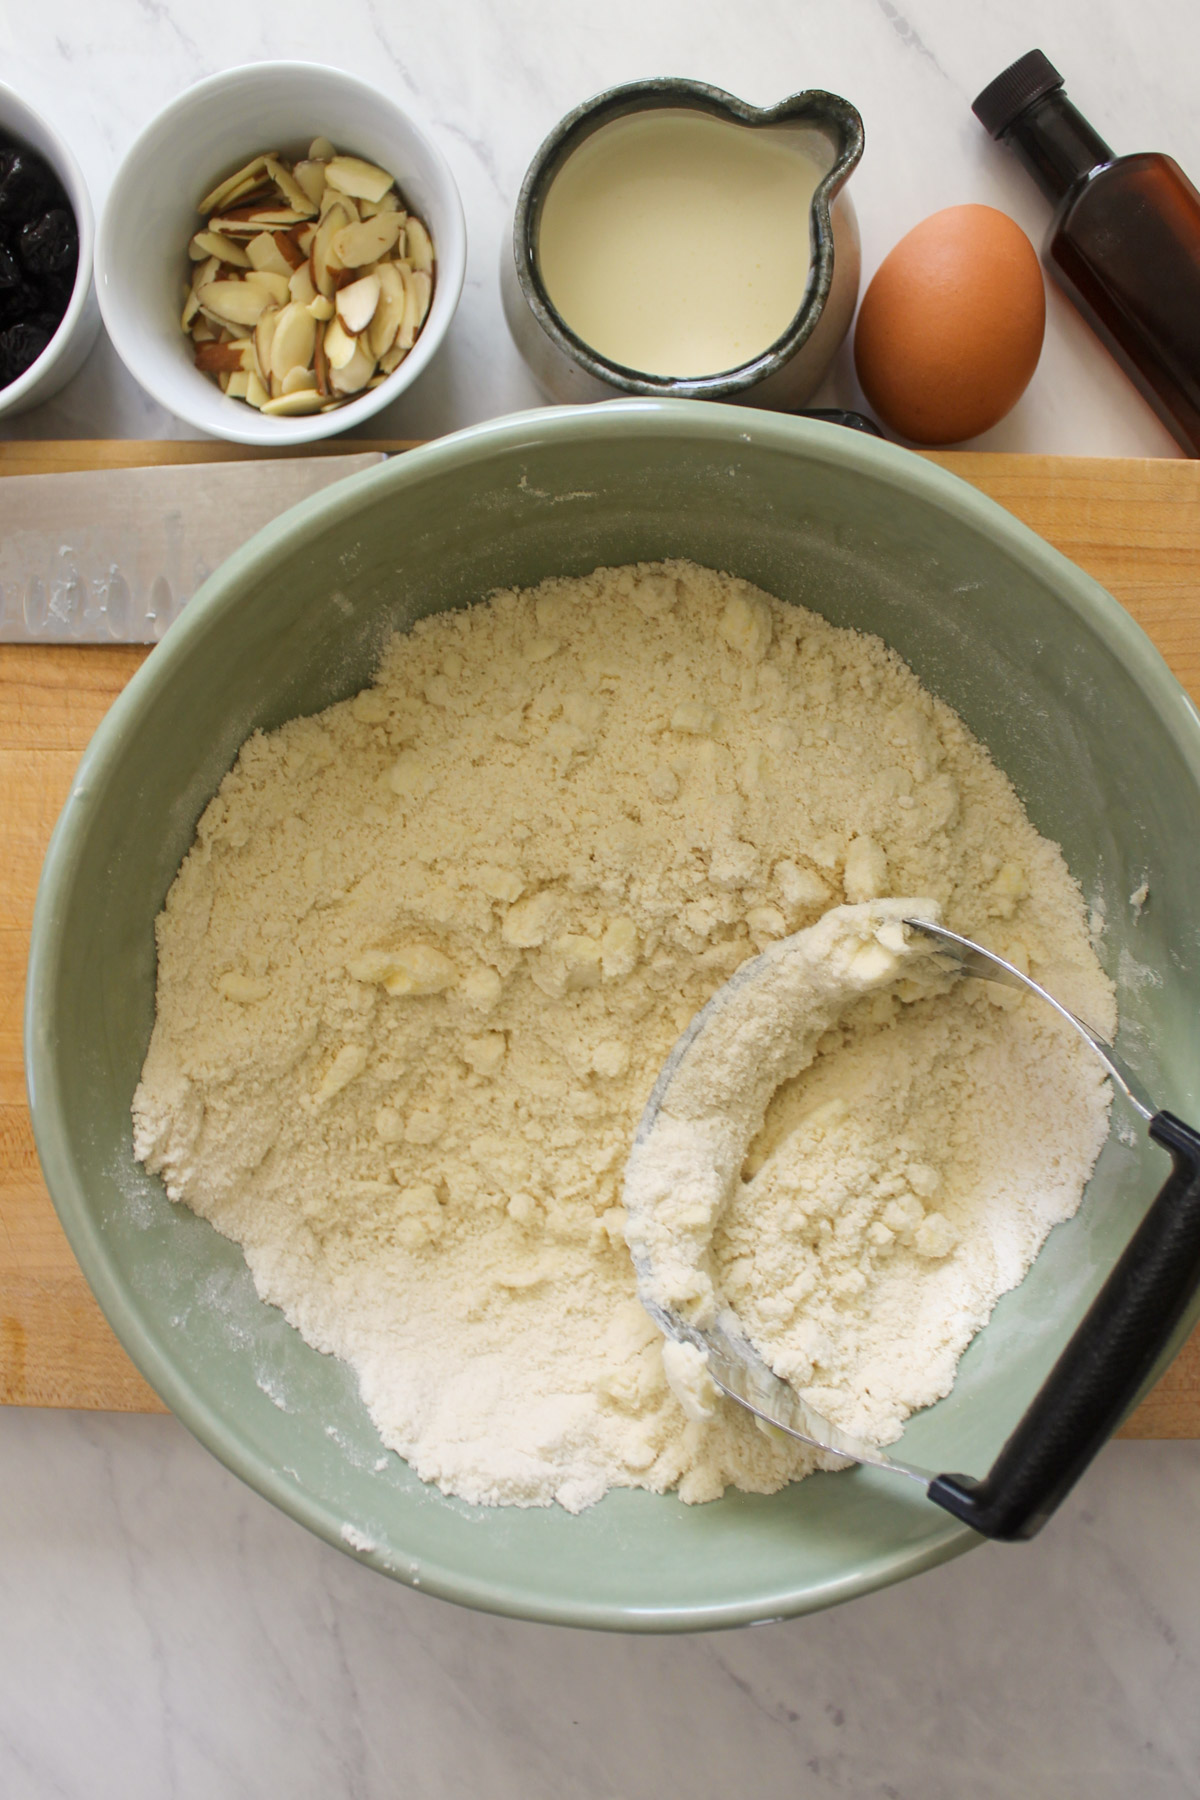
Step 2 - Chop your butter with a knife and add it to the dry ingredients.
Use a pastry cutter, fork or your hands to work the butter into the flour mixture. You want the butter chunks to be about pea sized or smaller.
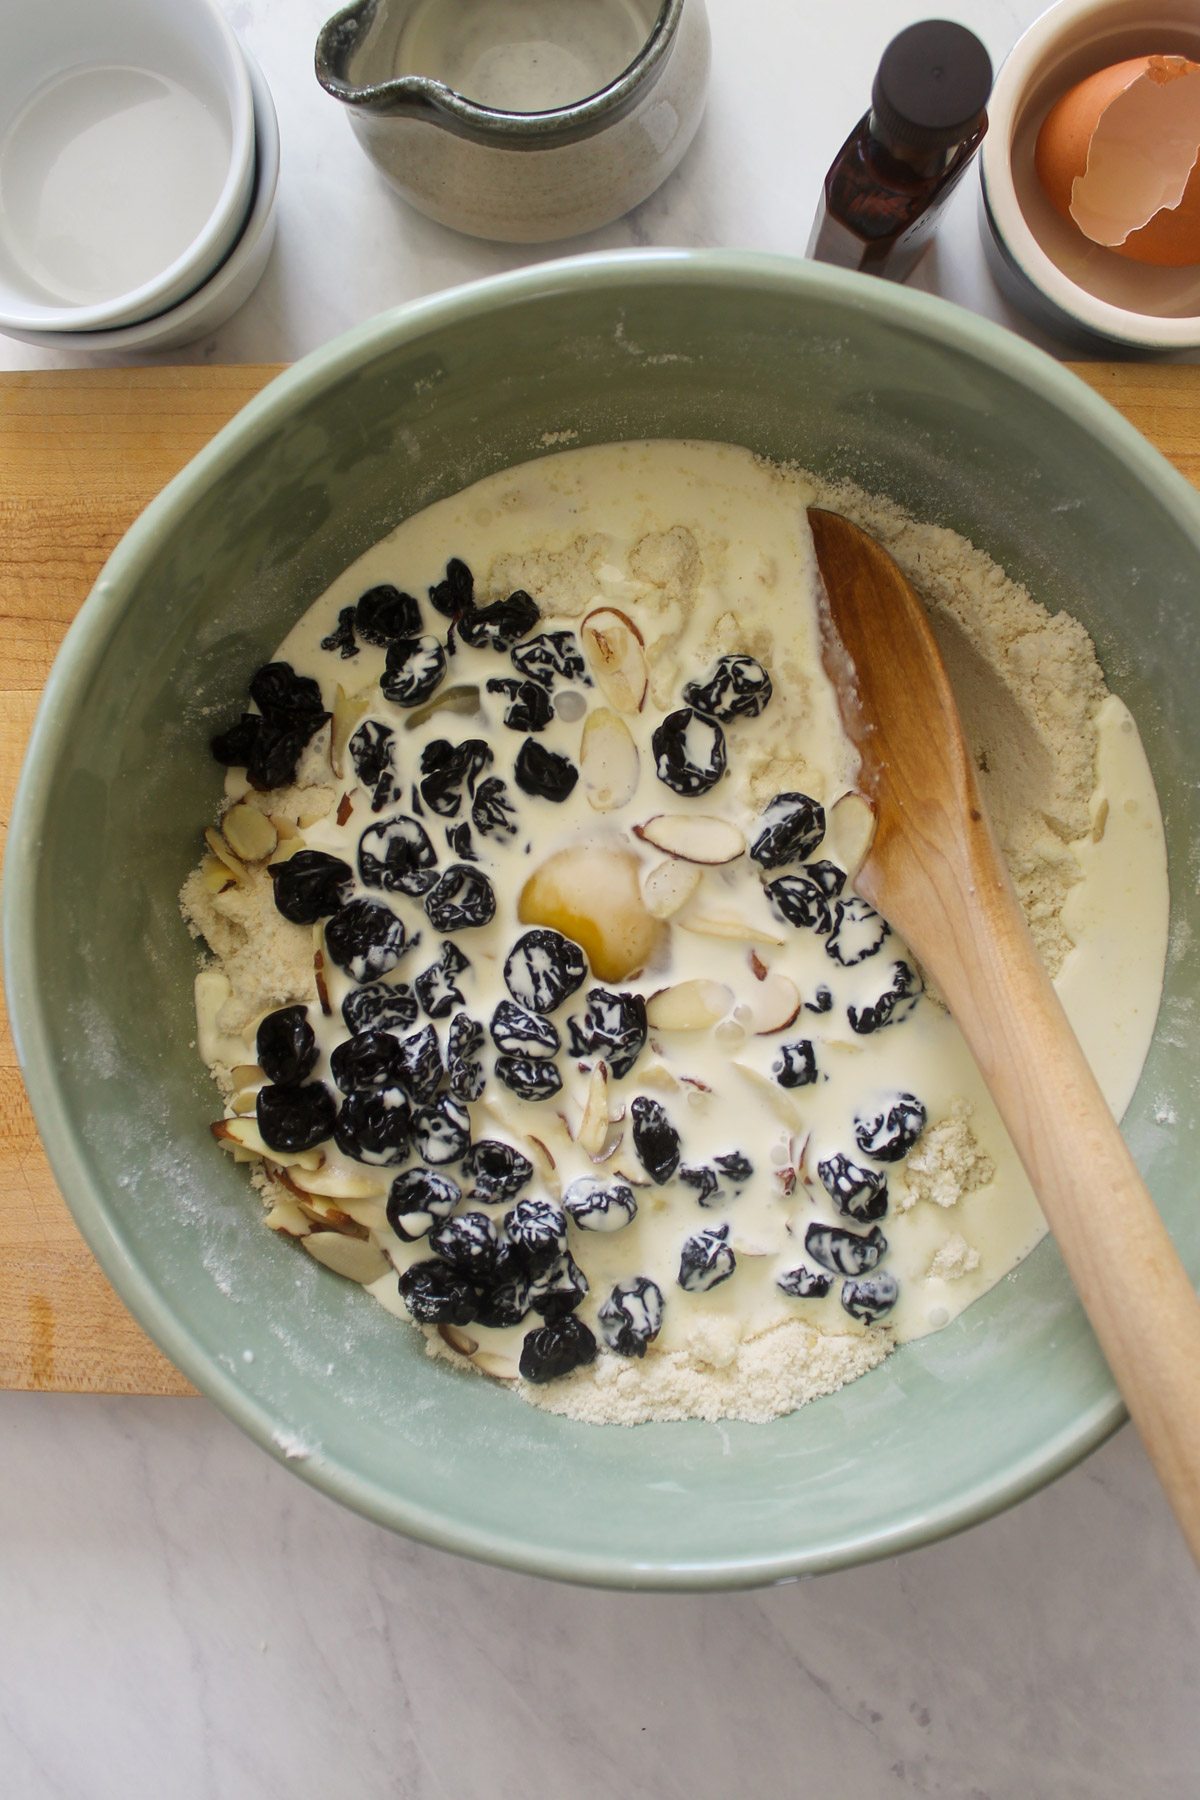
Step 3 - Add all your other ingredients and stir to incorporate.
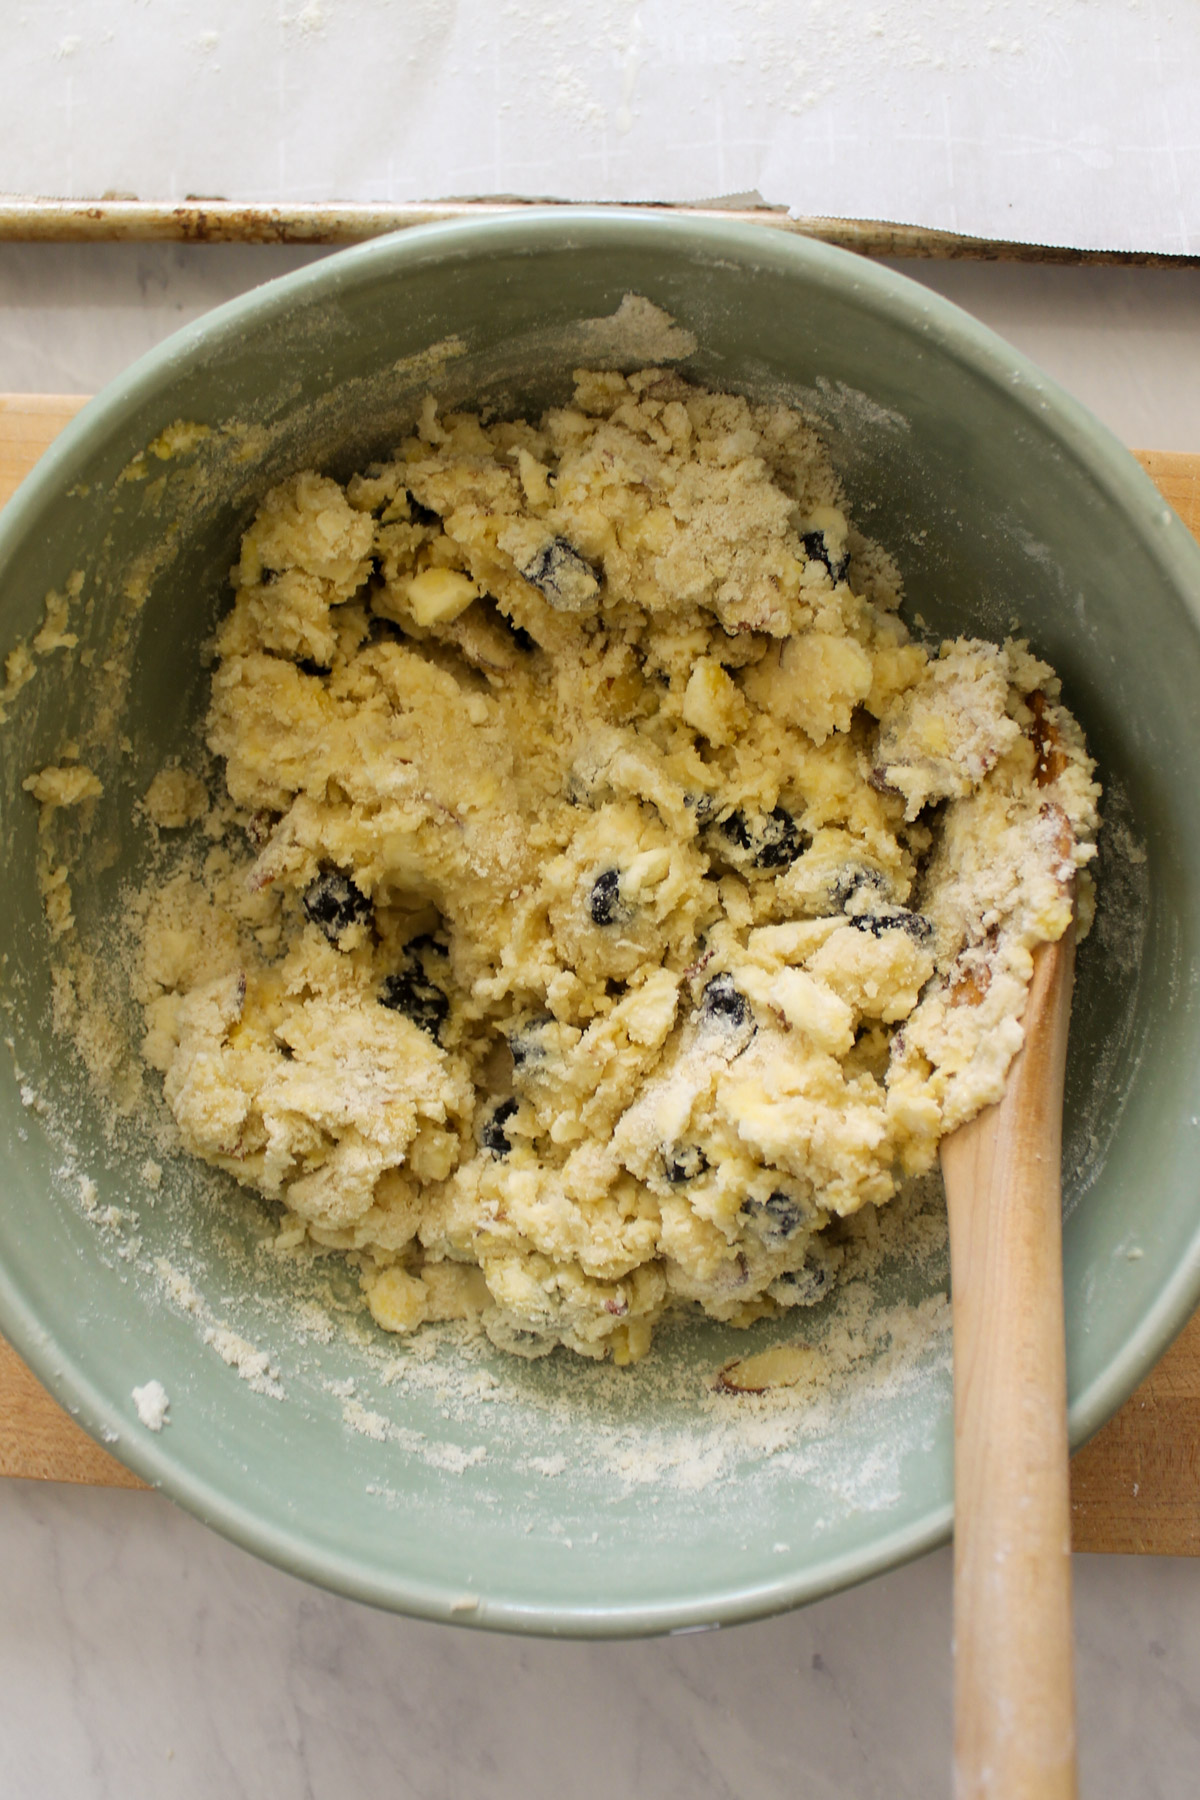
Step 4 - Once your ingredients are mostly combined, use your hands to pull the dough into a ball.
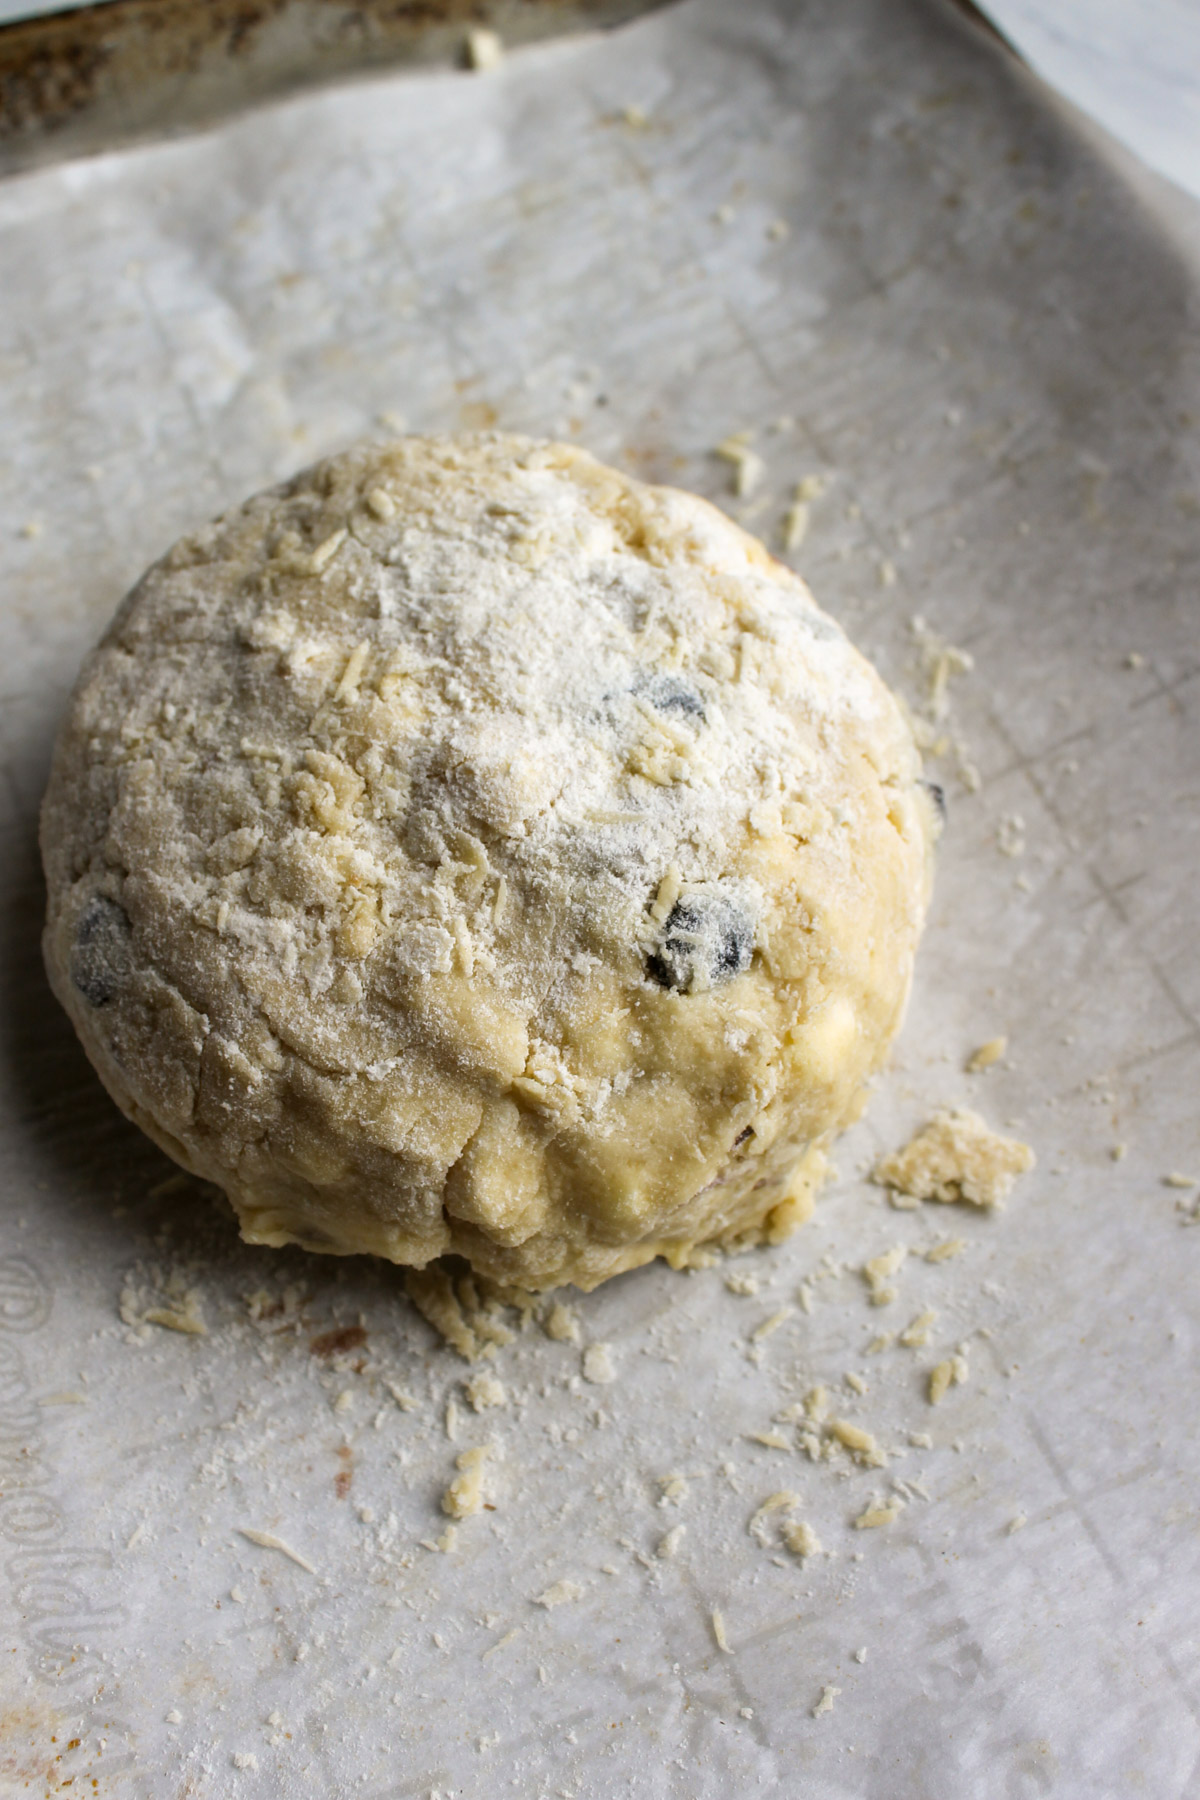
Step 5 - Line a baking sheet with parchment paper and sprinkle it with flour.
Use your floured hands to turn your dough out onto the paper and form into a ball.

Step 6 - Cut the ball in half and form into 2 disks. Lightly cut each disk into 8 wedges, don't worry about cutting all the way through.
Brush the tops with a bit more cream (even just what's left in your measuring cup) and sprinkle with a few more sliced almonds. Press them to adhere.
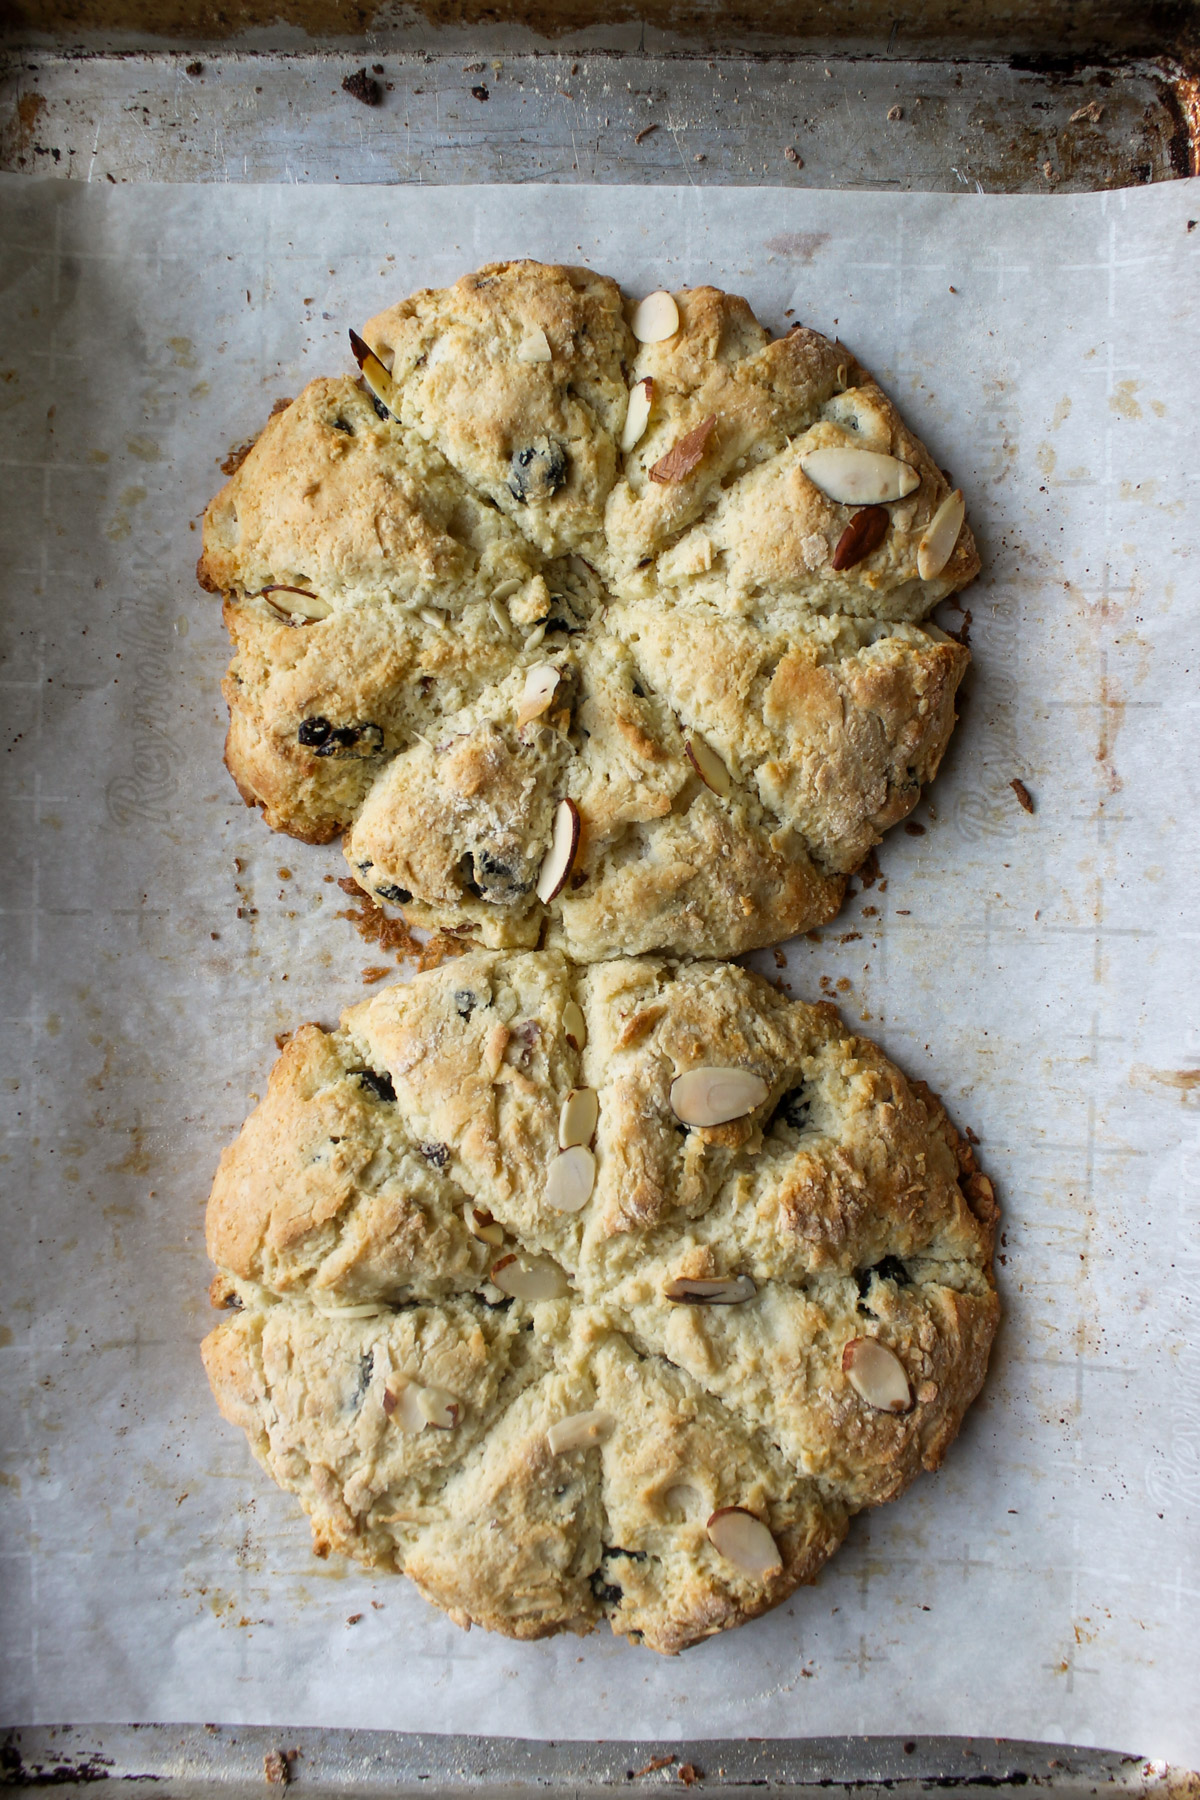
Step 7 - Bake at 400°F for about 25 minutes until golden.
Allow to cool slightly.

Step 8 - Use a knife to cut the scones apart into wedges.
Make the glaze by whisking together the powdered sugar and cream and drizzle over the scones.
Helpful Tips
- Cold Ingredients - The most important step with scones is keeping your ingredients cold, especially the butter. Work quickly so your hands don't warm the dough. Allowing your butter to soften will cause your scones to spread too much. Keep all your cold ingredients in the fridge until you are ready to use them. Make the dough, shape and cut it, and get them into the oven.
- Don't Over Mix the Dough - Just mix it enough to combine and then pull it together with your hands. Don't overdo it or your warm hands will warm the dough and your scones will be dense instead of flakey. A few lumps and bumps in the dough are a good thing!
- Chill the Dough - It's not totally necessary, but since cold ingredients are essential and your hands can warm the dough as you work, it's not a bad idea to chill the dough. Cut it into triangles on the sheet pan and then pop it in the fridge while the oven preheats.
- Keep the Scones in the Disk Shape - I've tried this a few ways and really like forming the dough into two disks, cutting it into wedges, although not cutting all the way through, and baking the disks without separating each individual scone. I've found the scones baked this way to be less dry, with soft chewy sides, and more rise. They are less likely to spread too much and flatten.
- Portioning and Sizing - I divided the dough into 2 disks, each disk cut into 8 wedges for 16 smaller scones. This is completely optional! You could do one large disk and do 8 large scone wedges. You could do 2 disks cut into 6 wedges each. Cut and shape the scones any way you like depending on the size you want.
- Adjusting the Glaze - You want the glaze to be as thick as you can get it to drizzle off a spoon. Too thin and it will just disappear into the scones and too thick and you won't be able to drizzle it. Add powdered sugar if it's too thin, and add cream, milk or water if it's too thick. Just a tiny bit at a time!
- Make Ahead - You can make the dough a day in advance and keep it in the fridge. You can also freeze the scone dough. Just form it into the two discs and wrap in plastic wrap, then refrigerate or freeze in a container or freezer bag. Allow it to thaw in the fridge or on the counter until you can cut it with a knife. You still want your dough cold! Then bake when ready. Scones warm from the oven really are the best!
- Storage and Freezing - Store extra scones in an airtight container on the counter for 2 to 3 days or freeze for up to 3 months.

Pair these Scones With
Scones make the perfect addition to a fancy brunch or are delicious as a breakfast on their own with a banana and a cup of coffee!
Recipe FAQs
While it's not totally necessary to chill the dough for scones, it is important that your ingredients are cold. Keep your butter in the fridge until just before using or even pop it in the freezer for a bit. Chilling the dough before portioning and shaping, or after while your oven preheats is a good idea to make sure the butter is cold before heading into the oven.
Shaping the scone dough into a disk shape (or 2 smaller disks) and then cutting the dough into wedges, but keeping the wedges together in the circle rather than separating them, will keep them from spreading out. Using cold ingredients, especially the butter will help your scones rise.
I created this recipe using dried cherries, so substituting other dried fruit should not be a problem. I have not tried this recipe with fresh or frozen fruit, but it should be ok, you just want to make sure you aren't adding too much moisture. If using frozen cherries, you could thaw and drain them in a strainer before adding.

Try These Other Recipes!
If you made this recipe, I'd love to hear how you liked it! Be sure to leave a star rating by clicking the stars in the recipe card, or leave a comment below!
Follow Sungrown Kitchen on Pinterest, Instagram, and Facebook for loads of garden recipes! Be sure to Subscribe Here for new recipes delivered straight to your inbox!

Almond Cherry Scones
Hit the stars to rate this recipe!
Print Pin RateIngredients
- 1¼ cup flour
- 1 cup almond flour
- ⅓ cup sugar
- 1 Tablespoon baking powder
- ¼ teaspoon salt
- 6 Tablespoons butter cold, cubed
- 1 egg
- ½ cup heavy cream
- 1½ teaspoons almond extract
- ½ cup dried cherries
- ¼ cup almonds sliced, plus more for topping
For the Glaze
- ¼ cup powdered sugar
- 1 Tablespoon heavy cream
Instructions
- Preheat oven to 400℉.
- Whisk dry ingredients together in a bowl.
- Add cold butter and mix with a pastry cutter, fork, or your hands.
- Add the cream, egg, almond extract, dried cherries, and sliced almonds and mix until combined with a spoon or spatula as best you can.
- Bring the dough together into a ball with your hands and turn it out onto floured parchment paper lining a baking sheet.
- Cut the dough in half with a knife and form it into 2 equal round disks, each about 5 inches across. Cut each disk into 8 wedges totalling 16. You don't need to cut all the way through the dough. Keep the circles intact, don't try to separate the wedges.
- Brush the top with a bit more cream (even just what's left in your measuring cup) and sprinkle the top with more sliced almonds. Press lightly to adhere.
- Bake for 25 minutes. Allow to cool slightly and cut the wedges apart with a knife.
For the Glaze
- Whisk together the powdered sugar and cream until just thick enough to drizzle off a spoon. If the glaze is too thick, add a tiny drizzle of cream. If it's too thin, add powdered sugar. Drizzle over the scones AFTER they have slightly cooled.
Notes
- Keep your Ingredients Cold! - Especially the butter, work quickly so your hands don't warm the butter. You can even pop the butter in the freezer for a bit before you start, or chill the dough in the fridge for 15 minutes before baking.
- Sizing and Portioning - I like to form the dough into 2 equal disks, then cut each into 8 wedges for 16 smaller sized scones. You can adjust this however you like, with 2 disks cut into 6 wedges each, or 1 disk cut into 8 larger scones.
- Bake Scones in the Disk Shape - Some recipes will tell you to cut your scones and separate them on the sheet pan. I like to keep them in the disk shape while they bake to keep them from spreading too much and drying out. You can cut them and separate after they bake.
- Glaze - The glaze can be made with powdered sugar and either cream, half & half, milk or water. You want it thick enough that it just barely drizzles from a spoon.
- Storage and Freezing - Store extra scones in an airtight container on the counter for 2 to 3 days or freeze for up to 3 months. Scone dough can also be frozen and baked later.








Ann says
Second time I've made these. So delicious!!! Next time I might chill the dough even before shaping on the parchment paper. Today my kitchen was warm!
Meryl Downing says
So glad you liked them Ann!
Ann says
These scones are absolutely delicious! And easy to make. Mine turned out just right the first time I tried the recipe. I froze half to keep from eating them all at once!! I will definitely make again.
Meryl Downing says
Thanks Ann, I'm happy you liked them!